STEPS TO CONVERT REGULAR MAILBOX TO SHARED MAILBOX
To convert a regular mailbox to a shared mailbox, follow the given simple steps:
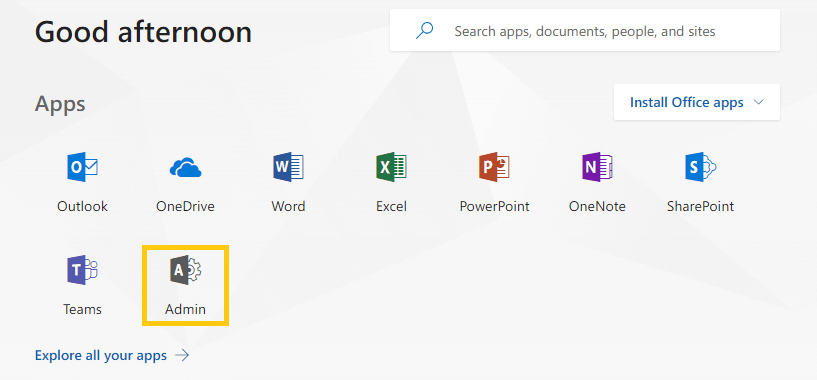
- Log in to your Microsoft 365 account. Go to Admin.
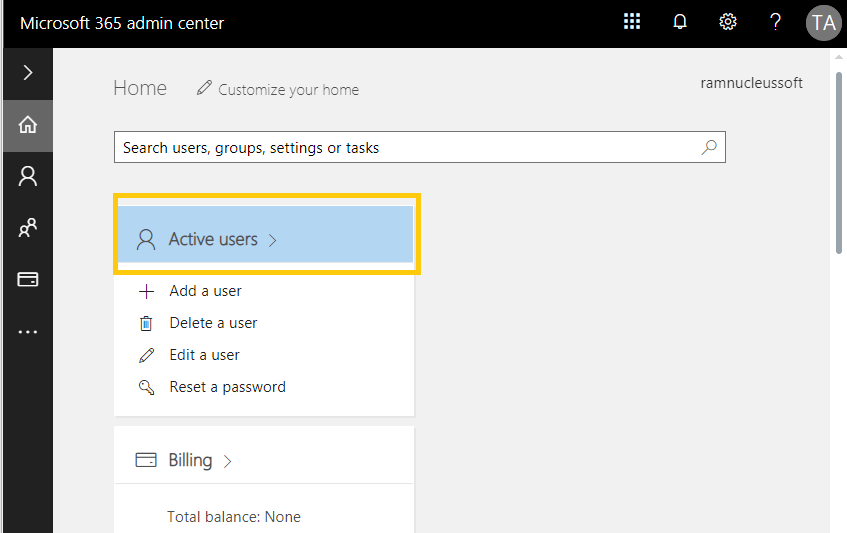
- In the Microsoft 365 admin center, choose the Active users option.
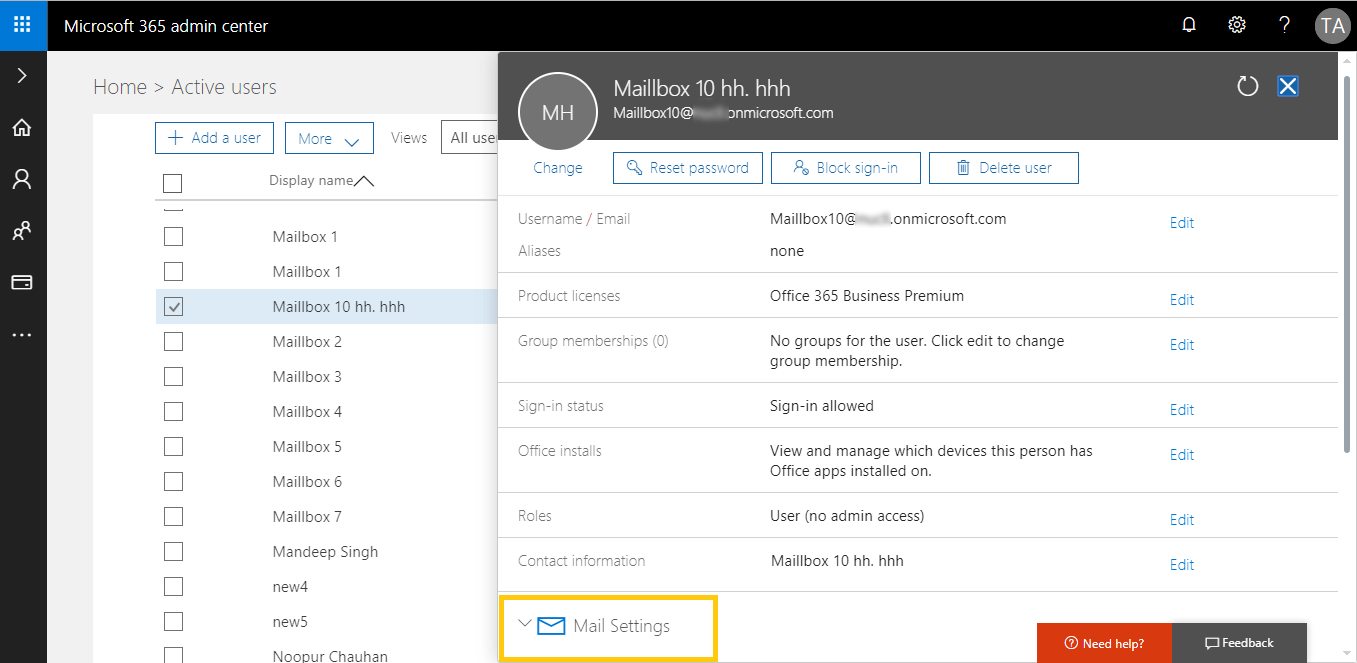
- Choose the user mailbox which you want to convert to the shared mailbox. Click Mail Settings.
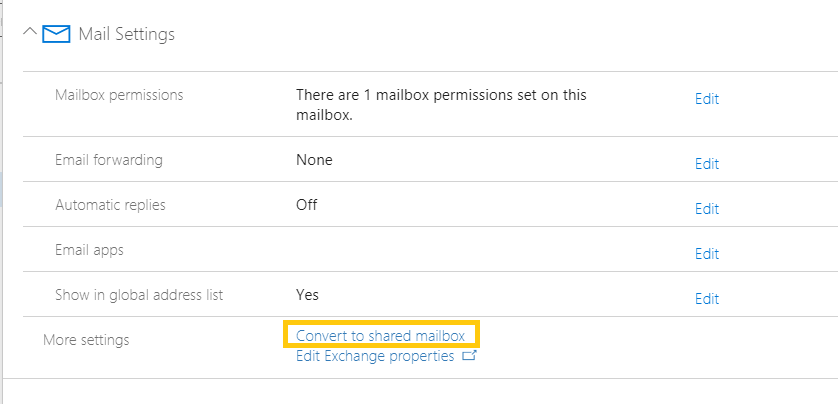
- Then, click Convert to shared mailbox to convert your regular mailbox to a shared one.
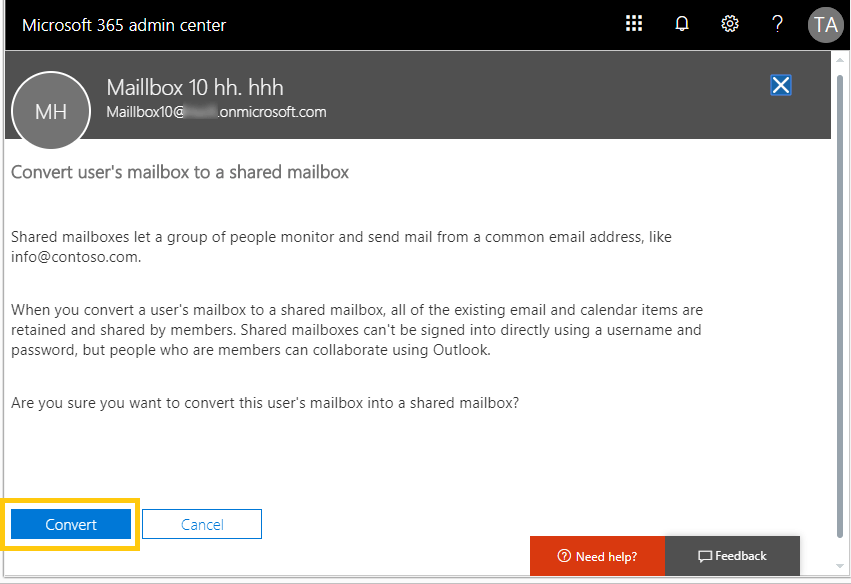
- Finally, click Convert to convert the mailbox to a shared mailbox.
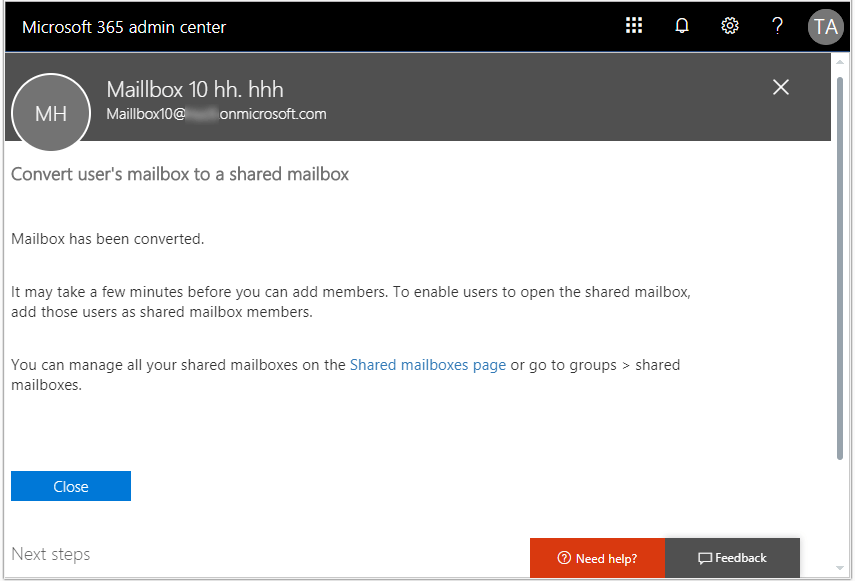
- Your mailbox has been converted to a shared mailbox.
How to convert a regular mailbox to a shared mailbox using PowerShell?
Users must connect to the Exchange Online PowerShell first using the following procedure.
- Run the Windows PowerShell as an administrator.
- Execute this command.$UserCredential = Get-CredentialA dialogue box asking to enter Microsoft 365 account credentials will get open. Provide the global administrator credentials and click on OK.
- Next, execute the command as follows.$Session = New-PSSession -ConfigurationName Microsoft.Exchange -ConnectionUri https://outlook.office365.com/powershell-liveid/ -Credential $UserCredential -Authentication Basic -AllowRedirectionWait for the connection to be established.
- Now, run the final command as follows.Import-PSSession $Session -DisableNameChecking
- Now, you are connected to the Exchange Online PowerShell.
- Microsoft 365 users can use the below command syntax to convert a regular user mailbox to a shared one through Exchange Online PowerShell.Set-Mailbox -Identity <user mailbox name@domainname> -Type:Shared
Note: Users must be a member of the Recipient Management or Organization Management Role group to run the above command.
We will now move to see how a shared mailbox can be converted to a regular mailbox in Microsoft 365.
STEPS TO CONVERT A SHARED MAILBOX BACK TO A REGULAR MAILBOX
One can convert a shared mailbox to a regular mailbox easily by following the steps:
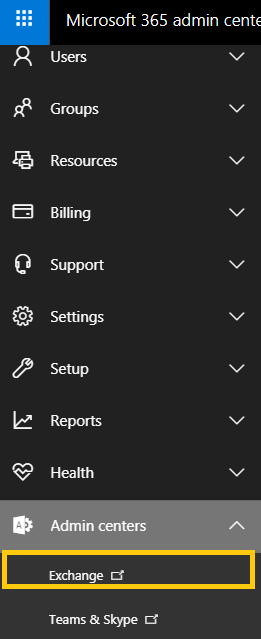
- Log in to your Office 365 account as an administrator. Navigate to Microsoft 365 Admin Center and select Exchange.
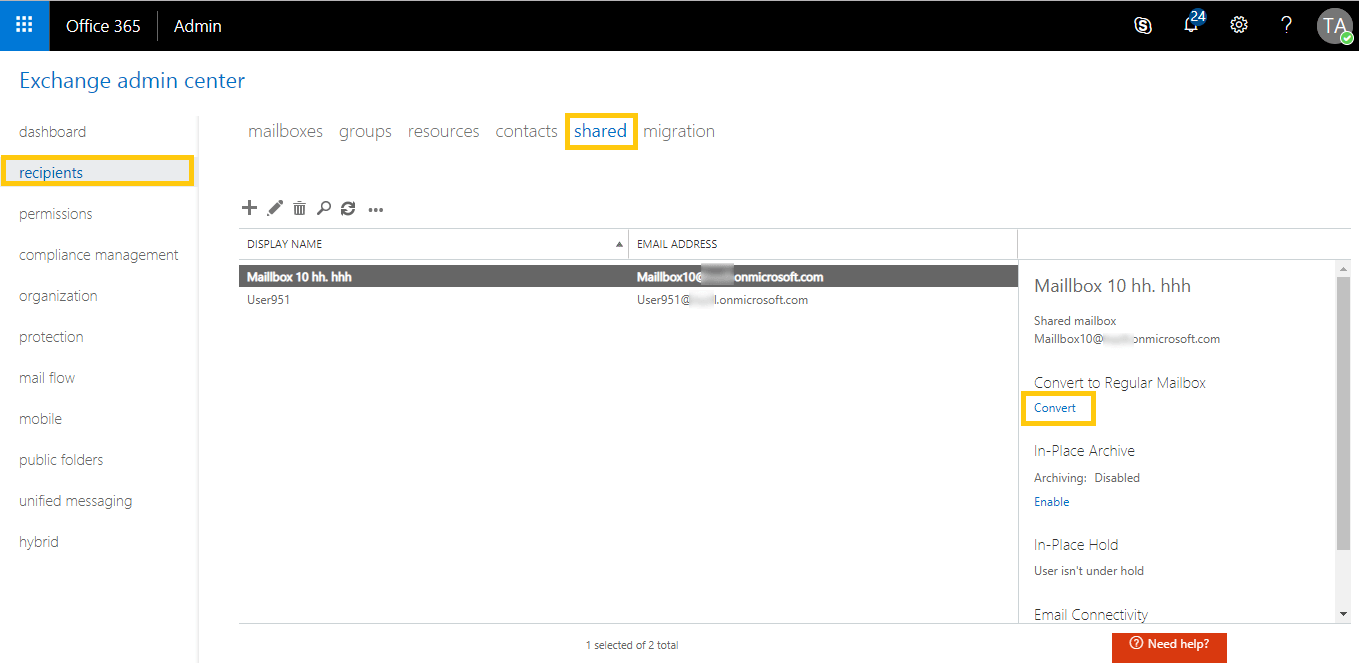
- Go to Recipients>>Shared. Select the shared mailbox and then click Convert under Convert to regular mailbox.
- A warning message will pop up, asking for confirmation. Click Yes to continue.
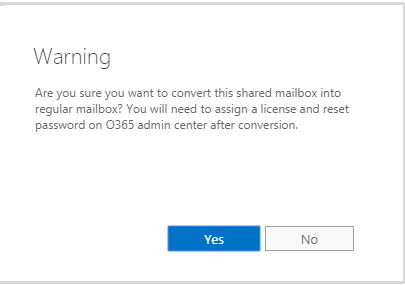
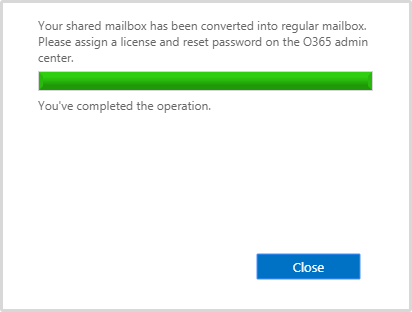
Note: You need to assign a license and reset the password for the mailbox after conversion. - The conversion will take a little time. After that, a completion message is displayed. Once completed, click Close to exit.

- When you sign in to Microsoft 365 again, you can find that this shared mailbox has been converted to a regular mailbox. The converted mailbox contains all the data of the shared mailbox.
Note: The Exchange Online PowerShell command syntax to convert a shared user mailbox to a regular mailbox is.
Set-Mailbox -Identity <user mailbox name@domainname> -Type:Regular