Create a Hosted Zone for our domain
A hosted zone is a container for the information about how we want to route traffic on the Internet for a domain (in our case, epicmath.com) and its subdomains if any.
To create a hosted zone:
- Open the Amazon Route 53 console at https://console.aws.amazon.com/route53/.
- Click Hosted Zones in the navigation pane.
- Click Create Hosted Zone.
- In Domain Name, enter domain name.
- Click Create.
Now, we can see new NS records from aws, and we want to copy it over to our current DNS provider’s records.
Set up a DNS provider – ns switch
To determine which DNS records we must replicate in Amazon Route 53, check the DNS record settings configured for the domain in our current DNS provider. Two records that we should not transfer to Amazon Route 53 are the Start of Authority (SOA) and Name Server (NS) records. These records were set by Amazon Route 53 when the name servers were allocated, and they should not be changed.
First, log into the domain name registrar that we used to register our domain name. Use the web interface provided by the registrar to set the name servers for our domain to the name server values displayed under Name Servers in the details for the hosted zone.
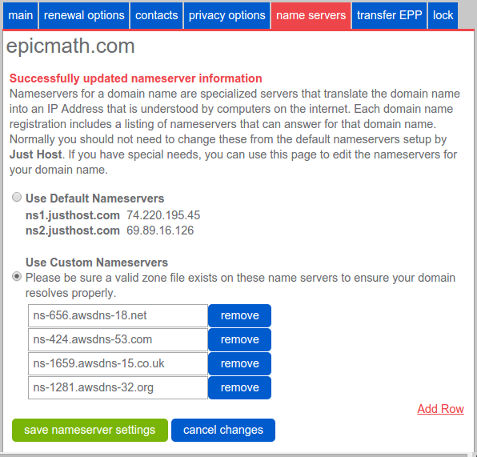
Wait between two to 48 hours for the Internet DNS resolver network to propagate name server changes. To see if the name server change has gone through, use a command line utility such as dig or nslookup.
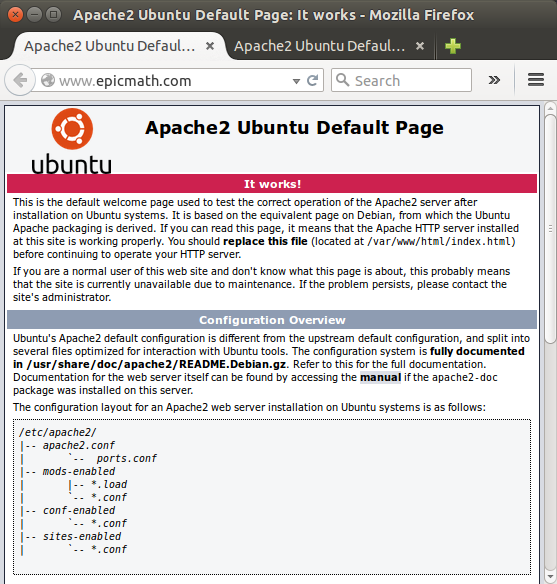
Set up a web server
We setup Apache web server on our ec2 instance:
$ sudo apt-get update
$ sudo apt-get install apache2
Now we want to setup a record inside of our Route53 to point our server. We’re going to create a new record set.
Create Record Sets
Let’s configure the alias resource record set for our www subdomain.
- On the Hosted Zones page, select the hosted zone that we created for our domain.
- Click Go to Record Sets.
- Click Create Record Set.
- Under Create Record Set, do the following:
- In Name, type www. The root domain is already specified for us, and the connecting period (.) appears when we start typing.
- From Type, select A – IPv4 address.
- In Alias, select No.
- Put ip address as a value.
- From Routing Policy, select Simple.
- Leave Evaluate Target Health set to No.
- Click Create.
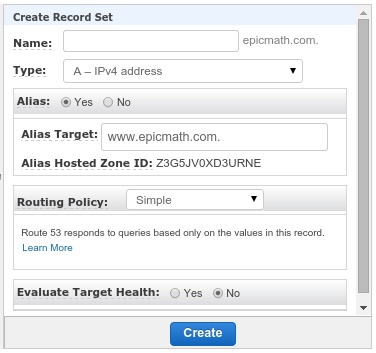
Alias setting
Now we want to set an alias (epicmath.com) for www.epicmath.com:

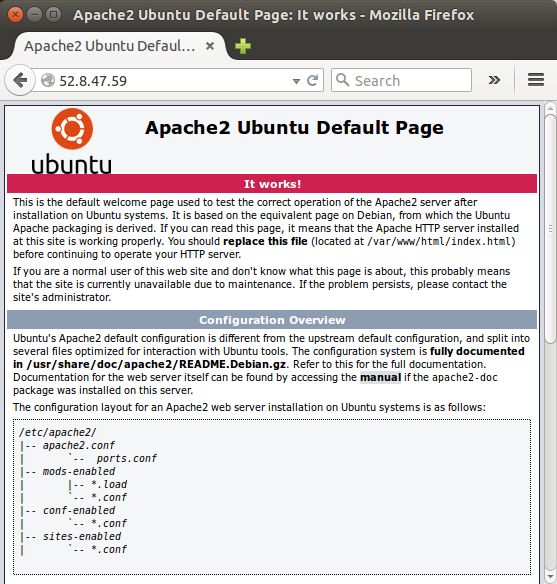
Check propagation
To see if the name server change has gone through, we use a command line utility such as dig or nslookup:
$ dig epicmath.com
...
;; ANSWER SECTION:
epicmath.com.		300	IN	A	52.8.47.59

$  nslookup www.epicmath.com
...
Non-authoritative answer:
Name:	www.epicmath.com
Address: 52.8.47.59