Synology has official support for virtualization on its NAS products. You can create and run Windows or Linux virtual machines on your Synology NAS really well and turn your Synology NAS into a software development environment.
To run virtual machines on your Synology NAS, you need to have at least 8 GB or 16 GB (or more) memory installed, depending on your requirements. Then, you can install and use the official Virtual Machine Manager app to create and manage your virtual machines from the Synology Web GUI.
In this article, I will show you how to set up virtualization on your Synology NAS and create a Windows 10 and an Ubuntu 20.04 LTS virtual machine on your Synology NAS. I will be using the Synology NAS model DS1821+ for the demonstrations. So, let’s get started!
Copying ISO Image to Synology NAS Share:
First, you need to copy the ISO image files (of the operating systems you want to install on your Synology NAS virtual machines) to the Synology NAS.
You can upload ISO image files from the Synology Web GUI using the File Station app. You can also connect to your Synology shares from Windows or Linux and copy the ISO image to your share.
In this article, I will copy the ISO image from my computer to a share of my Synology NAS.
To access your Synology NAS shares, you need to know the IP address of your Synology NAS. You can find it from the Synology Web GUI. As you can see, the IP address of my Synology NAS is 192.168.0.110. It will be different for you. So, make sure to replace it with yours from now on.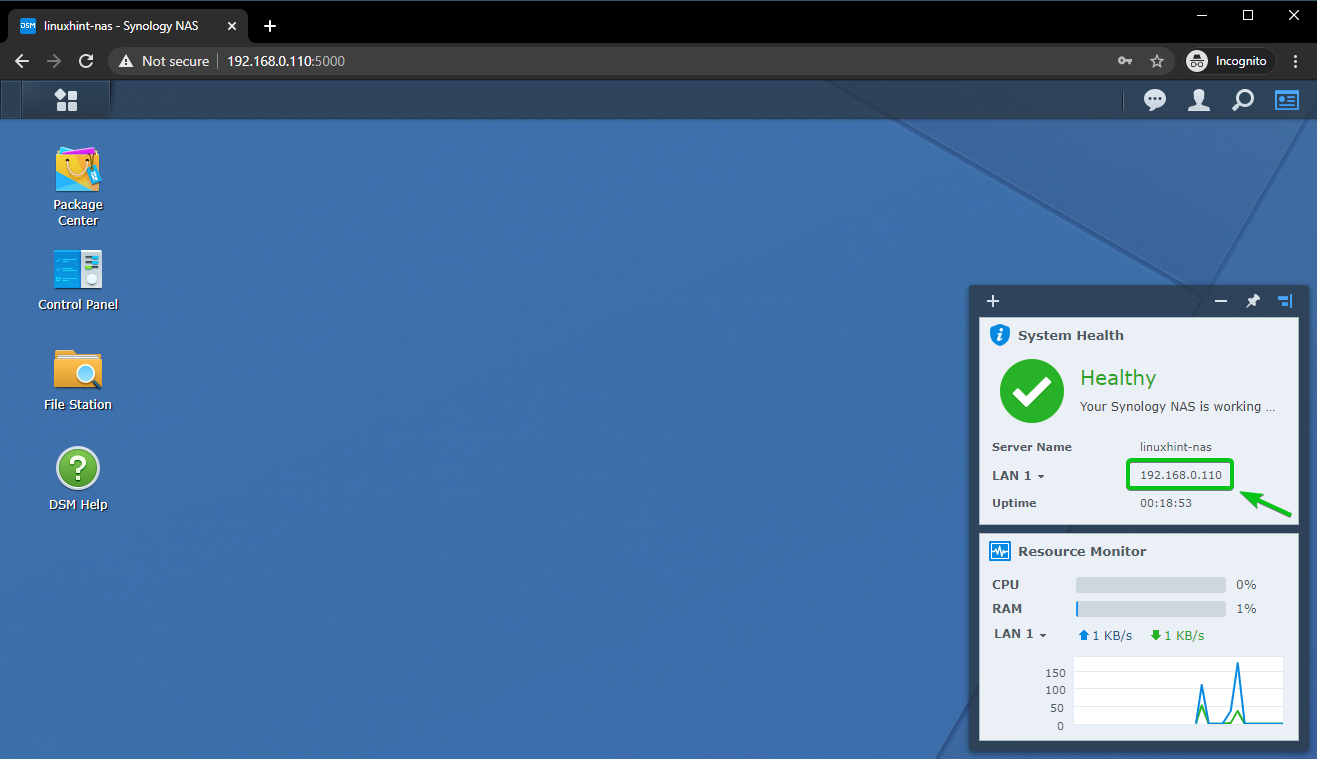
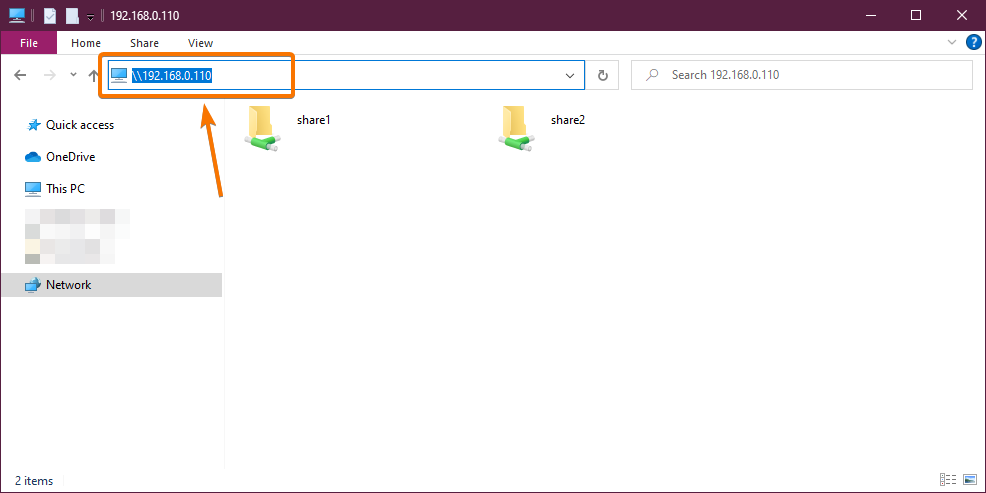
From Windows 10 operating system, navigate to \\192.168.0.110 from the File Explorer app to access the Synology NAS shares.
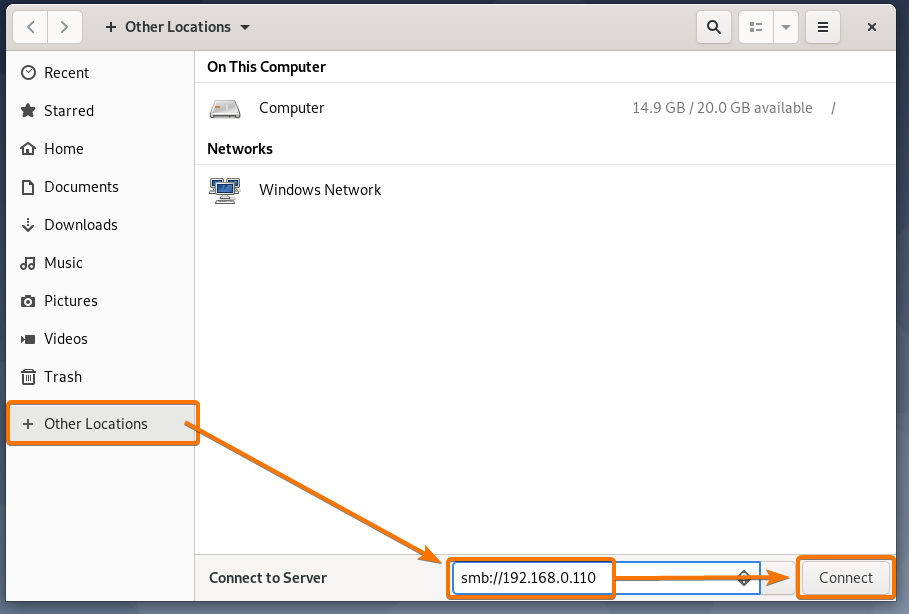
From Linux operating system, navigate to smb://192.168.0.110 from any file manager app to access the shares on your Synology NAS.
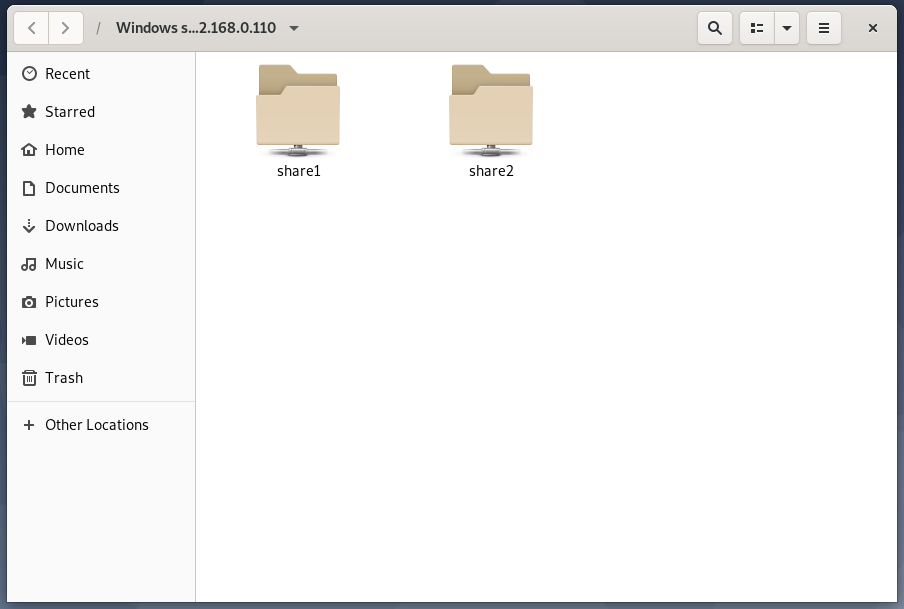
As you can see, the Synology NAS shares are listed on my Debian GNU/Linux operating system.
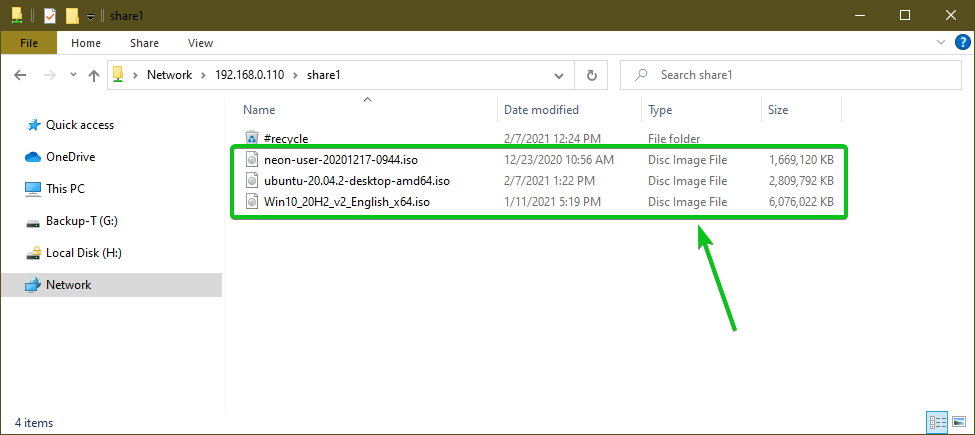
Now, copy the ISO image files to one of your Synology NAS shares.
I have copied the Windows 10, KDE Neon, and Ubuntu 20.04 LTS ISO images on my Synology NAS share share1.
Installing Virtual Machine Manager:
To create virtual machines on your Synology NAS, you need to install the Virtual Machine Manager app on your Synology NAS. The Virtual Machine Manager app is available in the Package Center of your Synology NAS.
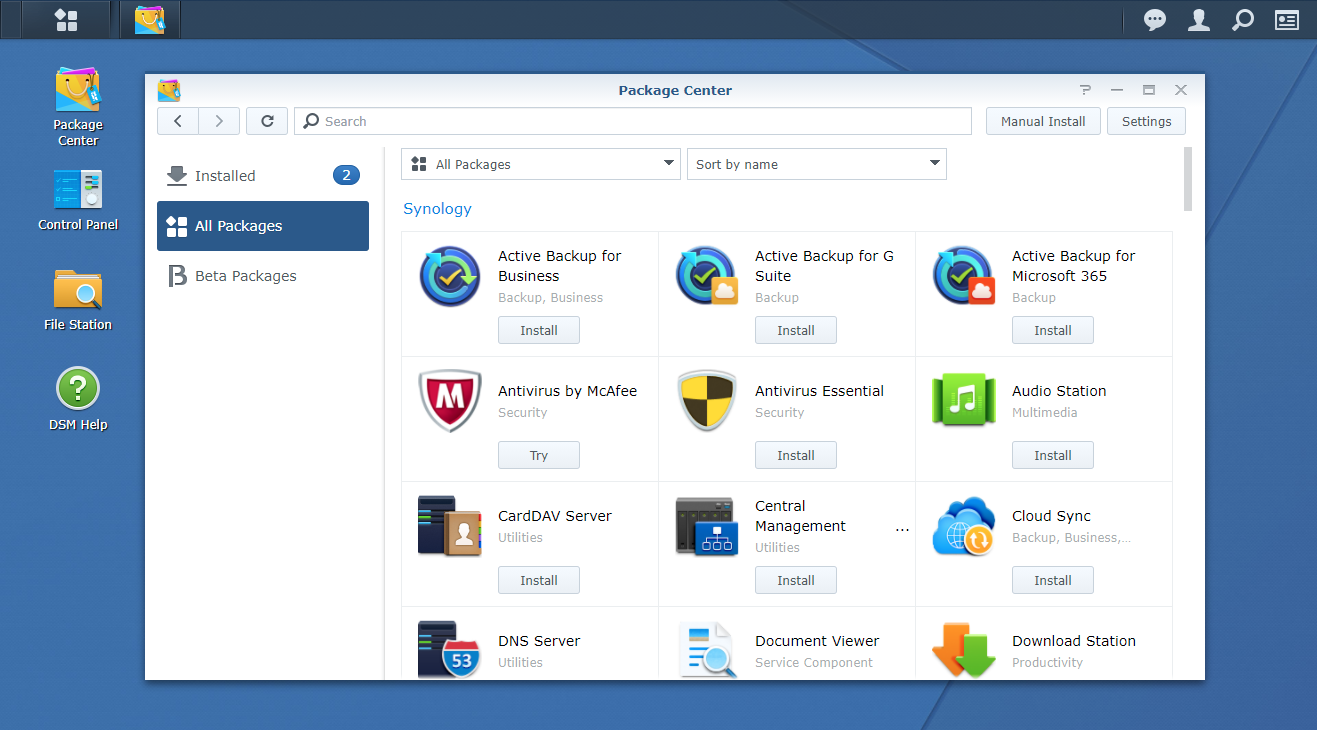
Open the Package Center app from the Synology Web GUI, as marked in the screenshot below.

The Package Center app should be opened.
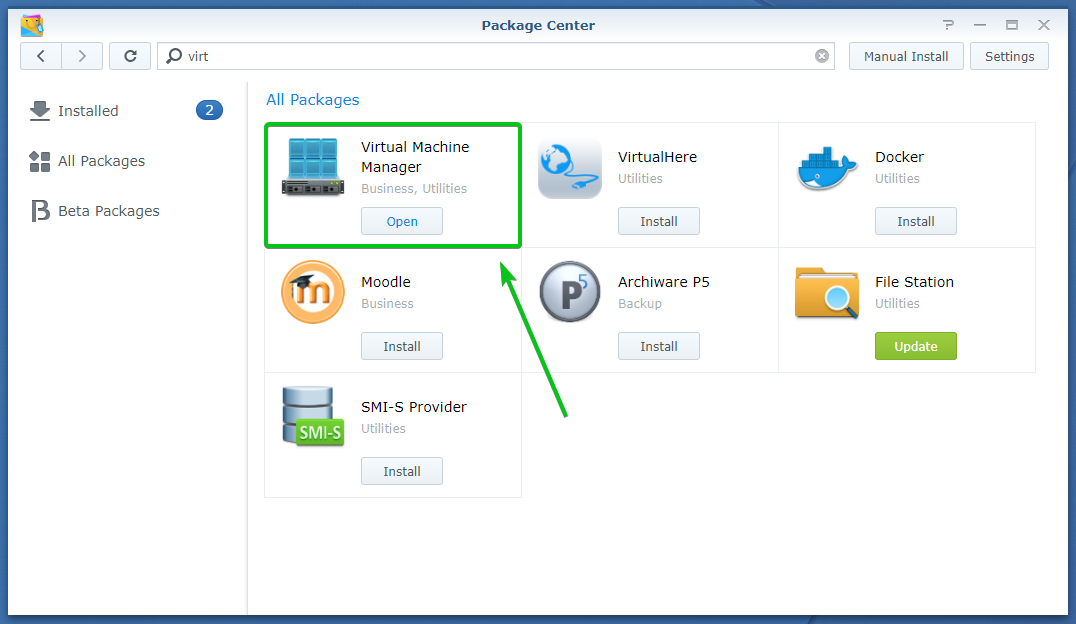
Search for the keyword virt and you should find the Virtual Machine Manager package, as you can see in the screenshot below.
Click on Install to Install the Virtual Machine Manager package.

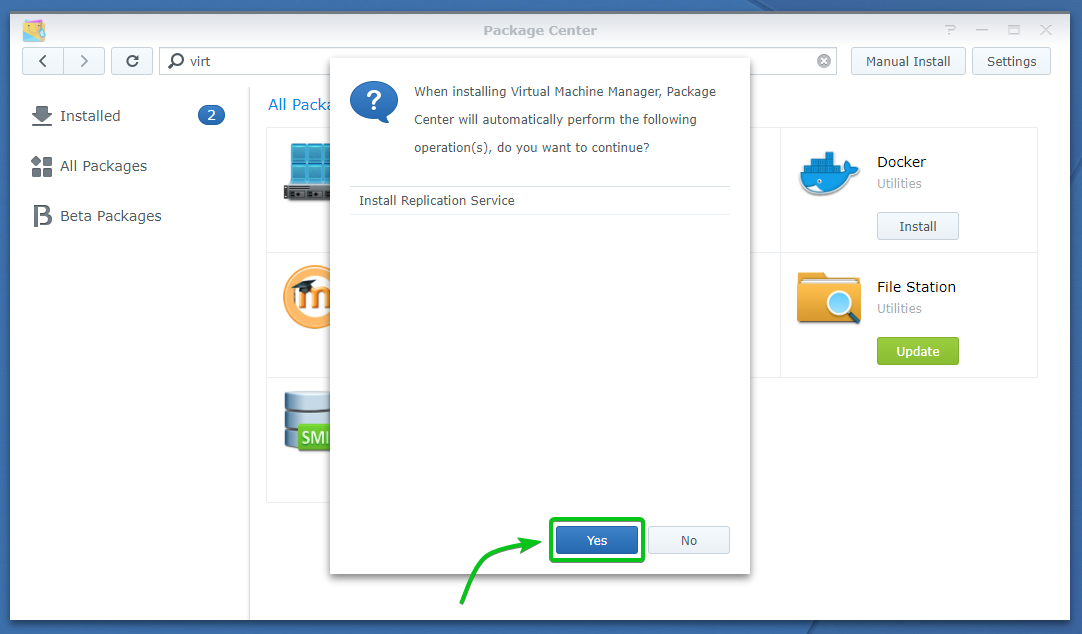
Click on Yes.
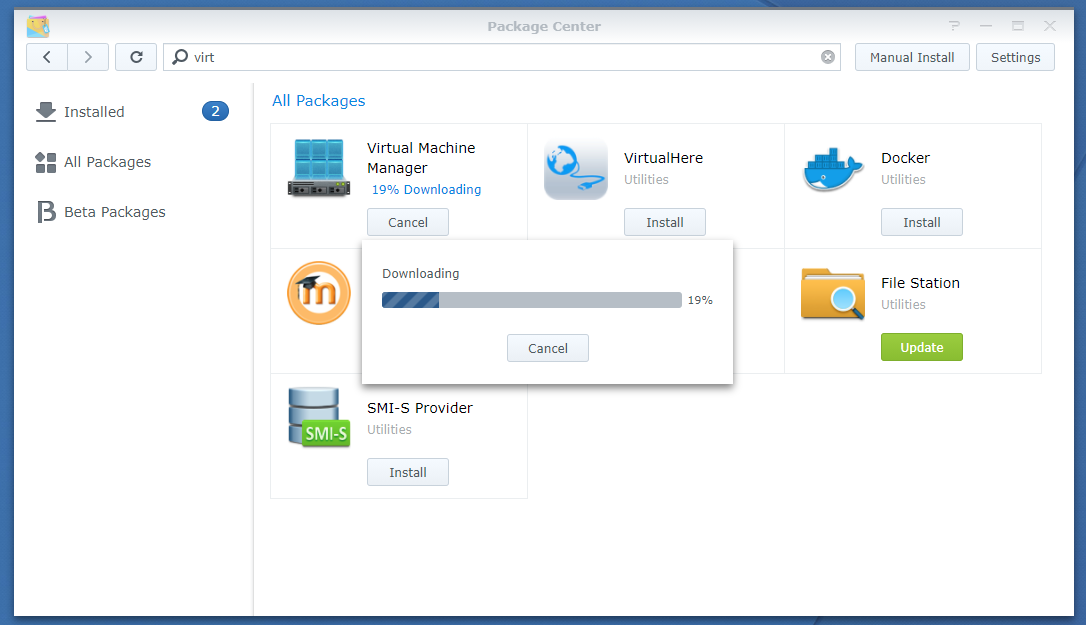
The package is now being downloaded. It may take a while to download the package.
Once the package is downloaded, you will see the following window.
You need to select a volume where you want to install the downloaded package.
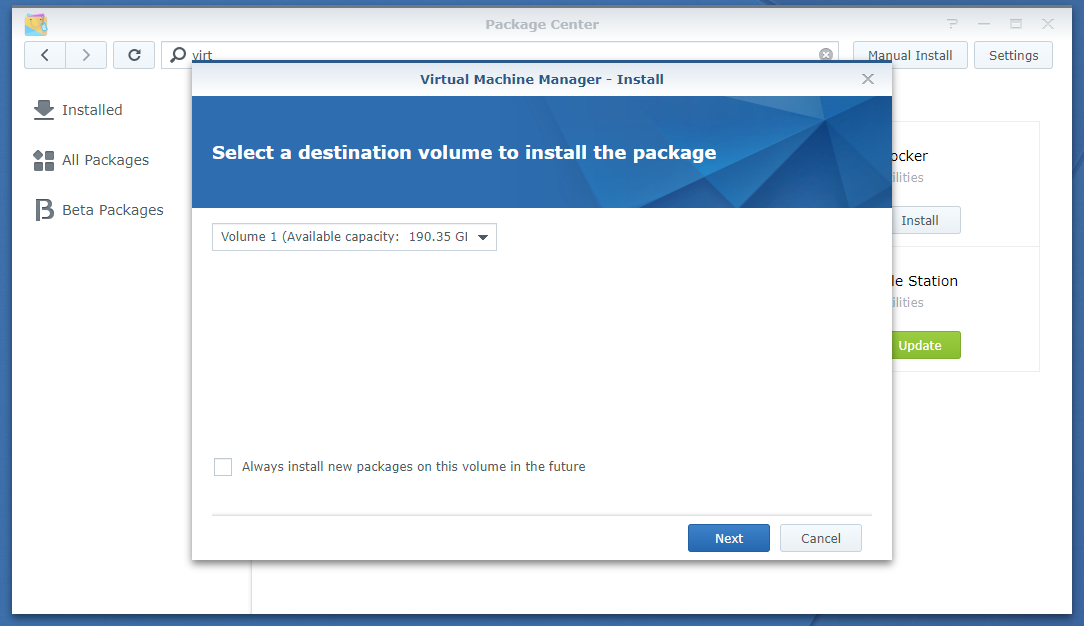
Select a volume using the dropdown menu and click on Next.

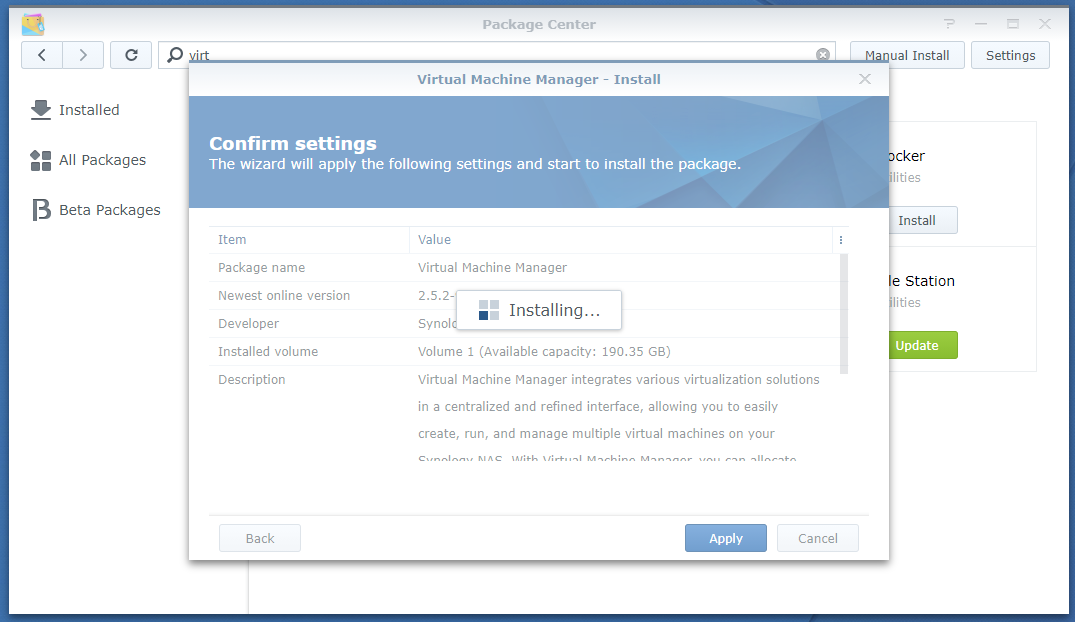
Click on Apply.

The package is being installed.
The Virtual Machine Manager app should be installed.
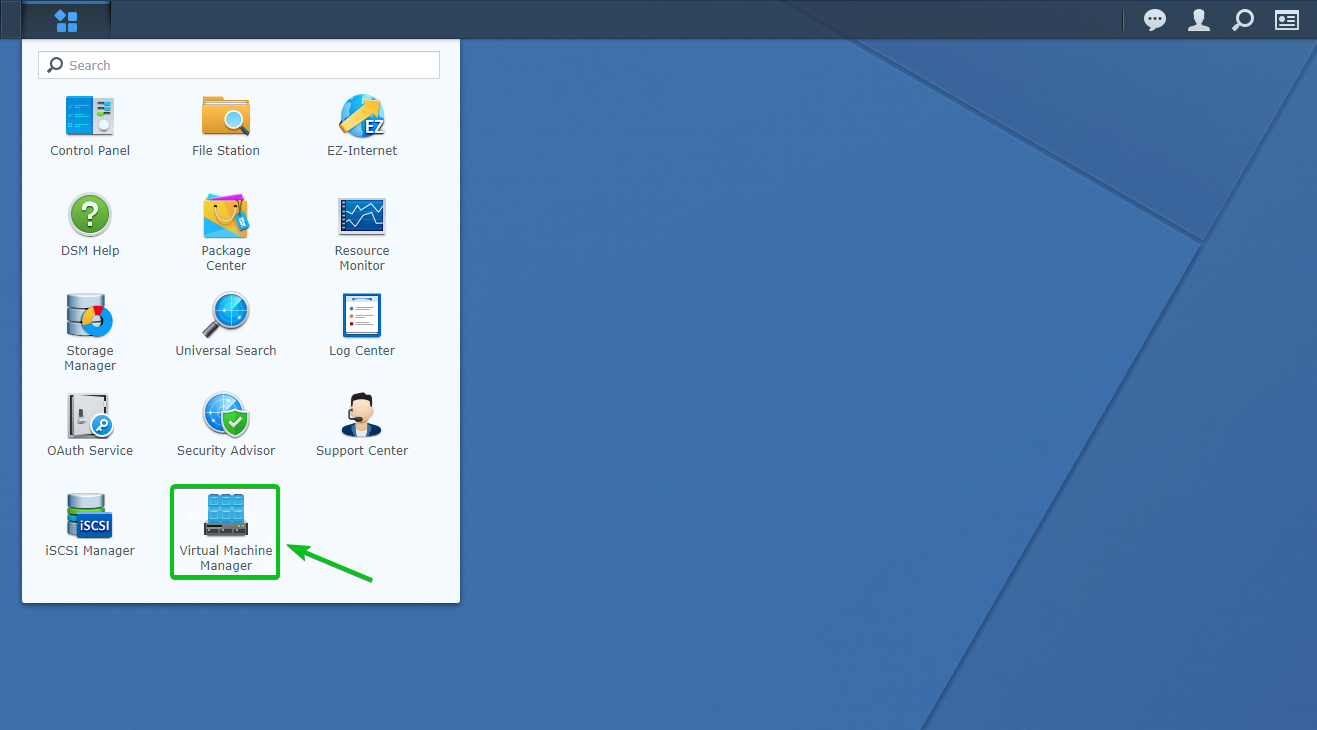
Once the Virtual Machine Manager app is installed, start the Virtual Machine Manager app from the Main Menu of Synology Web GUI.
You have to configure the Virtual Machine Manager app for the first time.

Click on Next.

Click on Next.

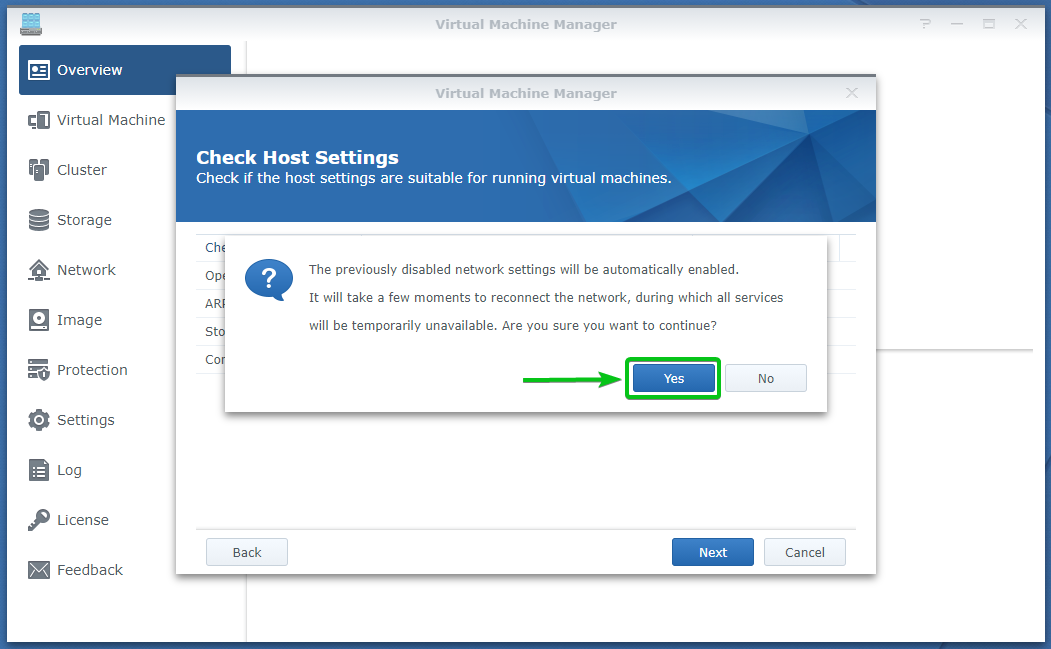
Click on Yes.
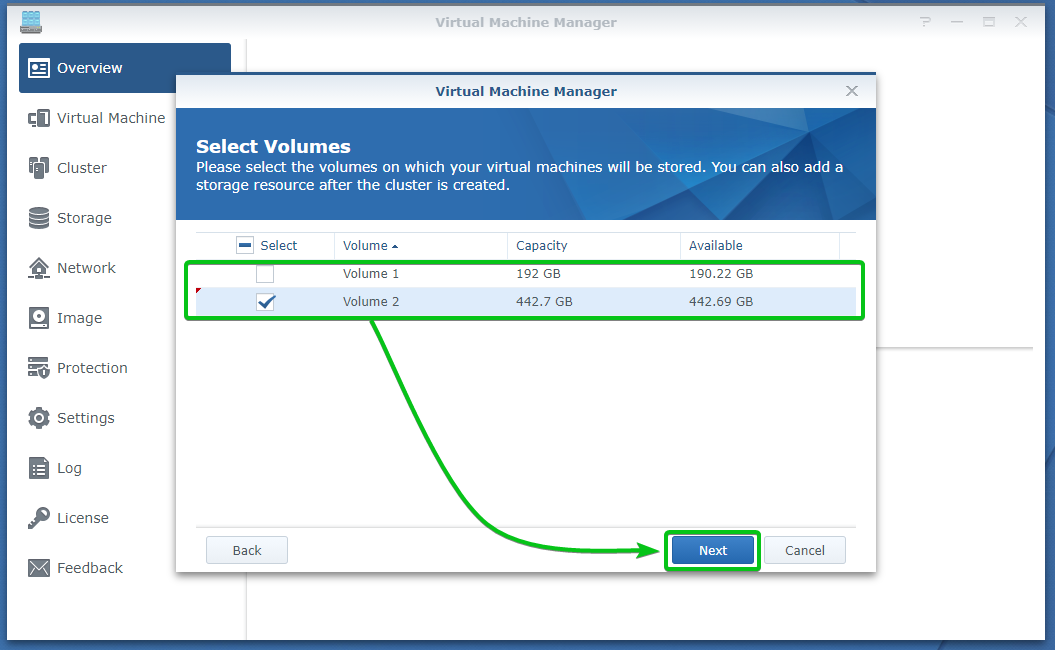
Select a volume or multiples volumes where you want to store your virtual machine data and click on Next.
Click on Finish.
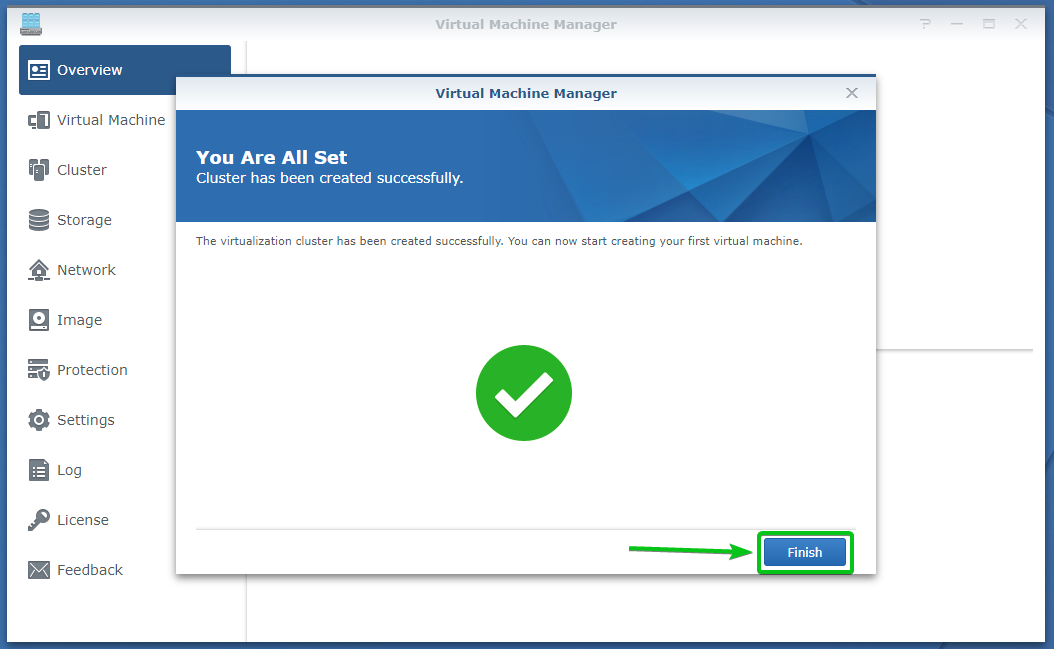
Virtual Machine Manager should be configured. Now, you can create and manage your virtual machines from the Virtual Machine Manager app.

Creating an Ubuntu 20.04 LTS Virtual Machine:
In this section, I am going to show you how to create an Ubuntu 20.04 LTS virtual machine on your Synology NAS.
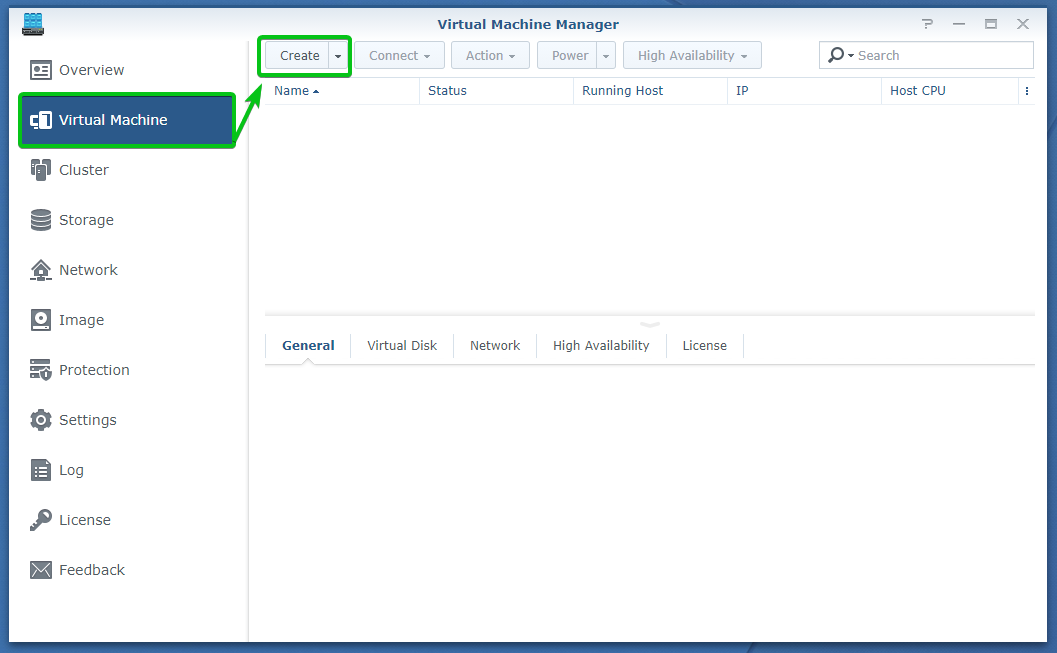
To create a new virtual machine, click on Create from the Virtual Machine section of the Virtual Machine Manager app, as you can see in the screenshot below.
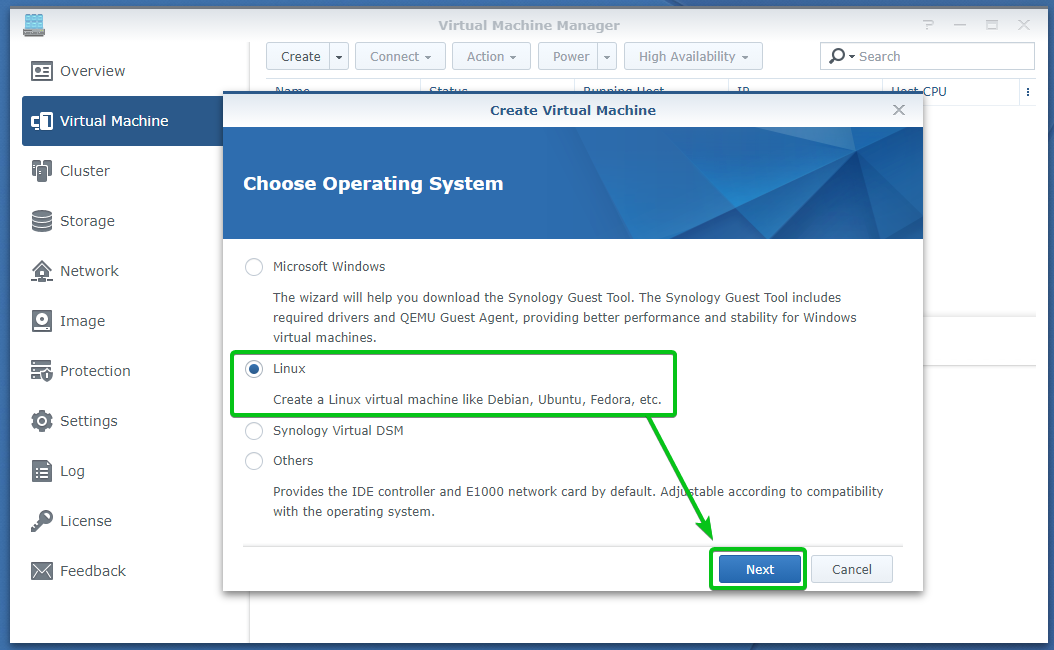
Select Linux as the operating system and click on Next.
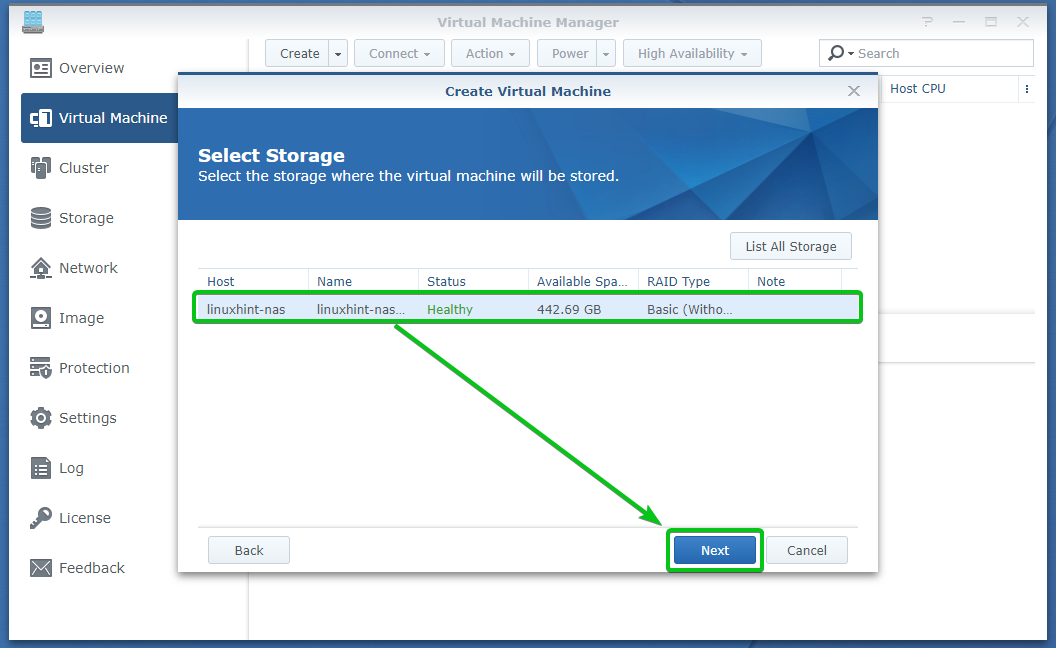
Now, you have to select a storage volume where you want to save the virtual machine data. Select a storage volume from the list and click on Next.
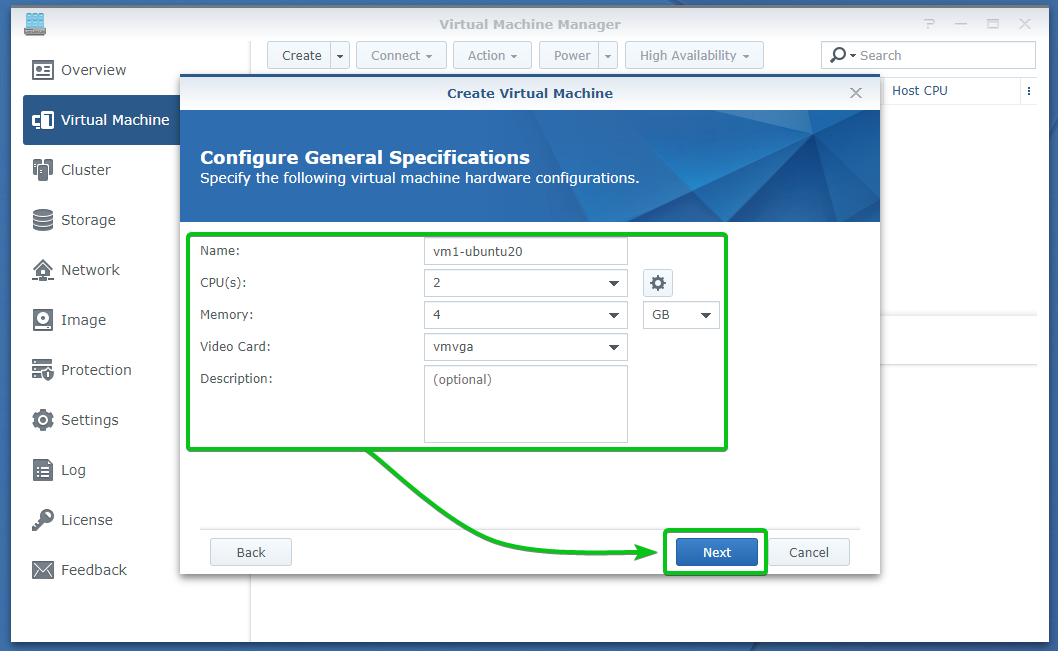
Type in a name for the virtual machine, the number of CPU cores you want it to have, and the amount of memory you want to allocate to it.
I am going to call the virtual machine vm1-ubuntu20, and allocate 2 CPU cores and 4 GB of memory to it.
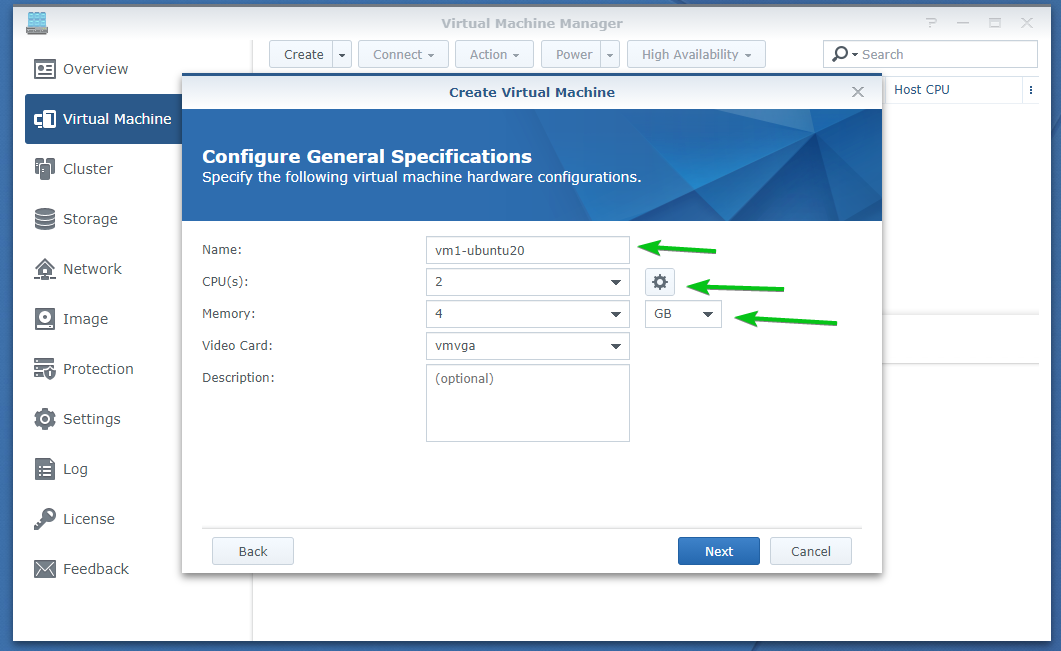
Once you’re done, click on Next.
Type in the amount of disk space you want to allocate to the virtual machine and click on Next.
I will allocate 20 GB of disk space to the virtual machine vm1-ubuntu20.

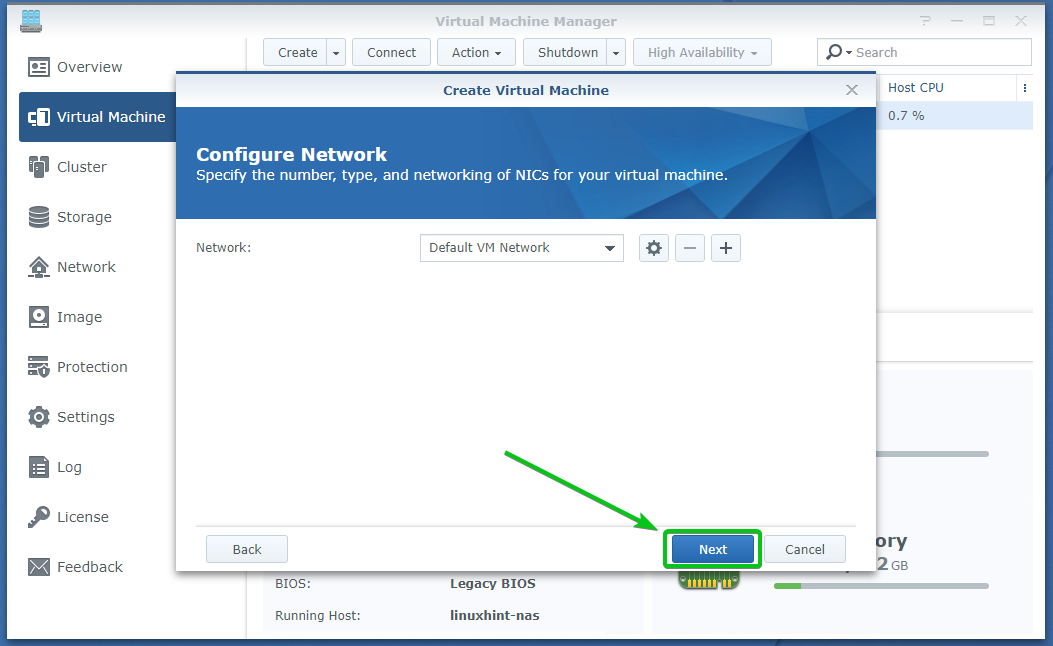
Click on Next.
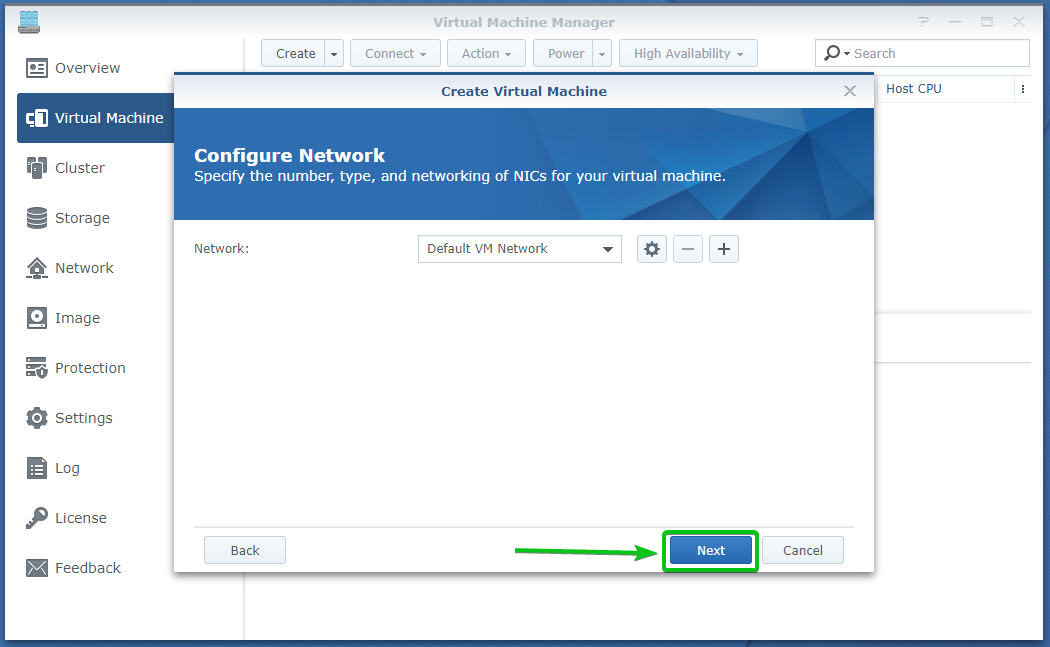
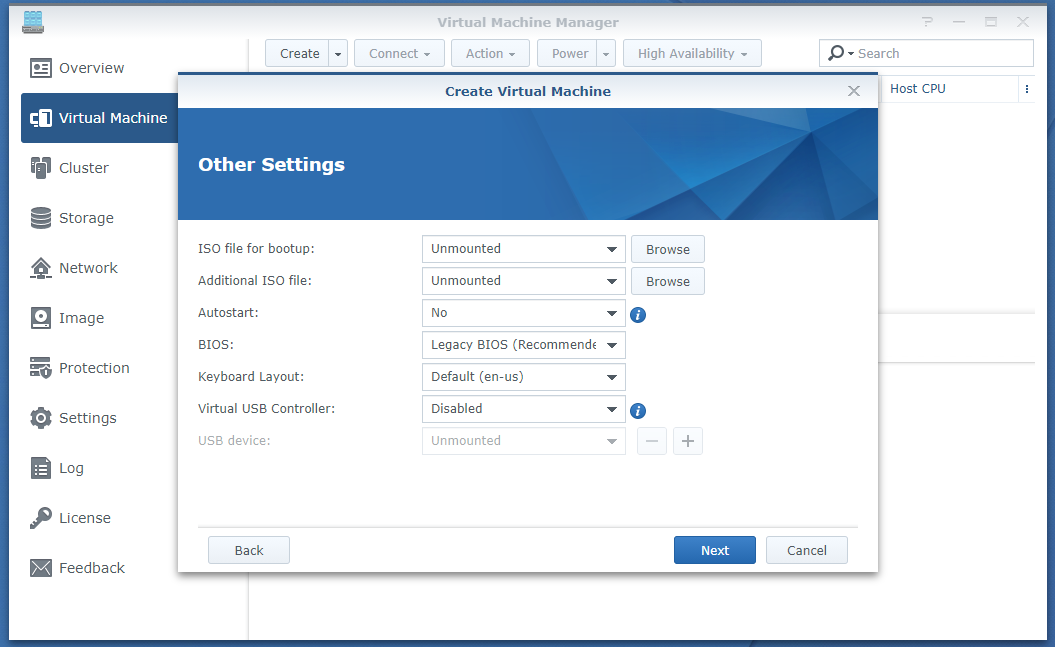
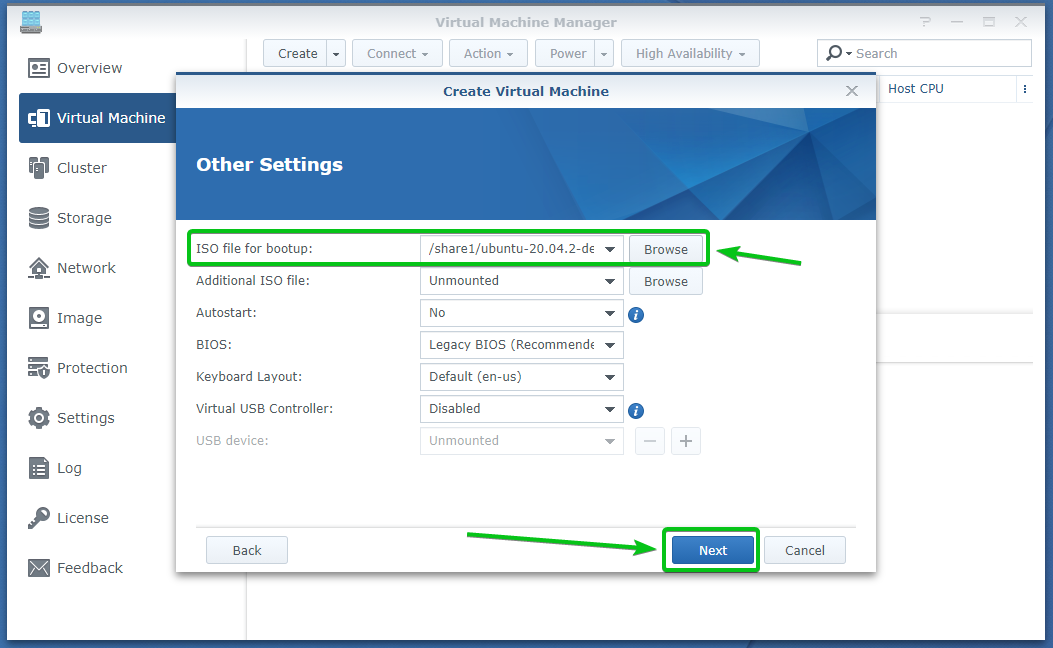
You have to select the ISO installation image file that you will be using to install the operating system on the virtual machine from here.
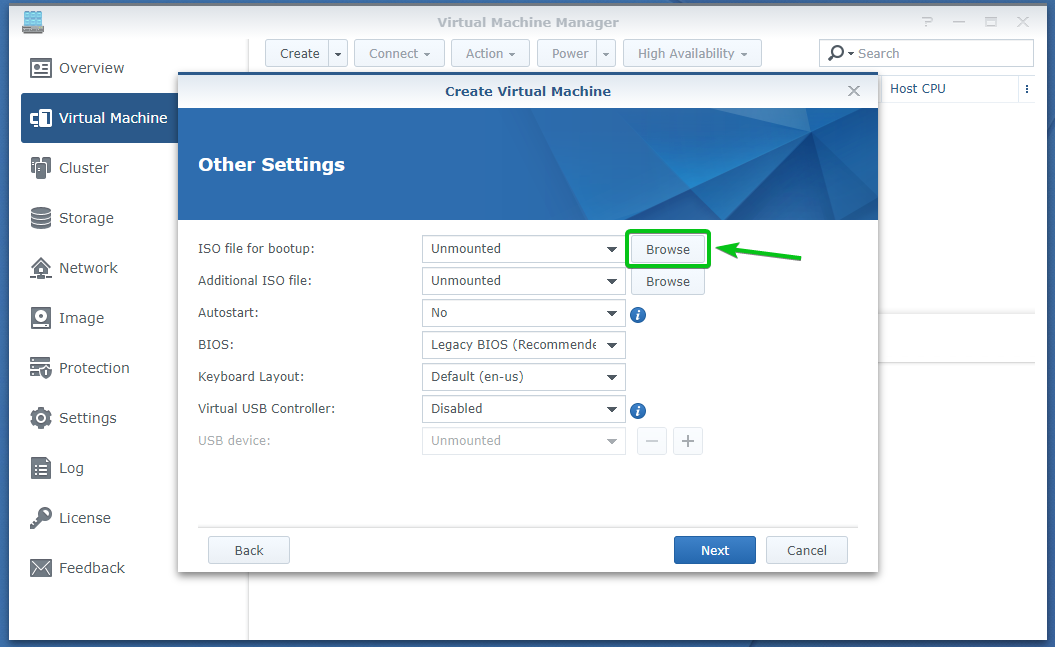
To select the Ubuntu 20.04 LTS ISO image, click on Browse from the ISO file for bootup section, as marked in the screenshot below.
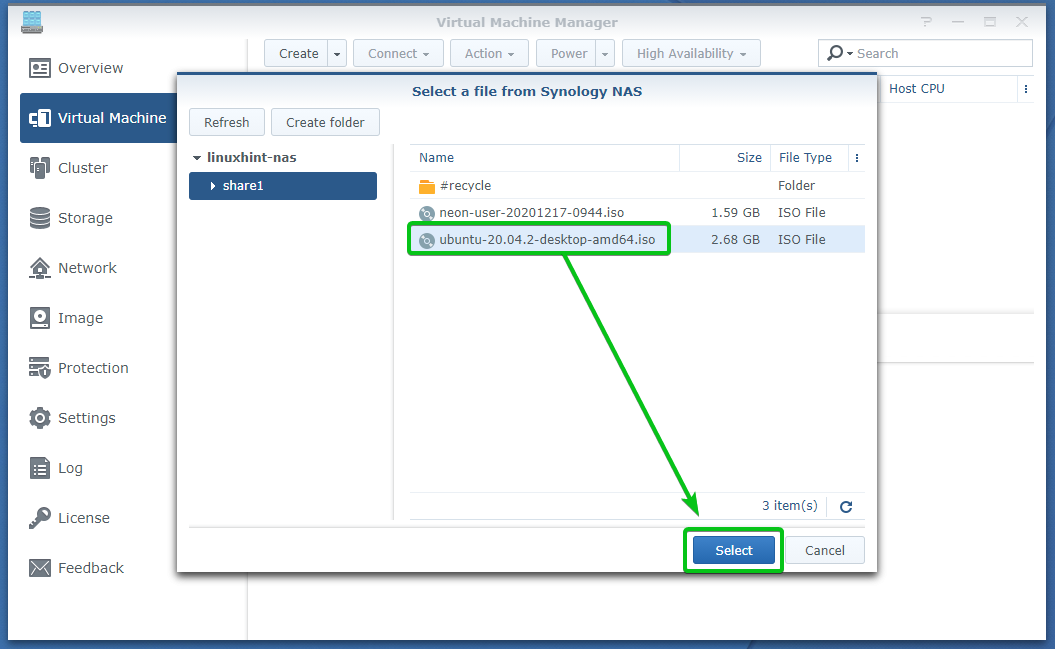
Select the Ubuntu 20.04 LTS ISO image from the Synology NAS, then share and click on Select, as marked in the screenshot below.
The Ubuntu 20.04 LTS ISO image should be selected as the ISO file for bootup, as you can see in the screenshot below.
Once the ISO image is selected, click on Next.
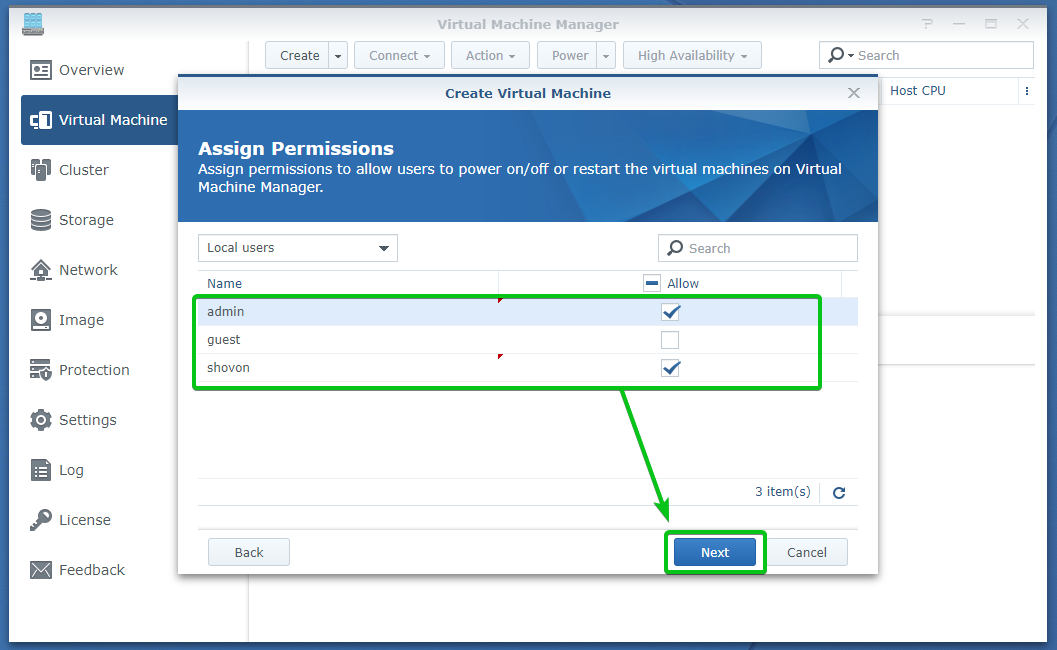
Select the users that you want to allow access to the virtual machine and click on Next.
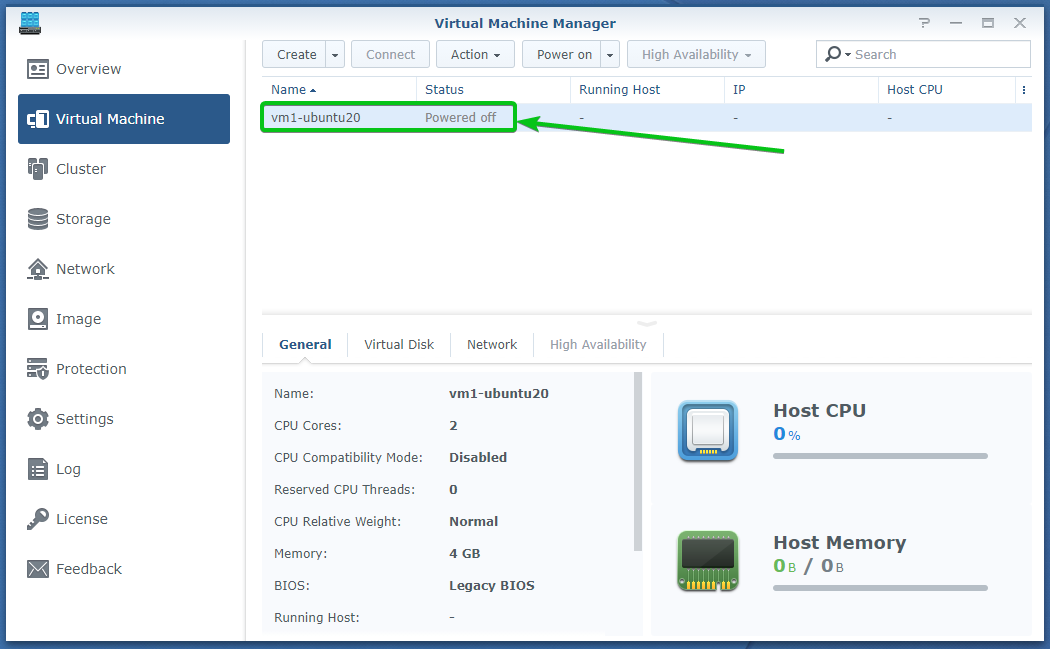
The settings that will be used to create the virtual machine should be displayed. To create a virtual machine with those settings, click on Apply.

A new virtual machine vm1-ubuntu20 should be created, as you can see in the screenshot below.
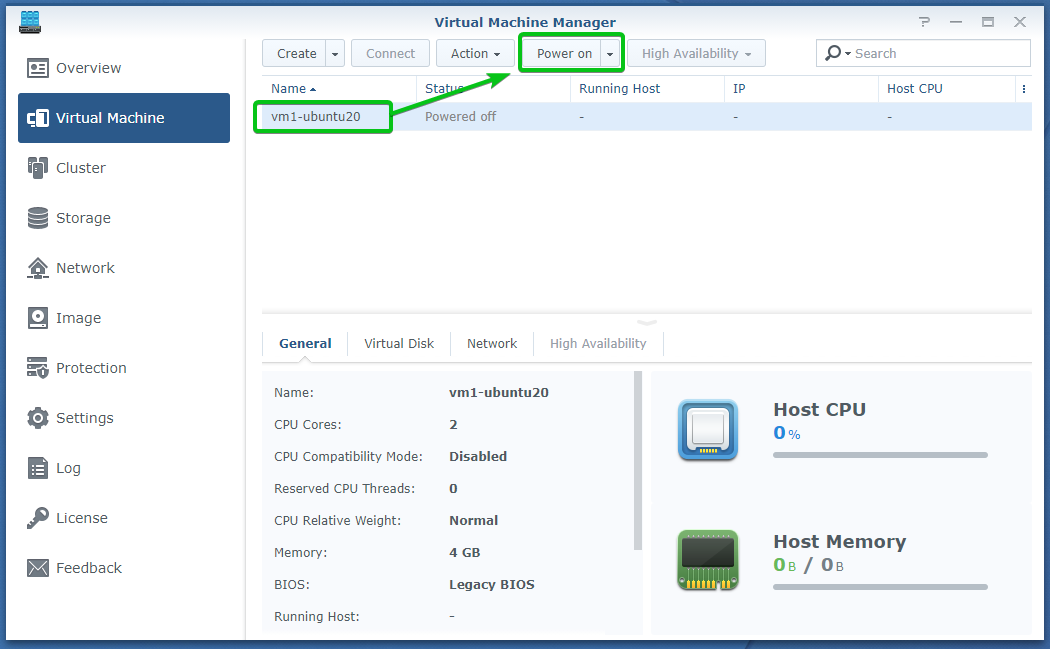
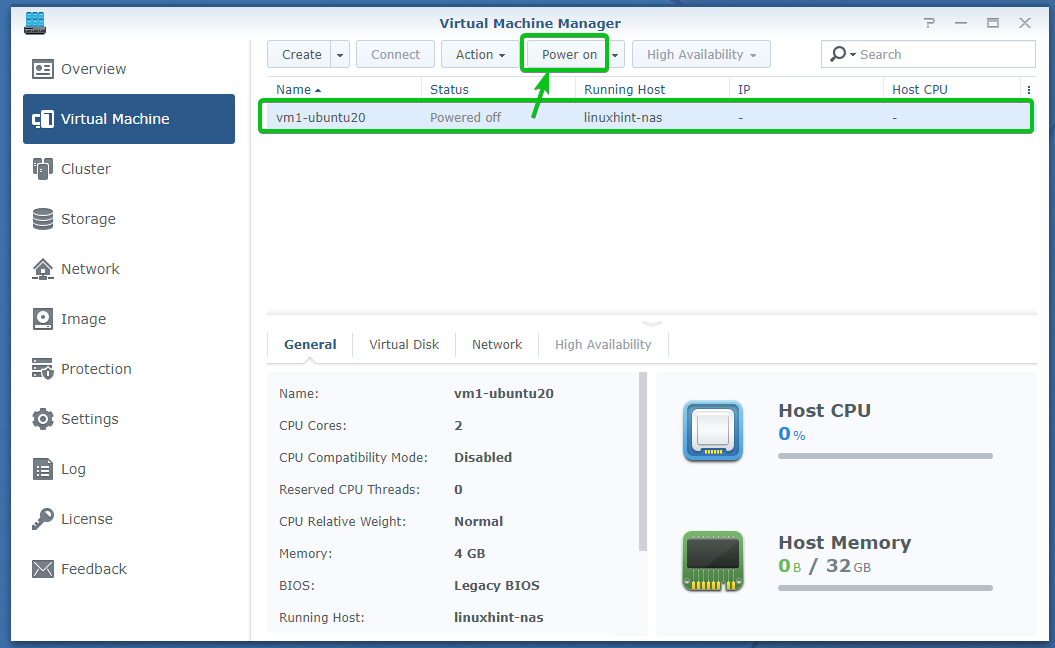
To power on the virtual machine vm1-ubuntu20, select the virtual machine and click on Power on, as marked in the screenshot below.
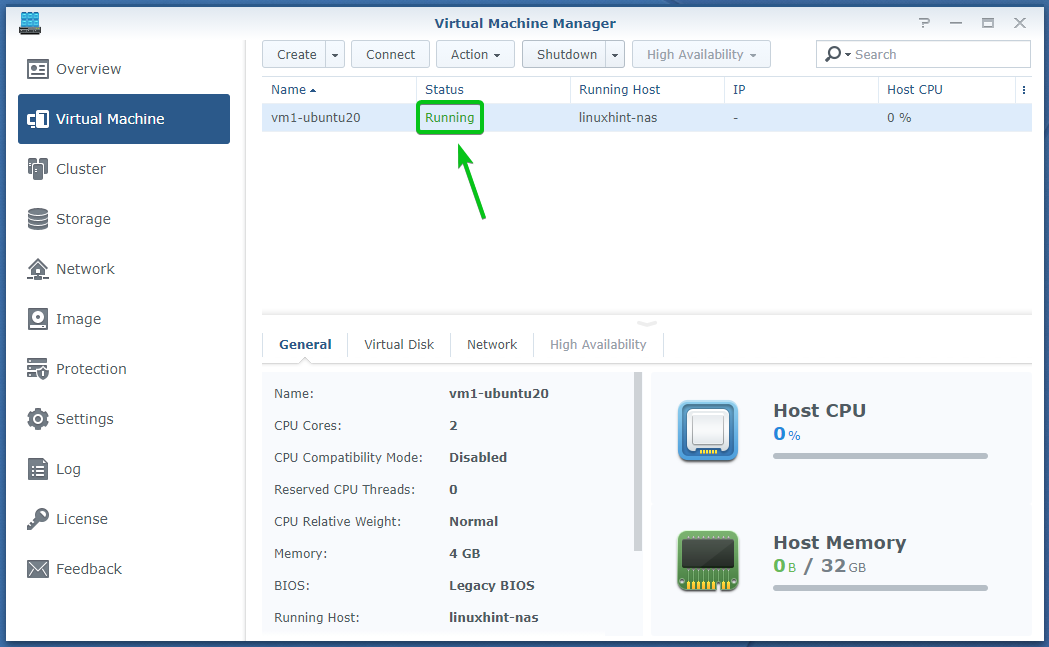
The virtual machine vm1-ubuntu20 should be Running.
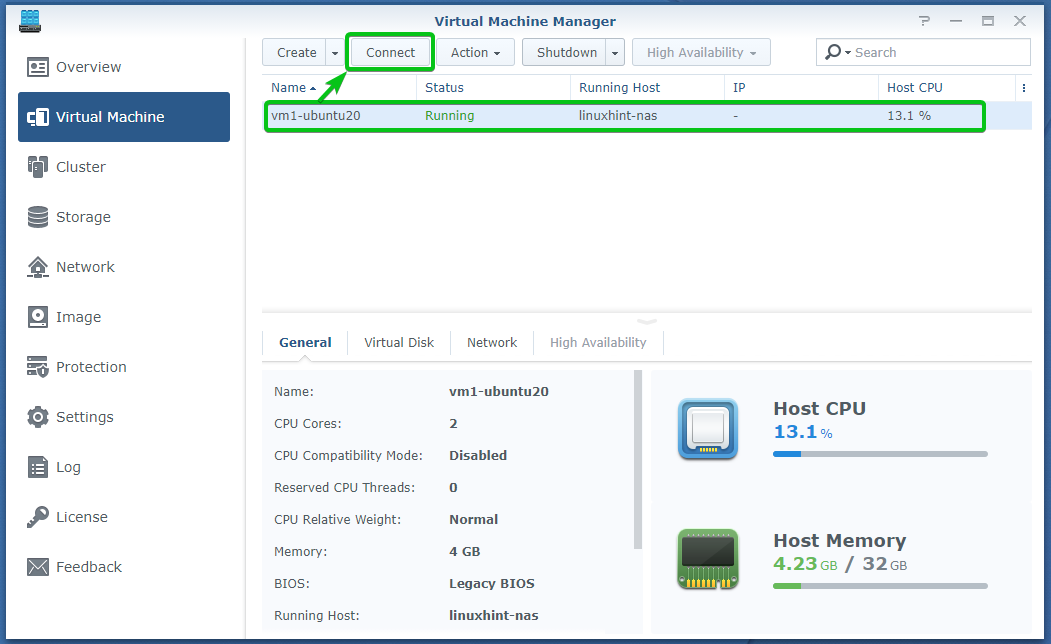
Once the virtual machine vm1-ubuntu20 is Running, select the virtual machine and click on Connect.
A new browser tab should be opened with the display of the virtual machine, as you can see in the screenshot below.
The Ubuntu 20.04 LTS installer should be loaded by the time you connect to the virtual machine. You can install Ubuntu 20.04 LTS on the virtual machine from here.
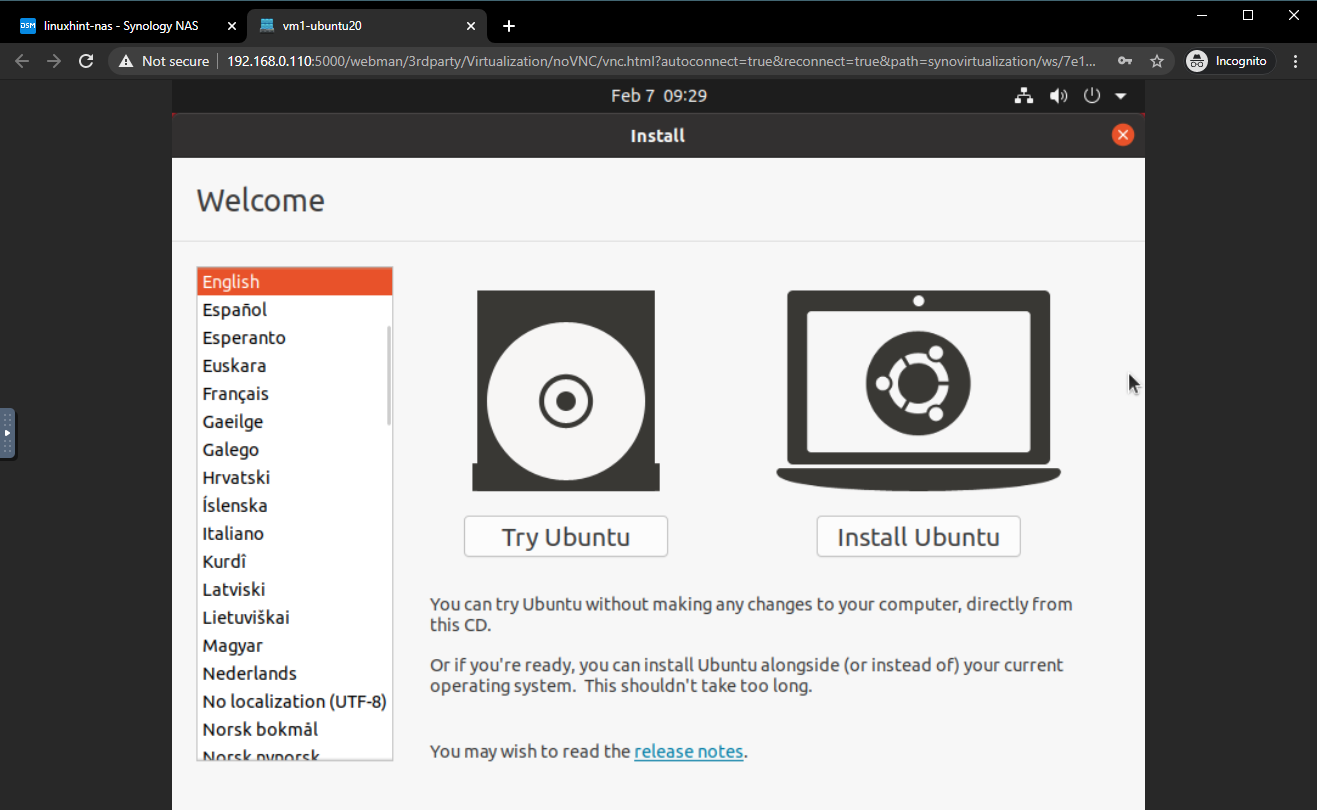
To install Ubuntu 20.04 LTS on the virtual machine, click on Install Ubuntu, as marked in the screenshot below.

Select your keyboard layout and click on Continue.

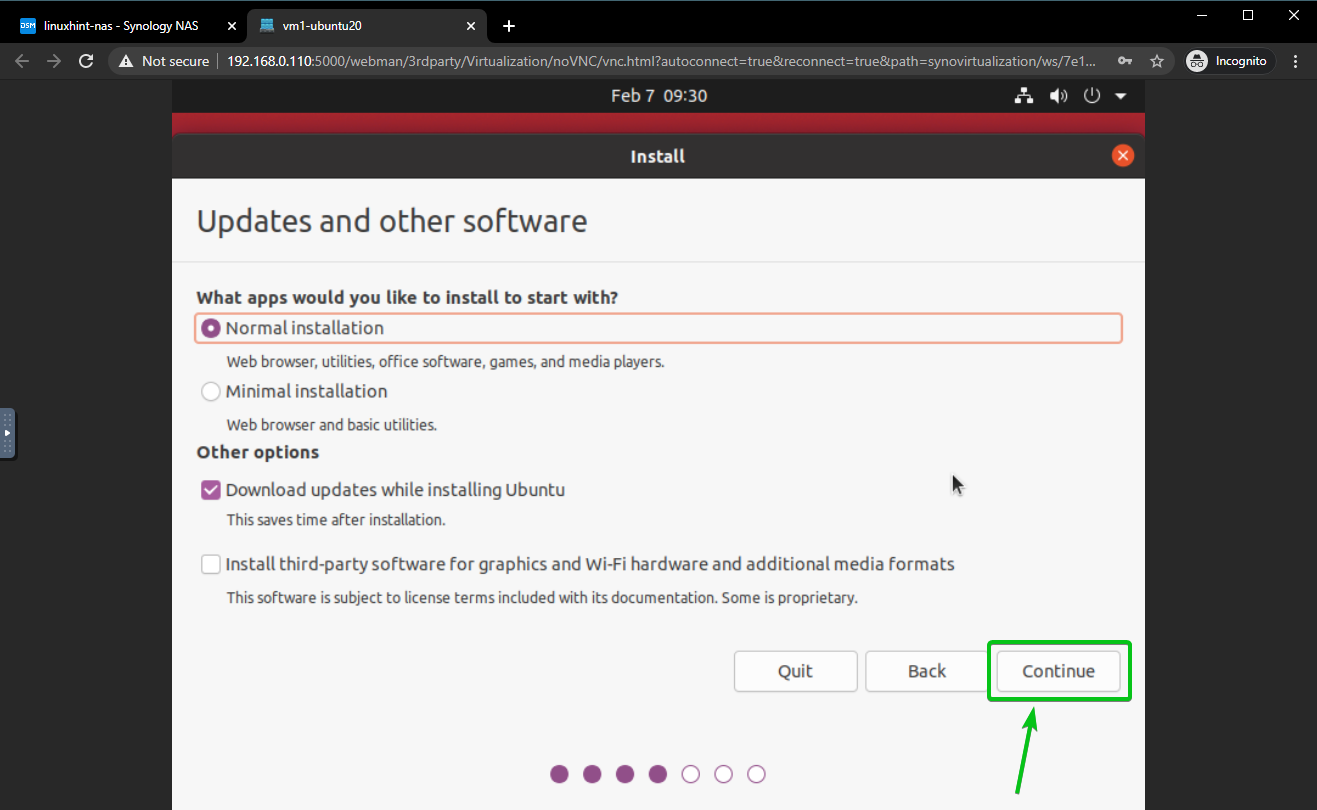
Click on Continue.
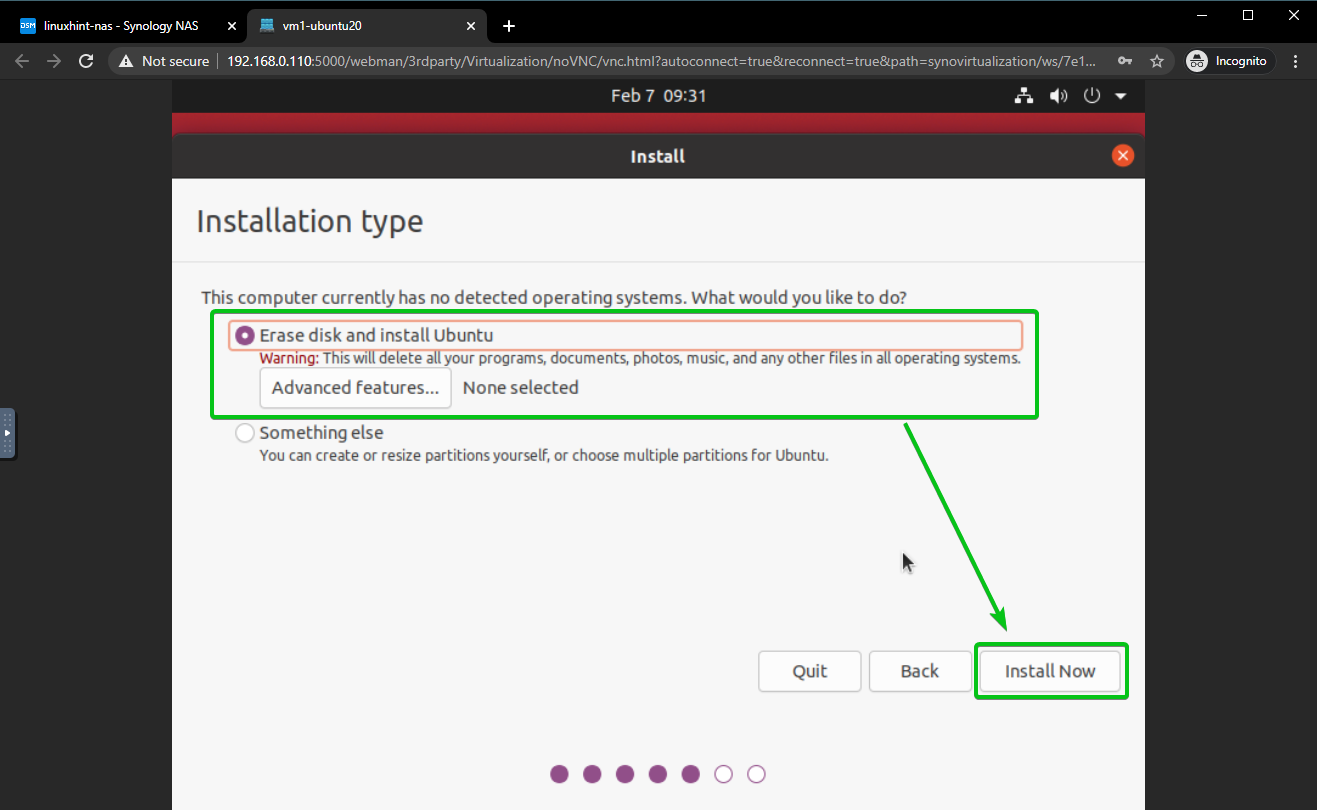
As I am installing Ubuntu 20.04 LTS on a virtual machine, I won’t manually partition the hard drive of the virtual machine. I will use automatic partitioning, just to make things easy.
So, select Erase disk and install Ubuntu and click on Install Now.
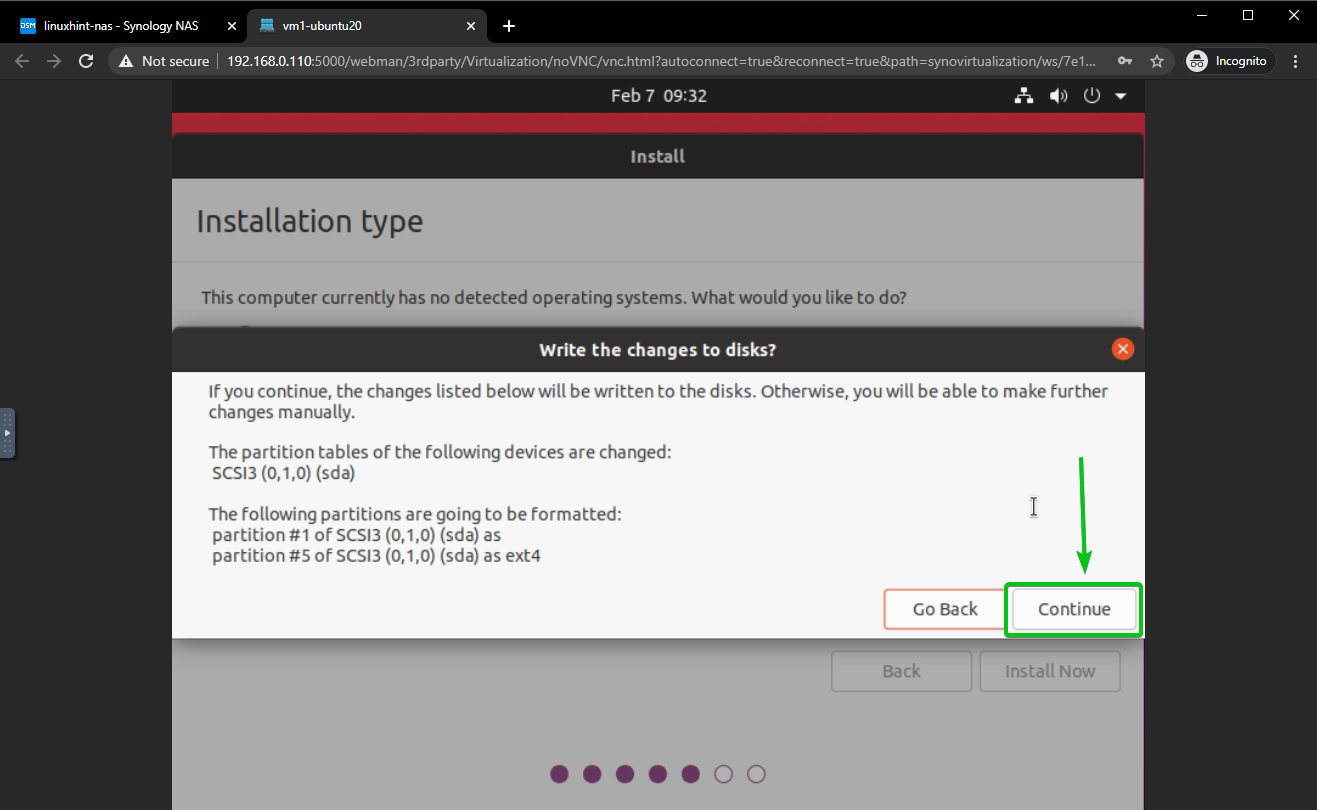
The Ubuntu 20.04 LTS installer will automatically create all the required partitions, and it will ask you whether you would like to save the changes to the disk.
Click on Continue.
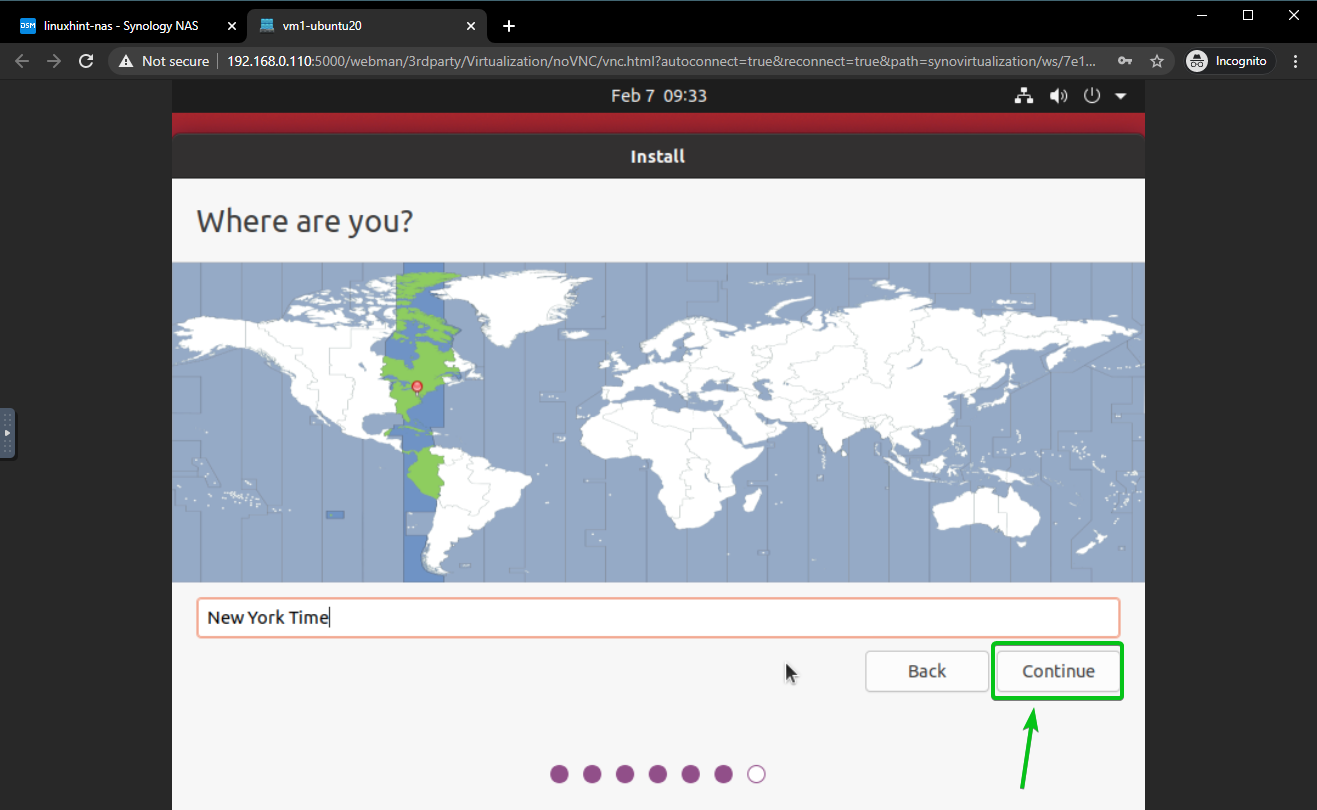
Select your time zone and click on Continue.
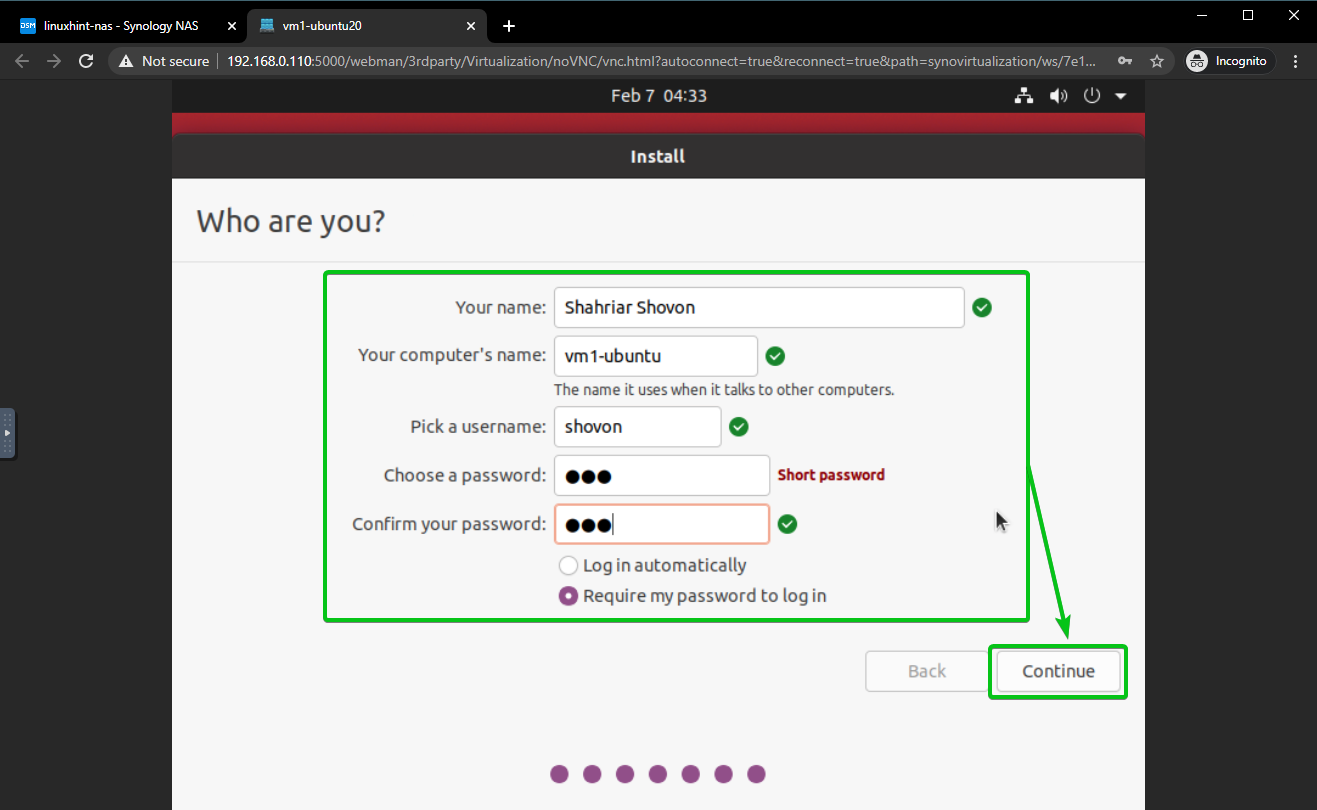
Type in your personal information and click on Continue.
Ubuntu 20.04 LTS is being installed. It may take a while to complete.
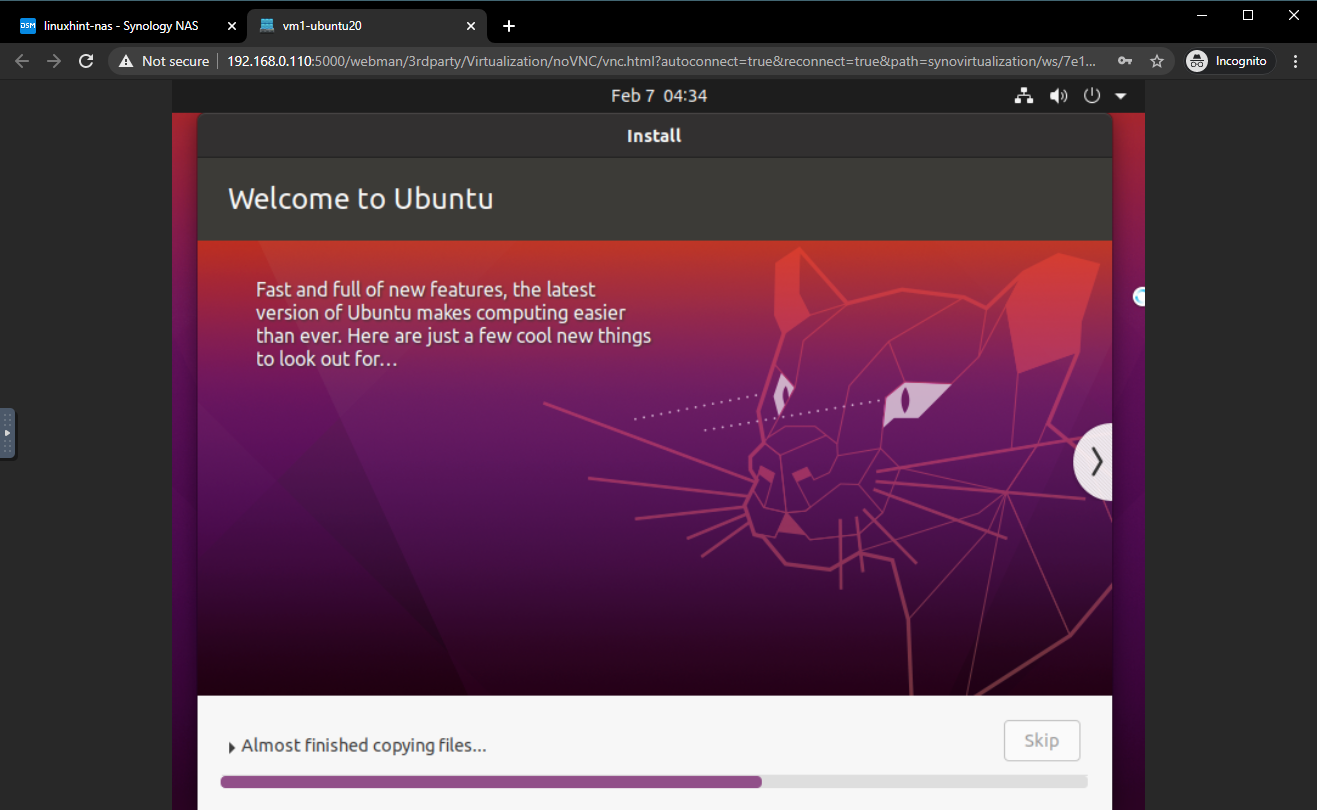
Ubuntu 20.04 LTS is being installed.

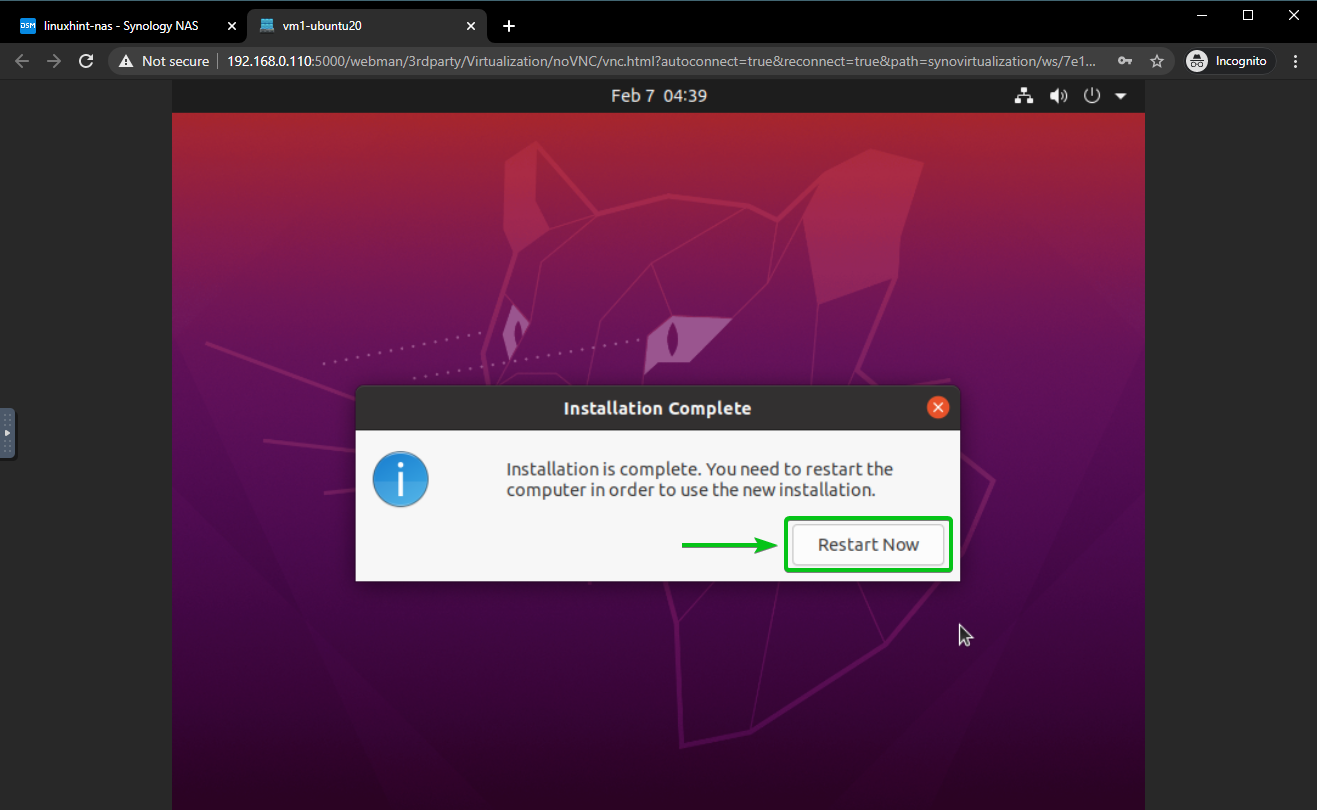
Once Ubuntu 20.04 LTS is installed, click on Restart Now.
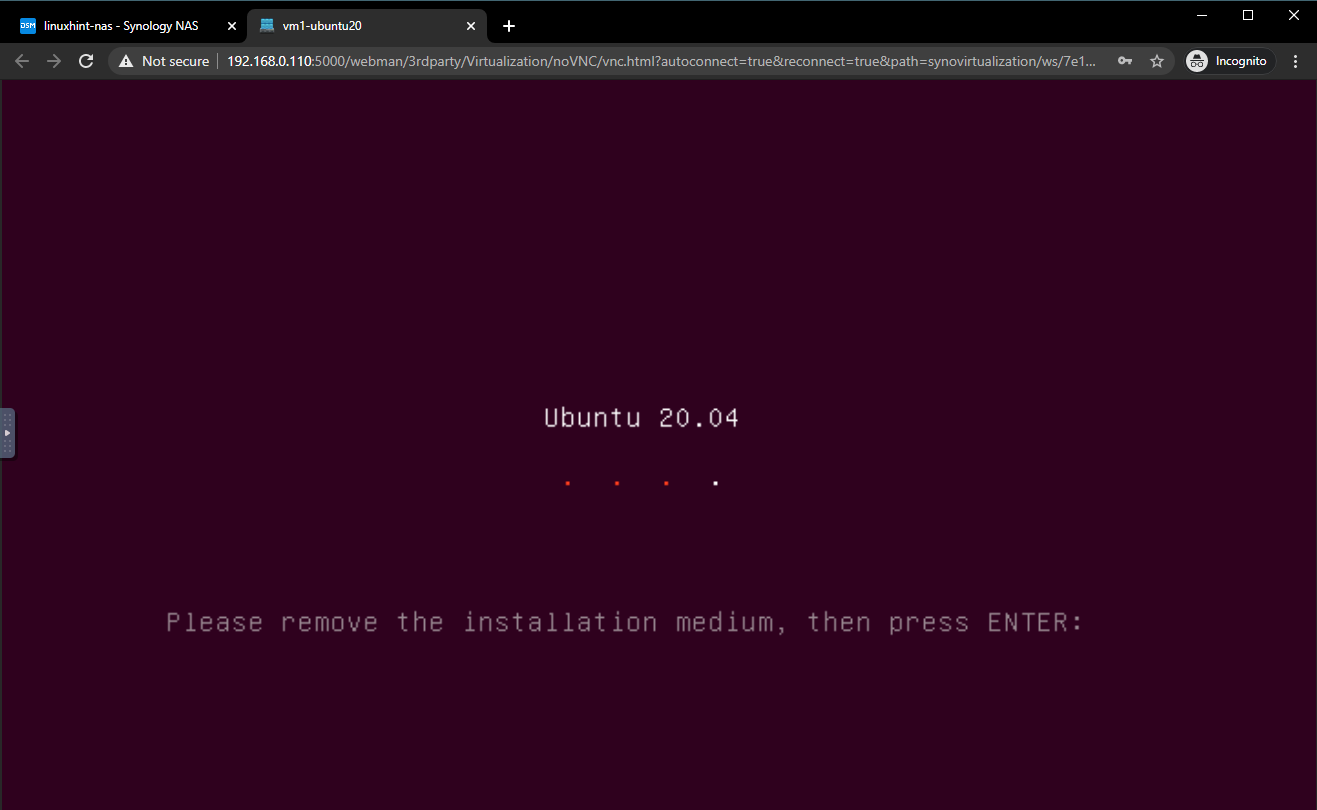
Press <Enter> to boot Ubuntu 20.04 LTS from the hard drive.
Ubuntu 20.04 LTS is booting from the hard drive.
After a few seconds, you should see the login window of Ubuntu 20.04 LTS. You can log in to your Ubuntu 20.04 LTS virtual machine with the username and password you’ve set during the installation.
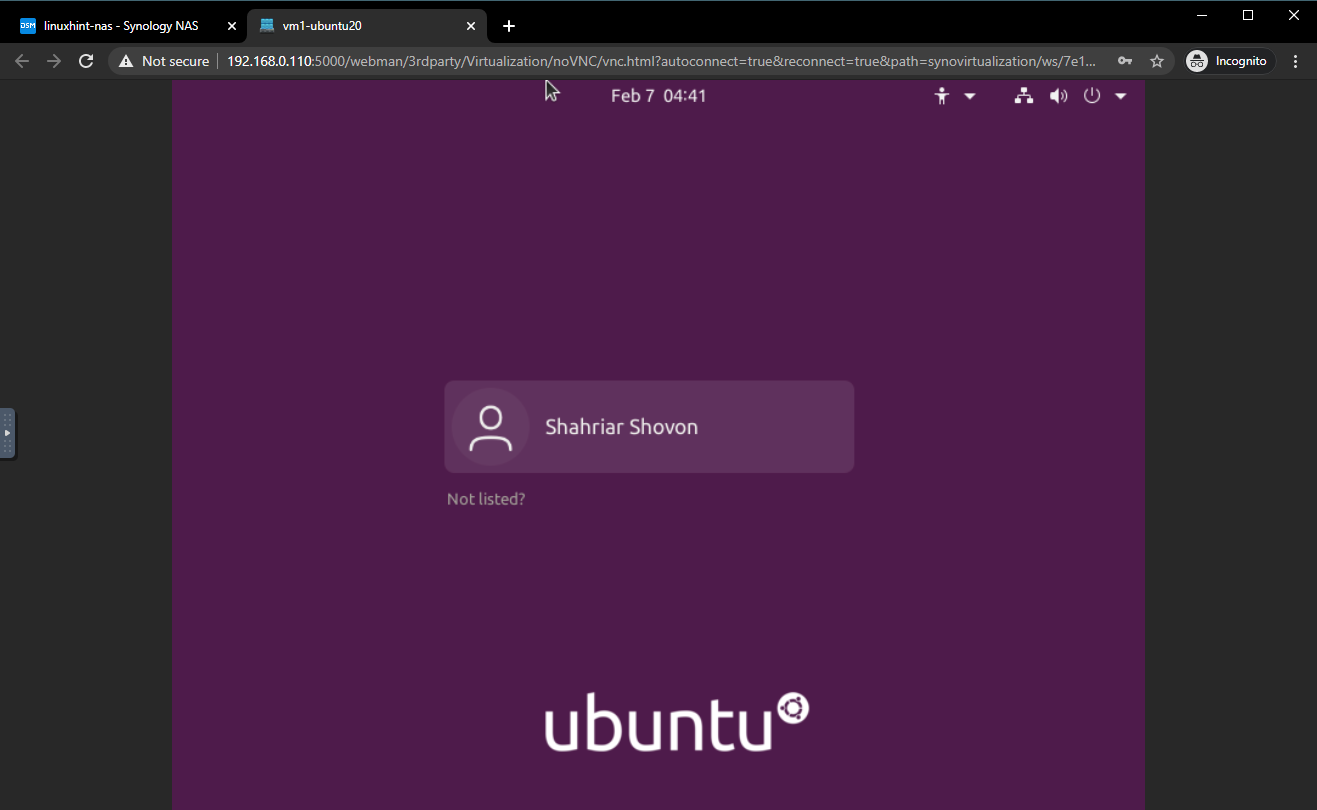
Once you log in, you should see the Ubuntu 20.04 desktop like the screenshot below.

As you can see, I am running Ubuntu 20.04.2 LTS, it uses Linux kernel 5.8.0.

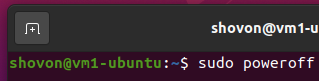
Now, you should remove the Ubuntu ISO image from the virtual machine. To do that, you need to shut down the virtual machine.
You can shut down your virtual machine with the following command:$ sudo poweroff
Once your virtual machine is powered off, right-click (RMB) on the virtual machine and click on Edit, as marked in the screenshot below.
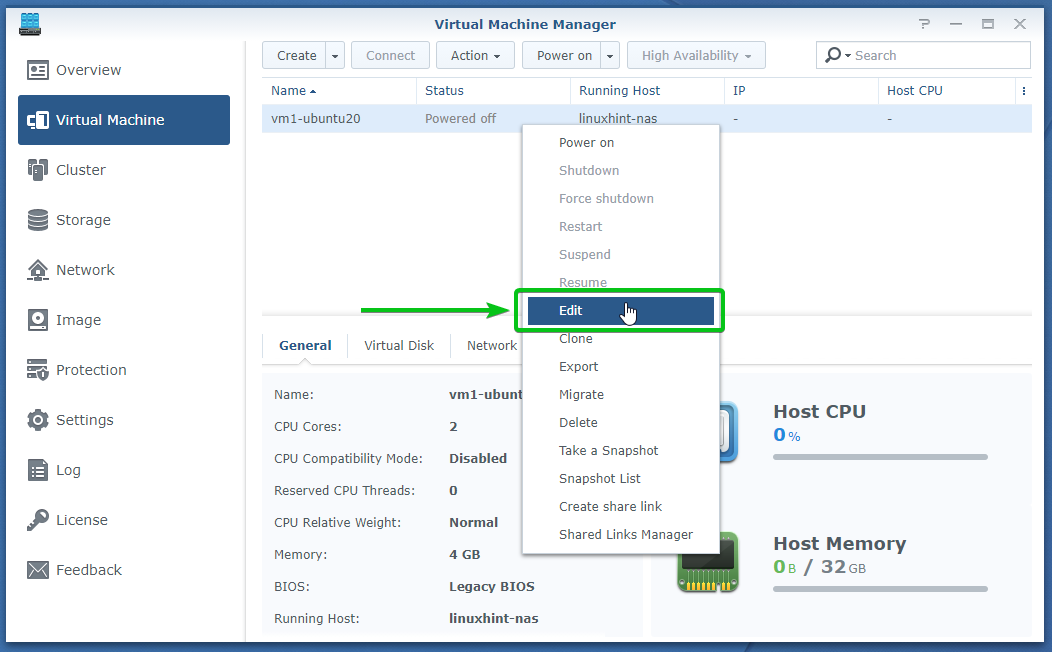
Navigate to the Others section.
As you can see, the Ubuntu 20.04 LTS ISO image is selected for the virtual machine.
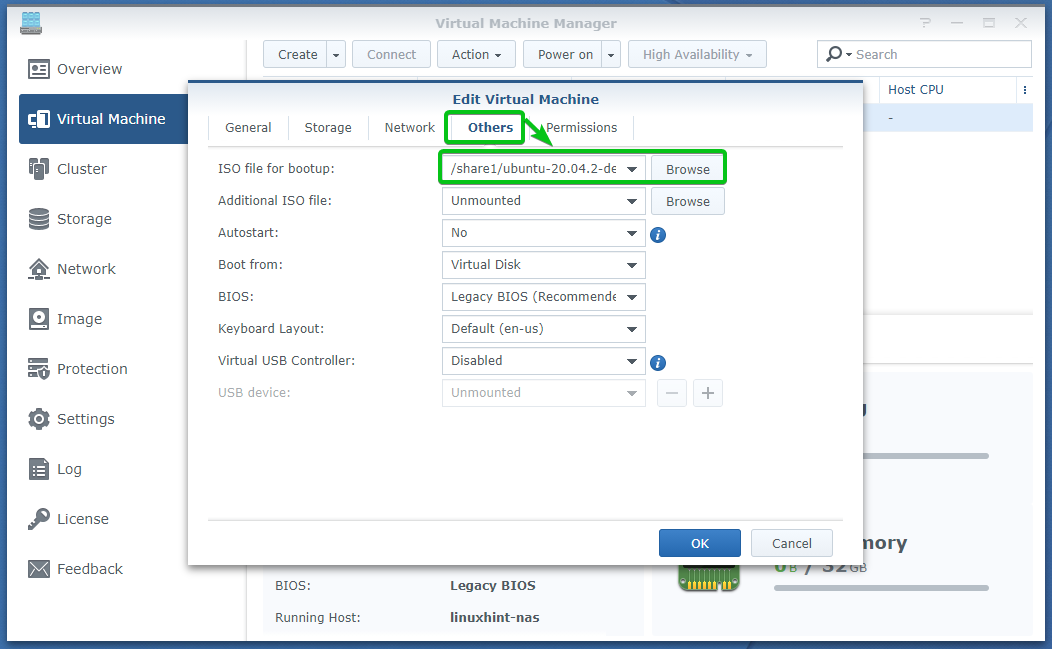
From the ISO file for bootup dropdown menu, select Unmounted, as marked in the screenshot below.

Once you’ve selected Unmounted from the ISO file for bootup dropdown menu, click on OK.
The Ubuntu 20.04 LTS ISO image should be removed from the virtual machine.

Now, select the virtual machine and click on Power on.
Once the virtual machine is running, click on Connect.

Once you connect to the virtual machine and log in to Ubuntu 20.04 LTS, you need to install QEMU Guest Agent. QEMU Guest Agent will report usage information (network, disk, memory, CPU, etc.) to the Virtual Machine Manager app of your Synology NAS.
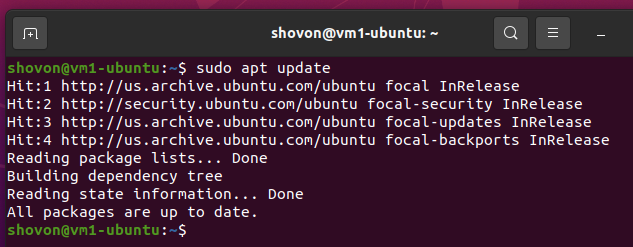
Open a Terminal on your Ubuntu 20.04 LTS virtual machine and run the following command to update the APT package repository cache:$ sudo apt update
To install QEMU Guest Agent on your Ubuntu 20.04 LTS virtual machine, run the following command:$ sudo apt install qemu-guest-agent -y

QEMU Guest Agent is being installed.

QEMU Guest Agent should be installed at this point.

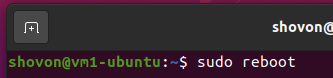
Once QEMU Guest Agent is installed, reboot your virtual machine for the changes to take effect with the following command:$ sudo reboot
As you can see, the Virtual Machine Manager can now show you the IP address of the vm1-ubuntu20 virtual machine. When the virtual machine vm1-ubuntu20 is running, QEMU Guest Agent sends the IP address information of the virtual machine to the Virtual Machine Manager app.

Creating a Windows 10 Virtual Machine:
In this section, I am going to show you how to create a Windows 10 virtual machine on your Synology NAS.
Before you create a Windows 10 virtual machine, you need to download the Synology Guest Tool ISO image.
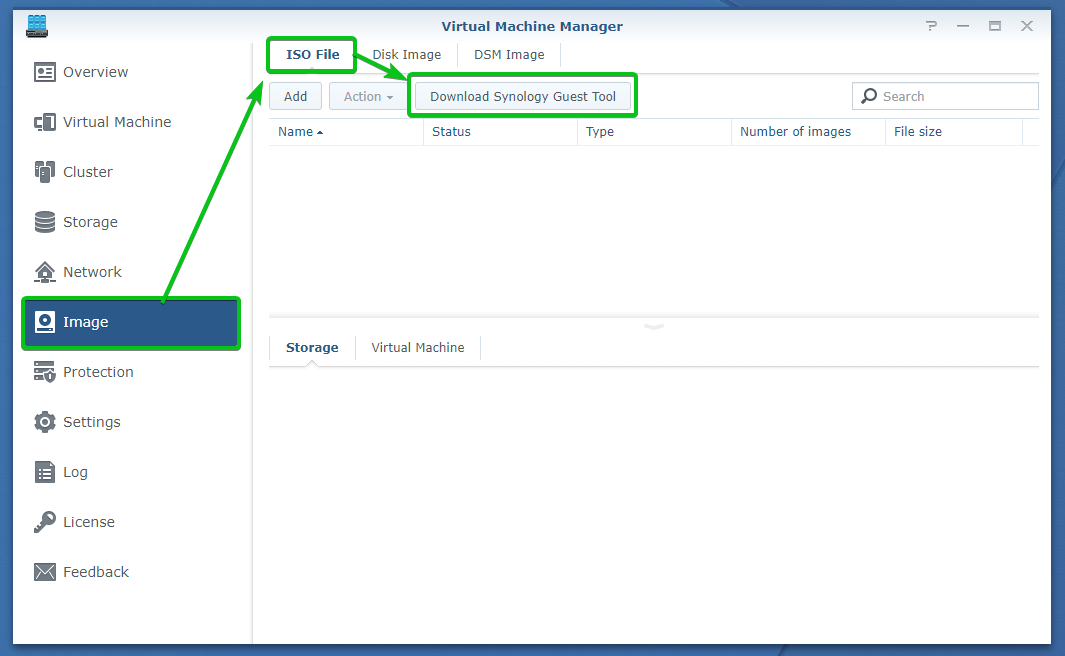
To download the Synology Guest Tool ISO image, open Virtual Machine Manager and navigate to the Image Section.
Then, from the ISO File tab, click on Download Synology Guest Tool, as marked in the screenshot below.
Click on Download.

The Synology Guest Tool ISO image is being downloaded. It may take a while to complete depending on your internet connection.

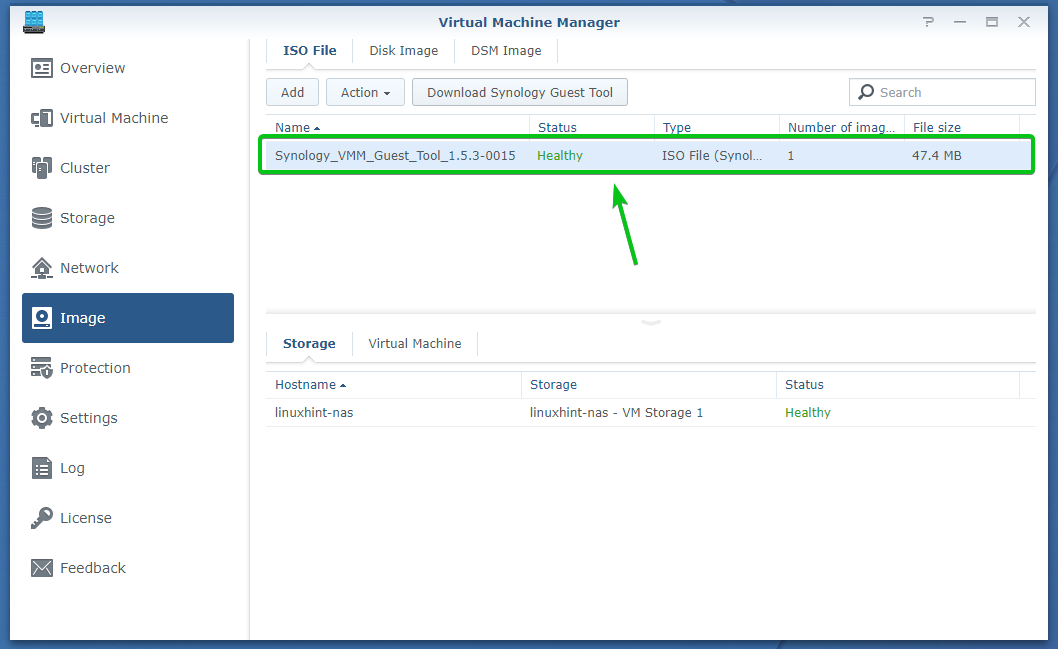
Synology Guest Tool ISO image should be downloaded, as you can see in the screenshot below.
Now, navigate to the Virtual Machine section and click on Create to create a new virtual machine.

Select Microsoft Windows and click on Next.

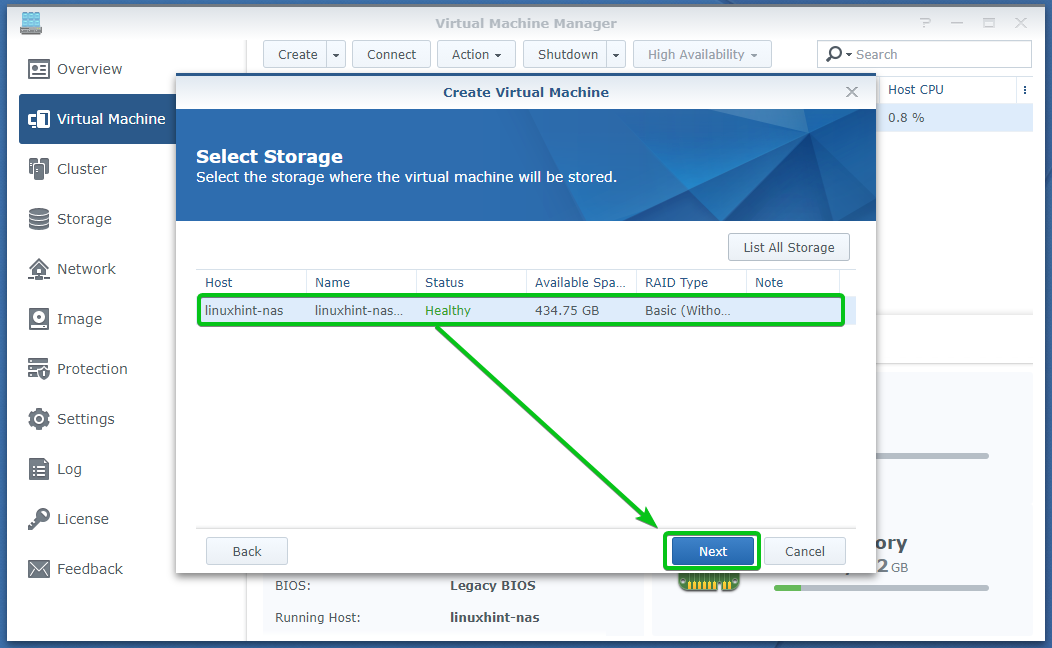
Select a storage volume where you want to store the virtual machine data and click on Next.
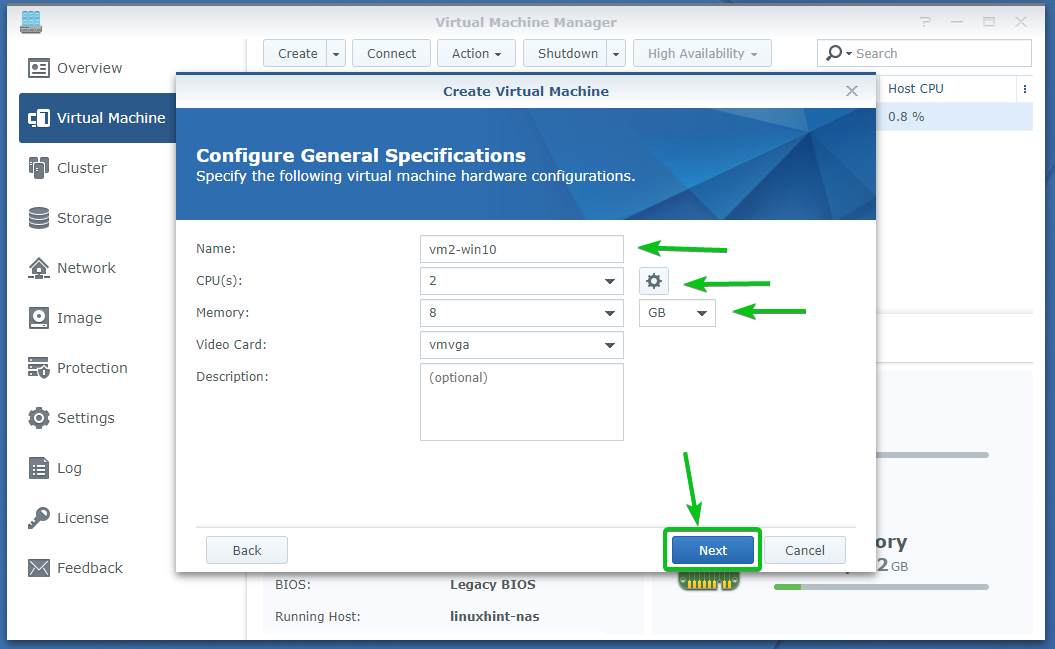
Type in a name for the virtual machine, the number of CPU cores you want the virtual machine to have, and the amount of memory you want to allocate to the virtual machine.
I am going to call the virtual machine vm2-win10, then allocate 2 CPU cores and 8 GB of memory to it.
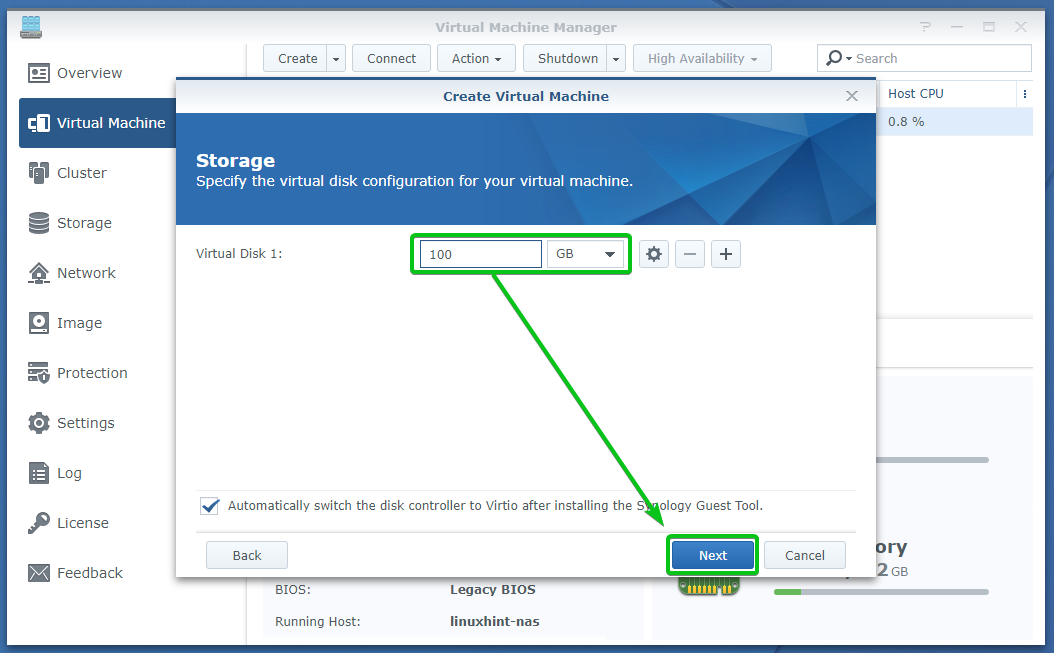
Type in the amount of disk space you want to allocate to the virtual machine and click on Next.
I will allocate 100 GB of disk space to the virtual machine vm2-win10.
Click on Next.
To select the Windows 10 ISO image, click on Browse from the ISO file for bootup section, as marked in the screenshot below.

Select the Windows 10 ISO image from the Synology NAS share and click on Select, as marked in the screenshot below.

The Windows 10 ISO image should be selected as the ISO file for bootup, as you can see in the screenshot below.

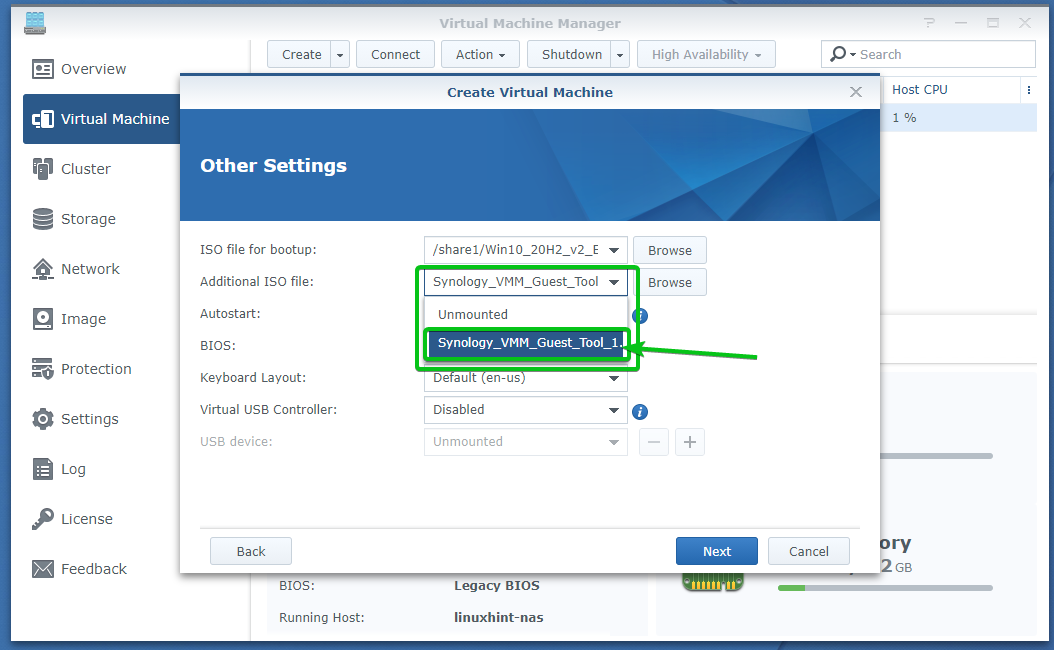
Select the Synology_VMM_Guest_Tool ISO image from the Additional ISO file dropdown menu.
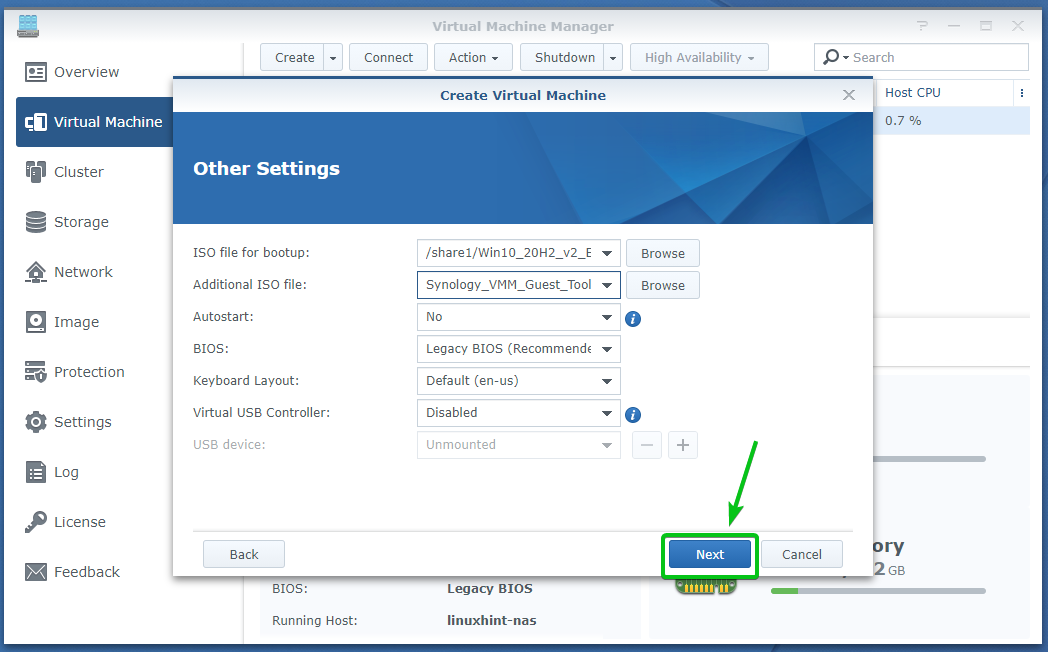
Once you’ve selected the Windows 10 ISO image and the Synology VMM Guest Tool for the virtual machine, click on Next.
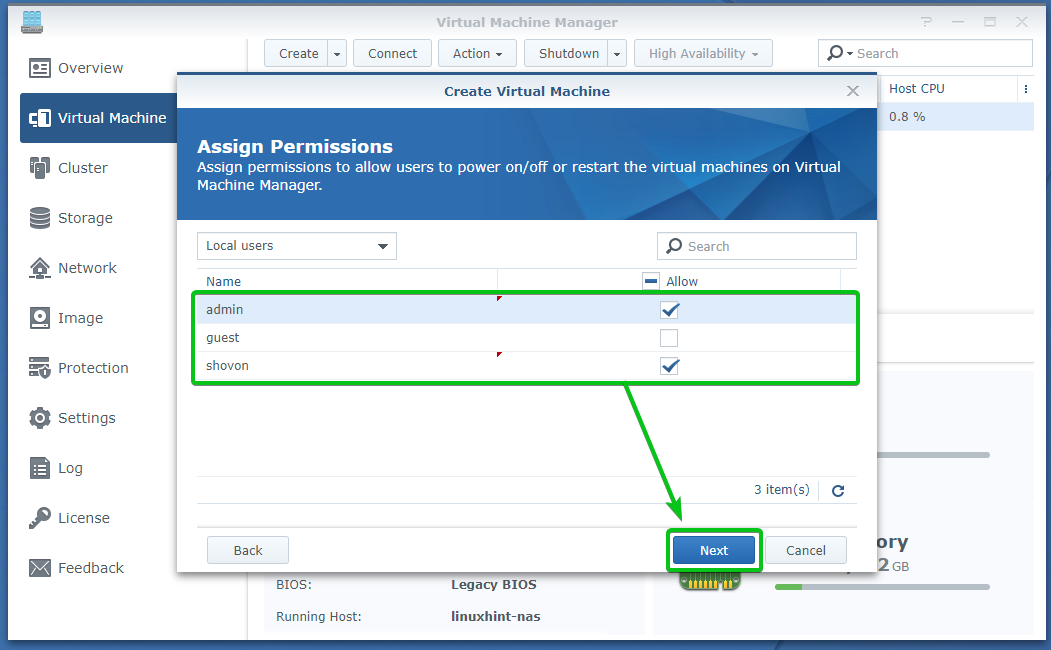
Select the users that you want to allow access to the virtual machine and click on Next.
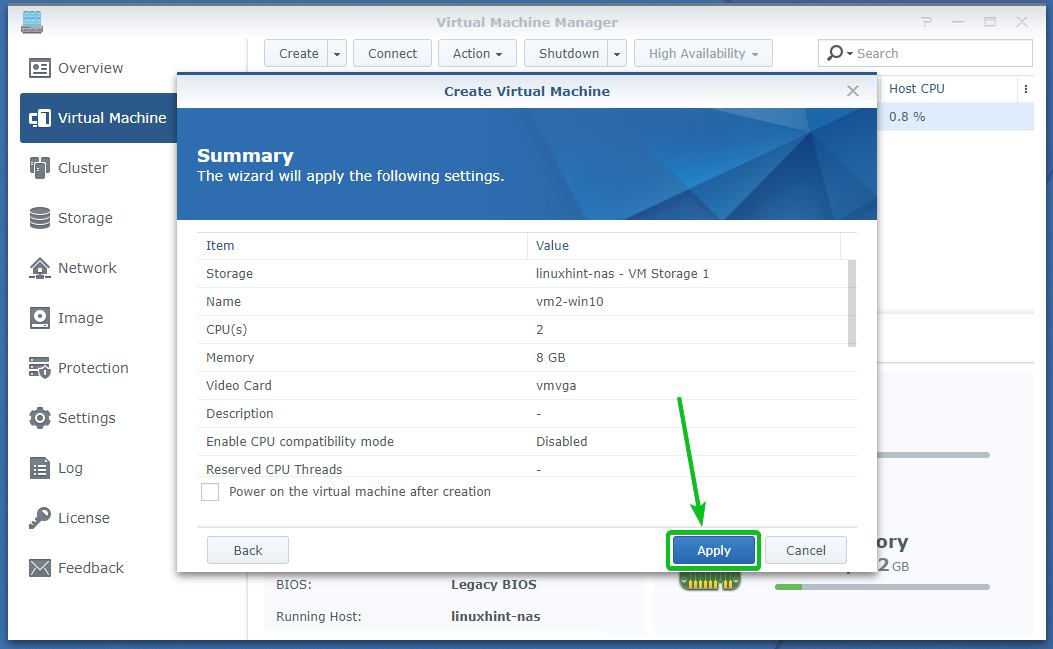
The settings that will be used to create the virtual machine should be displayed. To create a virtual machine with those settings, click on Apply.
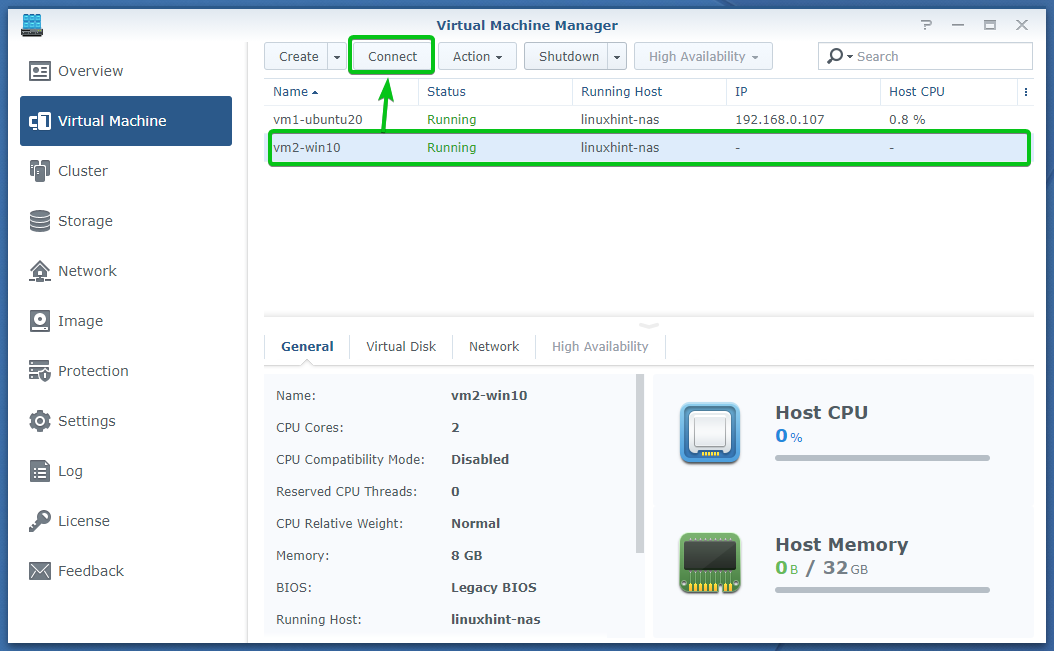
A new virtual machine vm2-win10 should be created, as you can see in the screenshot below.
To power on the virtual machine vm2-win10, select the virtual machine and click on Power on.

Once the virtual machine vm2-win10 is Running, click on Connect to connect to the display of the virtual machine.
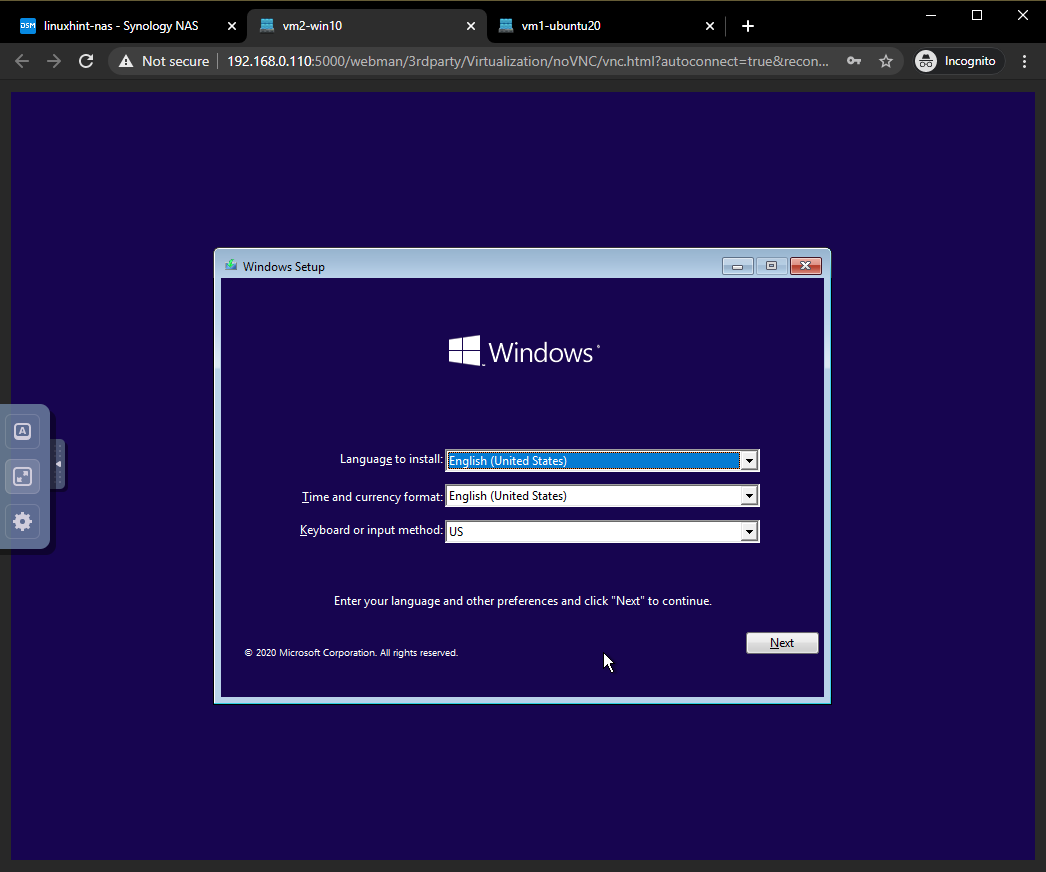
The Windows 10 installer should start. You can install Windows 10 on the virtual machine from here.
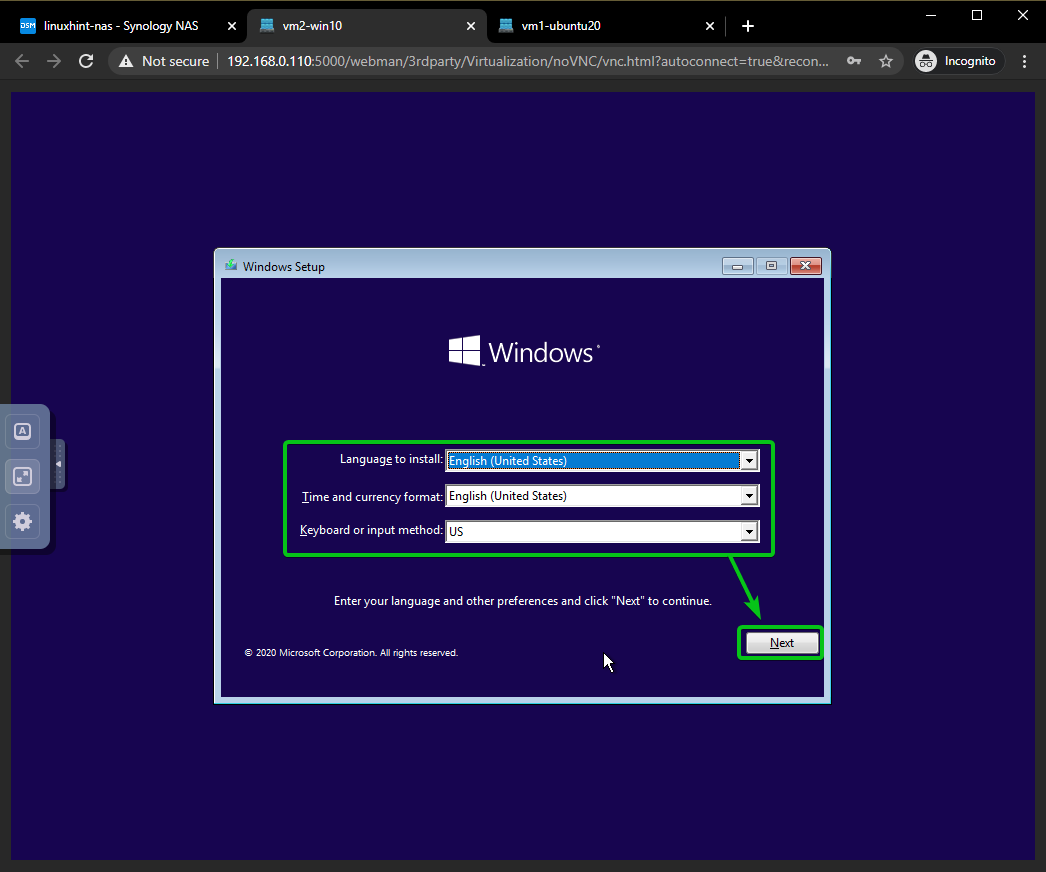
Select the language, time and currency format, the keyboard layout, and click on Next.
Click on Install now.

The Windows setup wizard is being loaded. It may take a few seconds to complete.
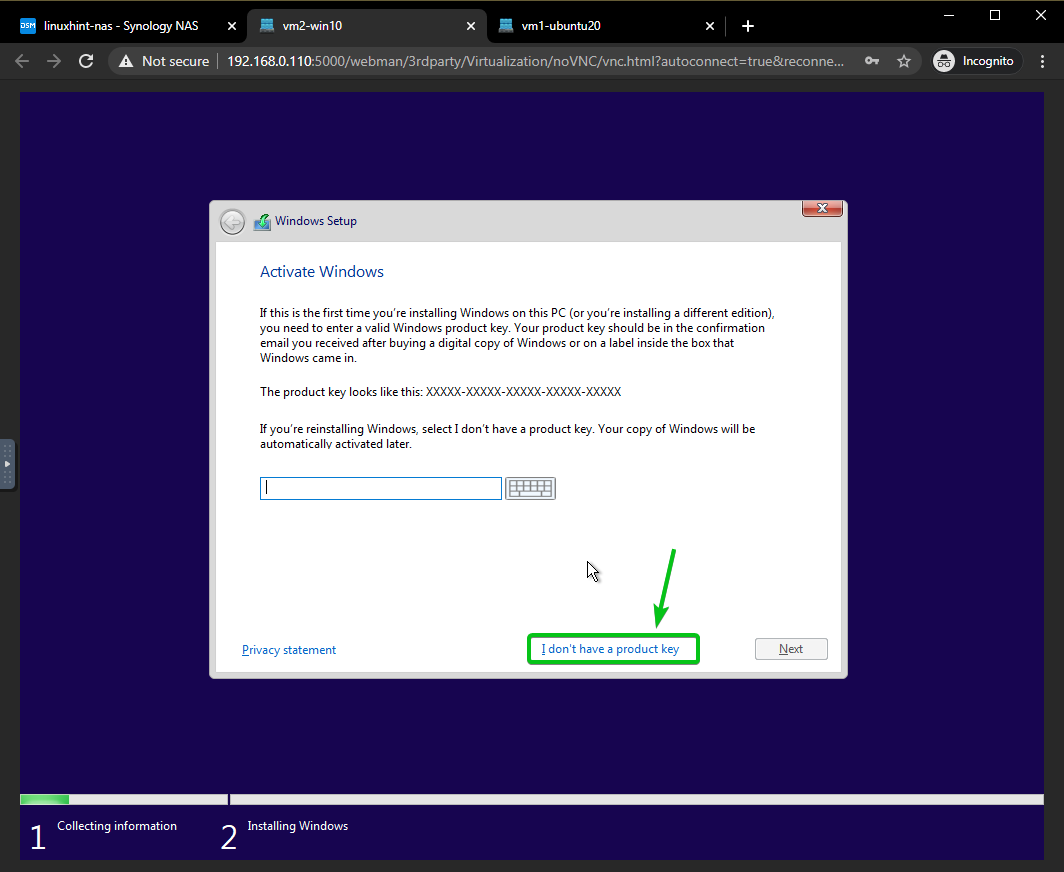
Click on I don’t have a product key, as marked in the screenshot below.
Select the version of Windows 10 you want to install on the virtual machine and click on Next.
I will install Windows 10 Pro 64-bit on this virtual machine.

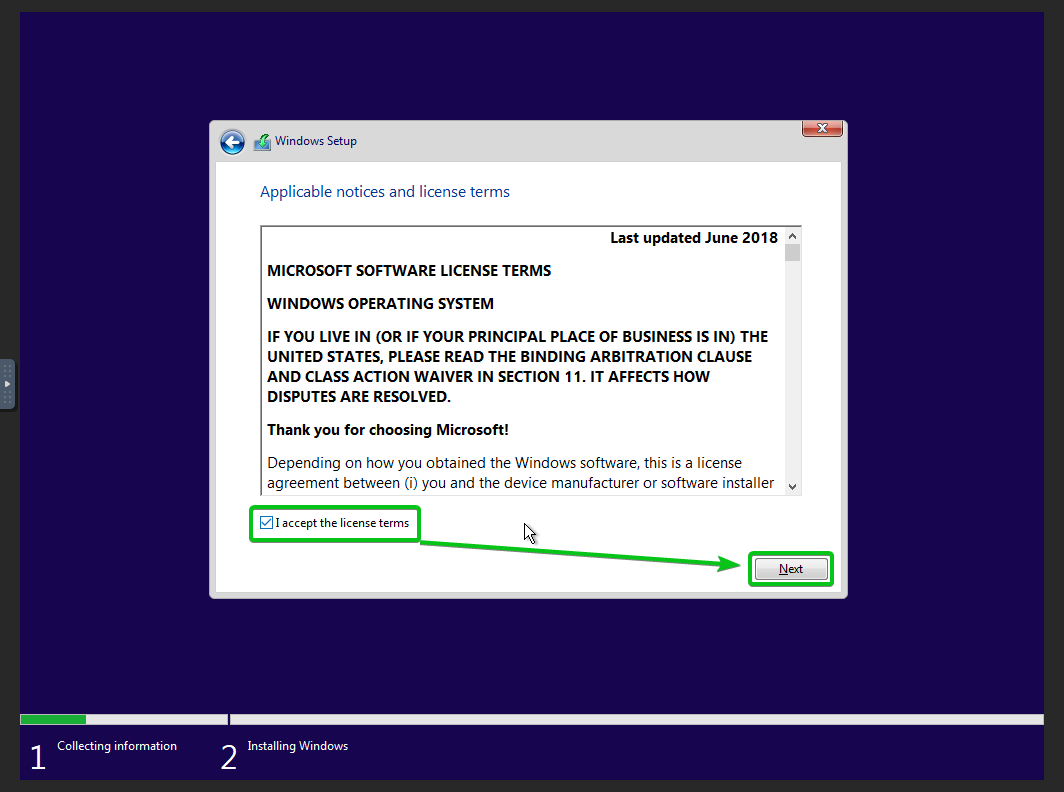
Check I accept the license terms checkbox and click on Next.
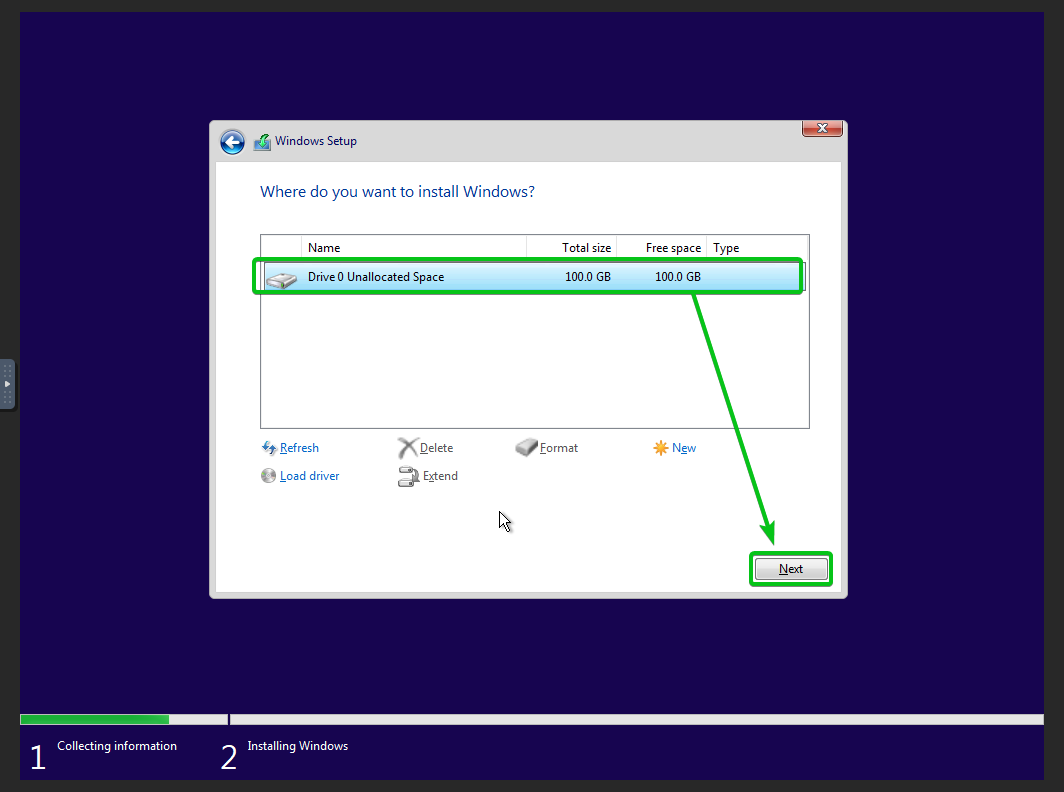
Click on Custom: Install Windows only (advanced), as marked in the screenshot below.

Select the virtual hard disk and click on Next.
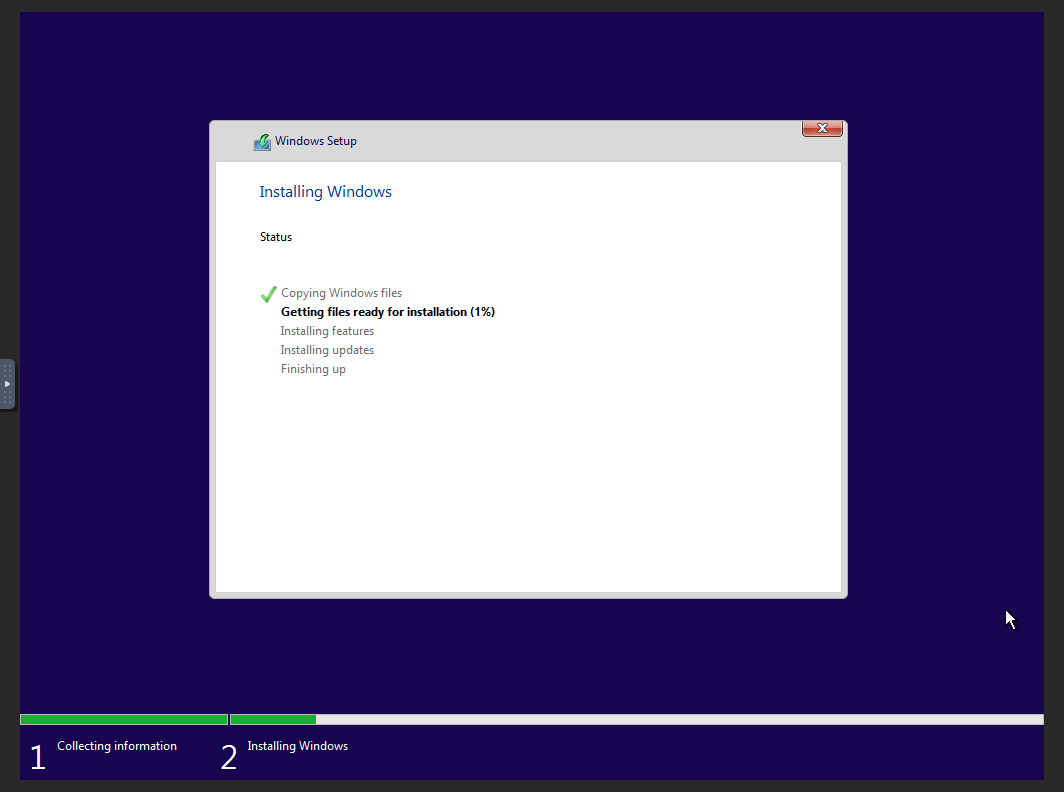
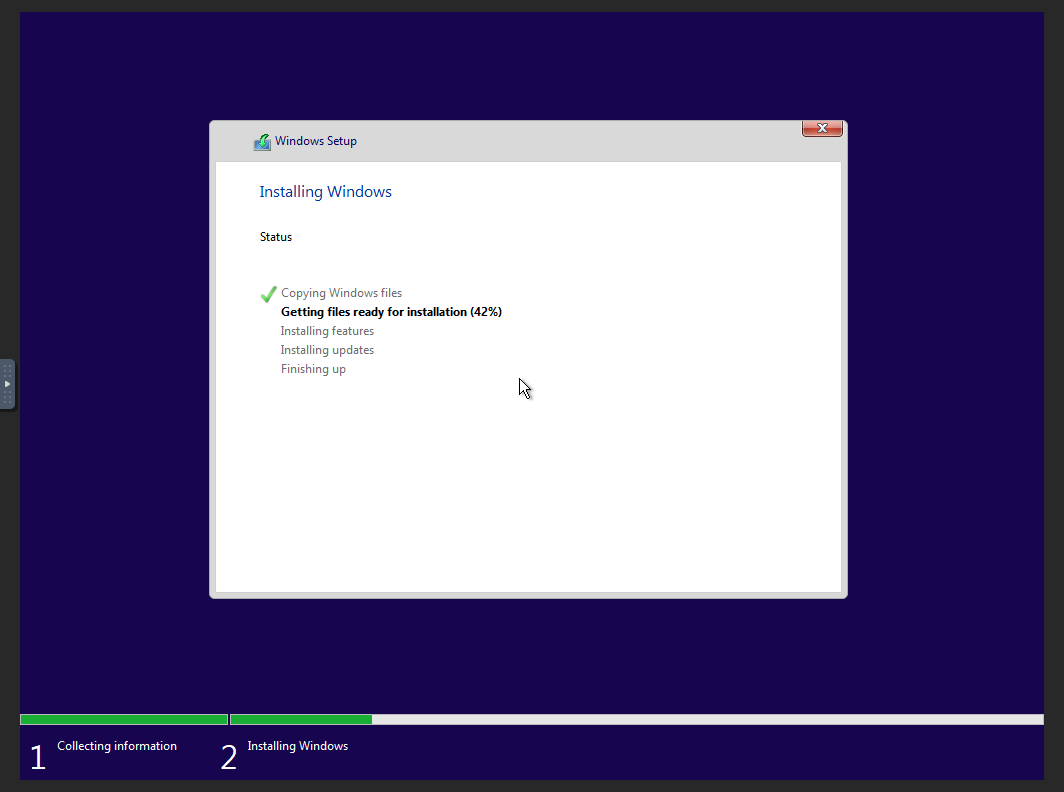
Windows 10 is being installed on the virtual machine. It may take a few minutes to complete.
Windows 10 is being installed on the virtual machine.
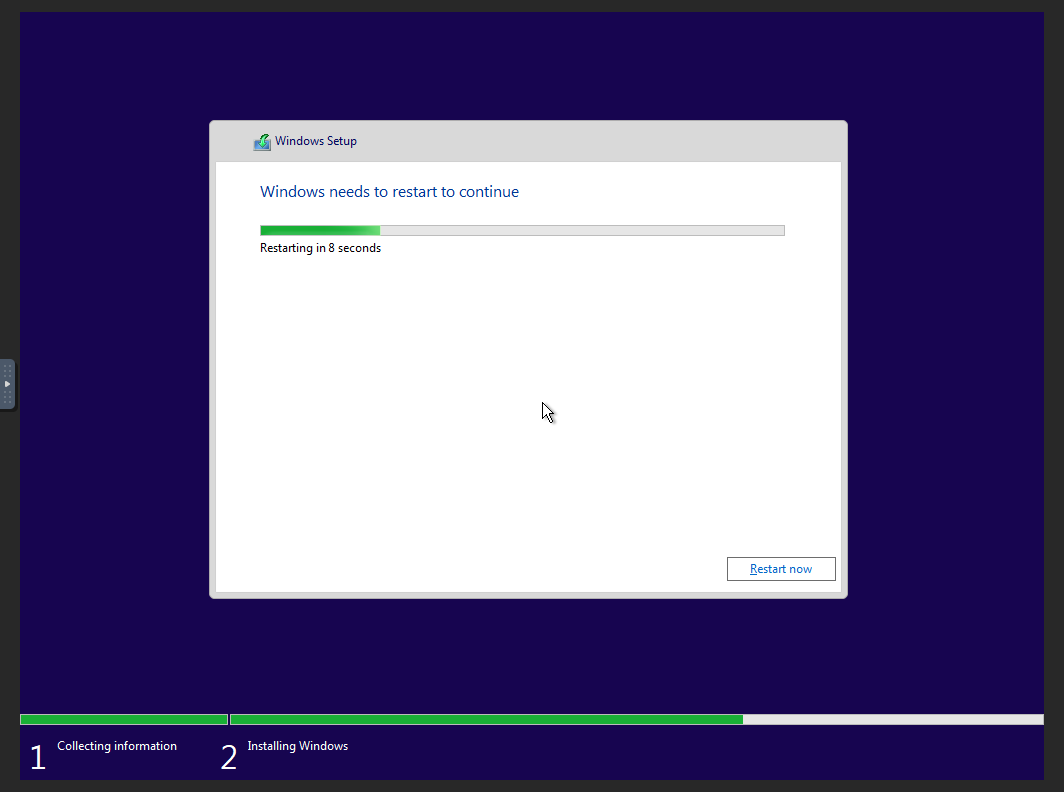
Once the installation is complete, the virtual machine should restart in 10 seconds.
Once the virtual machine starts, Windows 10 should be getting ready. It may take a while to complete.
Windows 10 is getting ready.

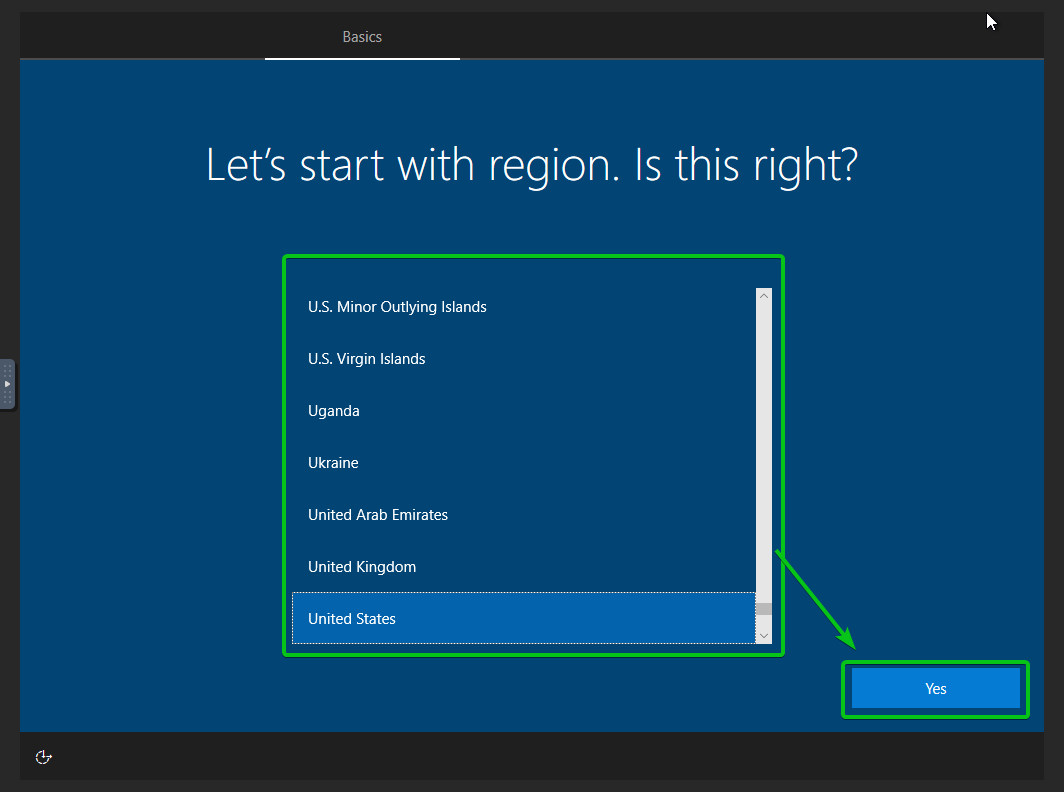
Once you see the following window, select your country and click on Yes.
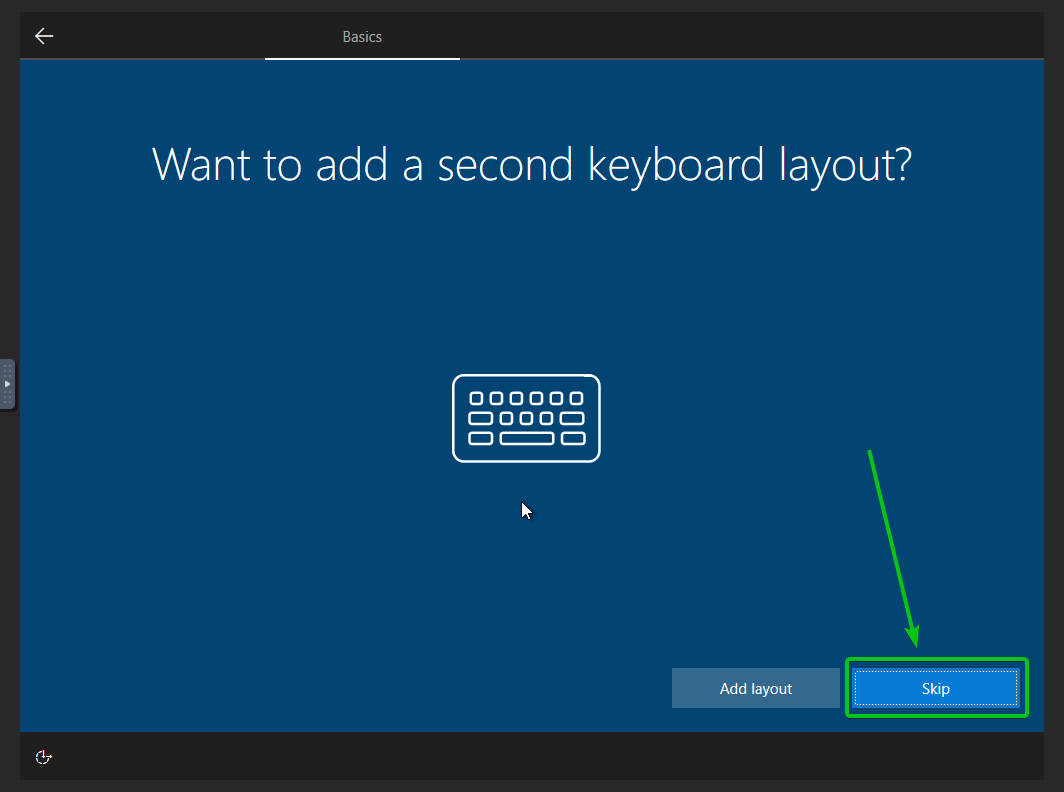
Select your keyboard layout and click on Yes.

Click on Skip.
Windows 10 is being set up. It may take a while to complete.
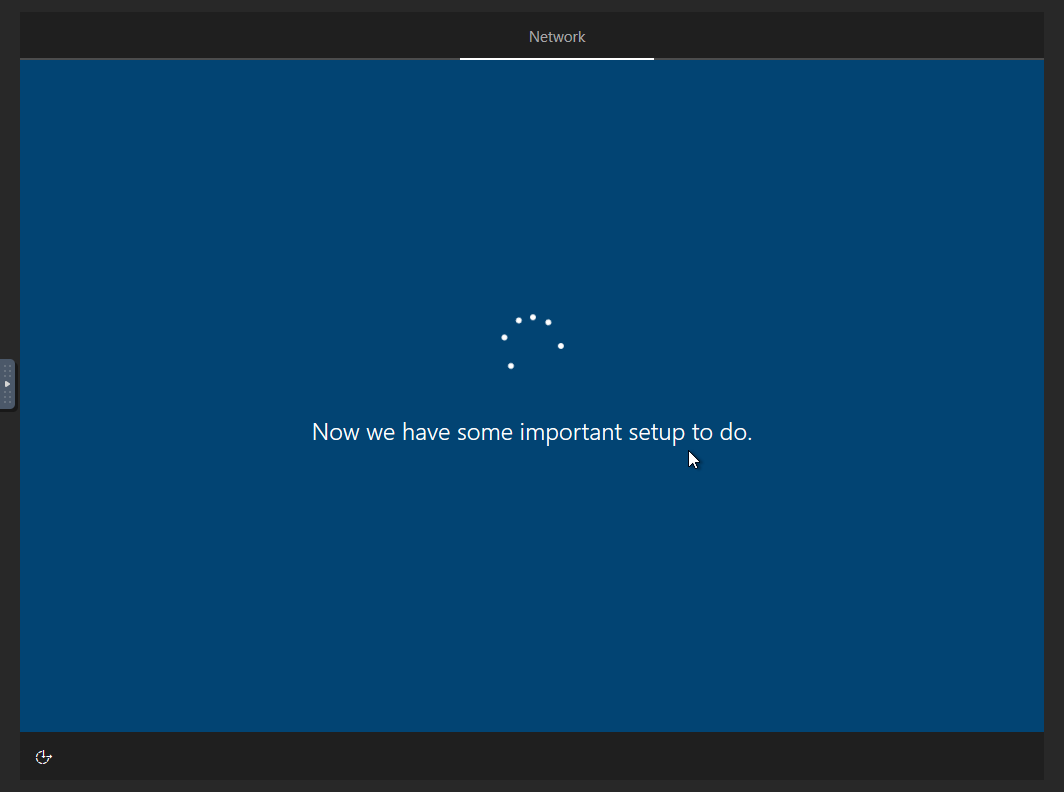
Windows 10 is being set up.
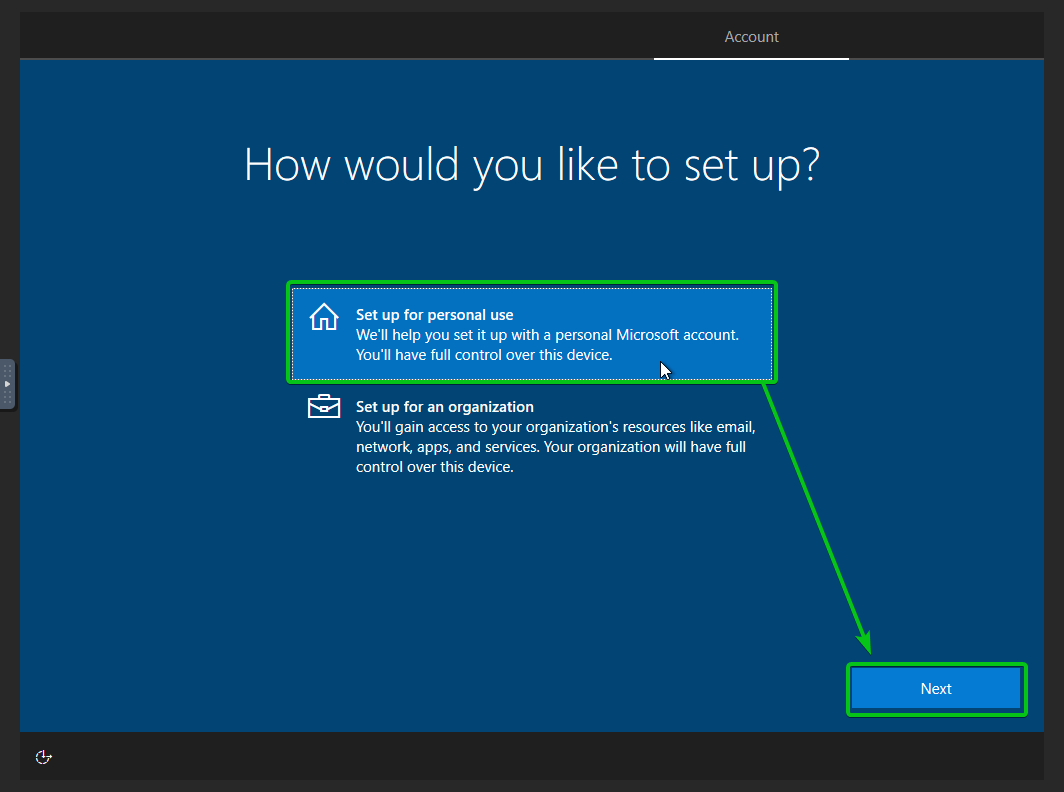
Select Set up for personal use and click on Next.
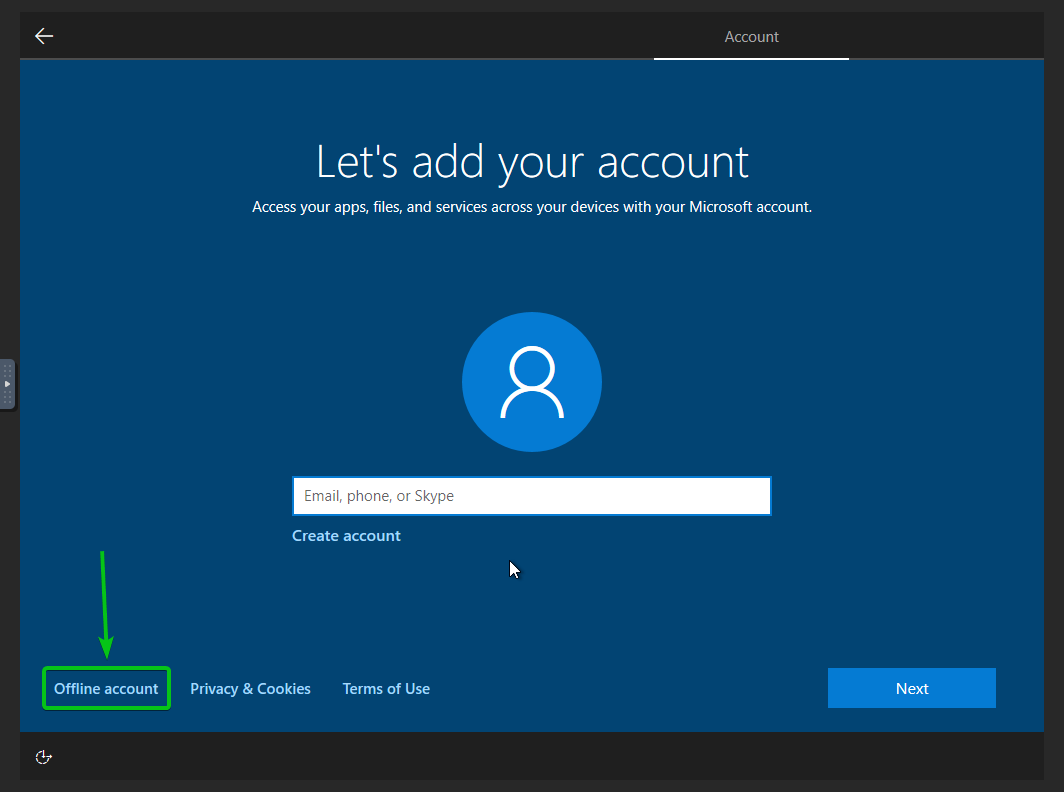
Click on Offline account, as marked in the screenshot below.
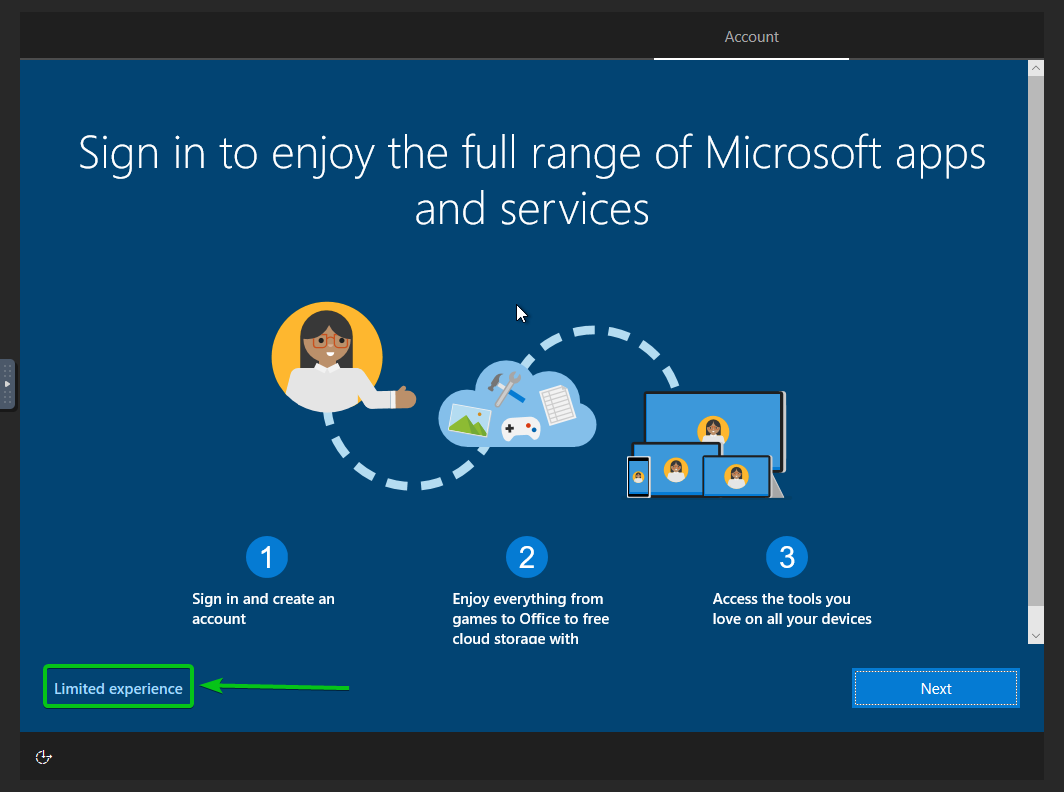
Click on Limited experience, as marked in the screenshot below.
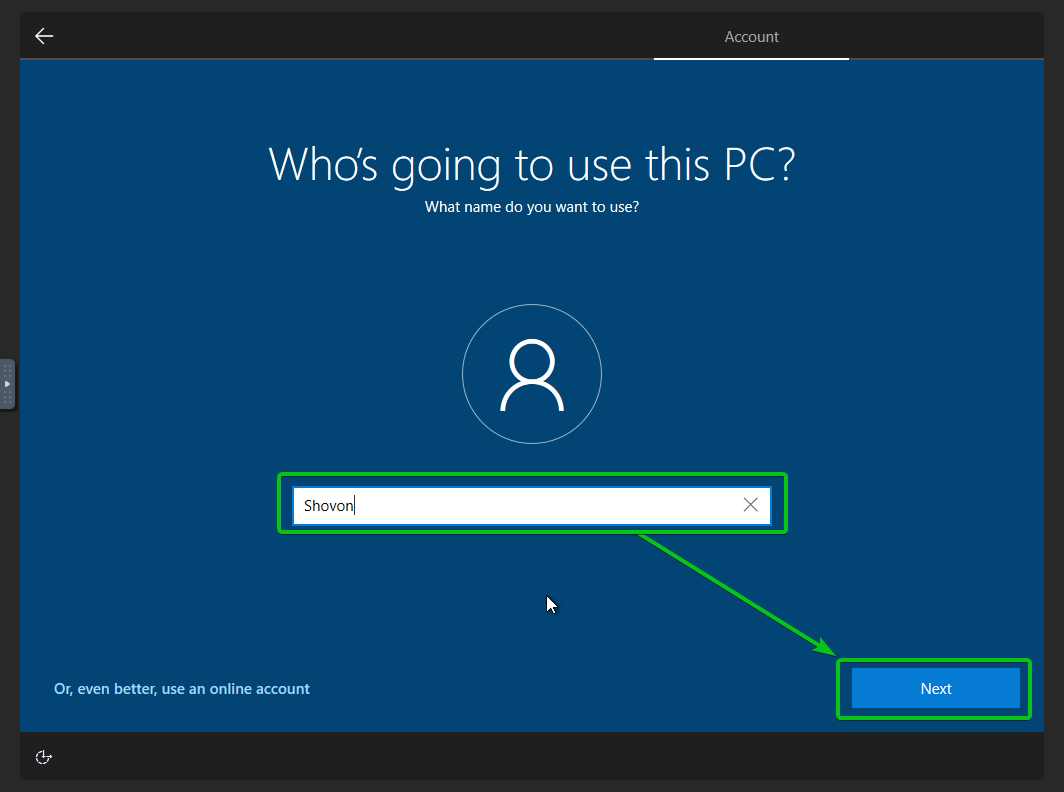
Type in your full name and click on Next.
Type in a login password and click on Next.
If you don’t want to set a login password, leave it blank and click on Next.

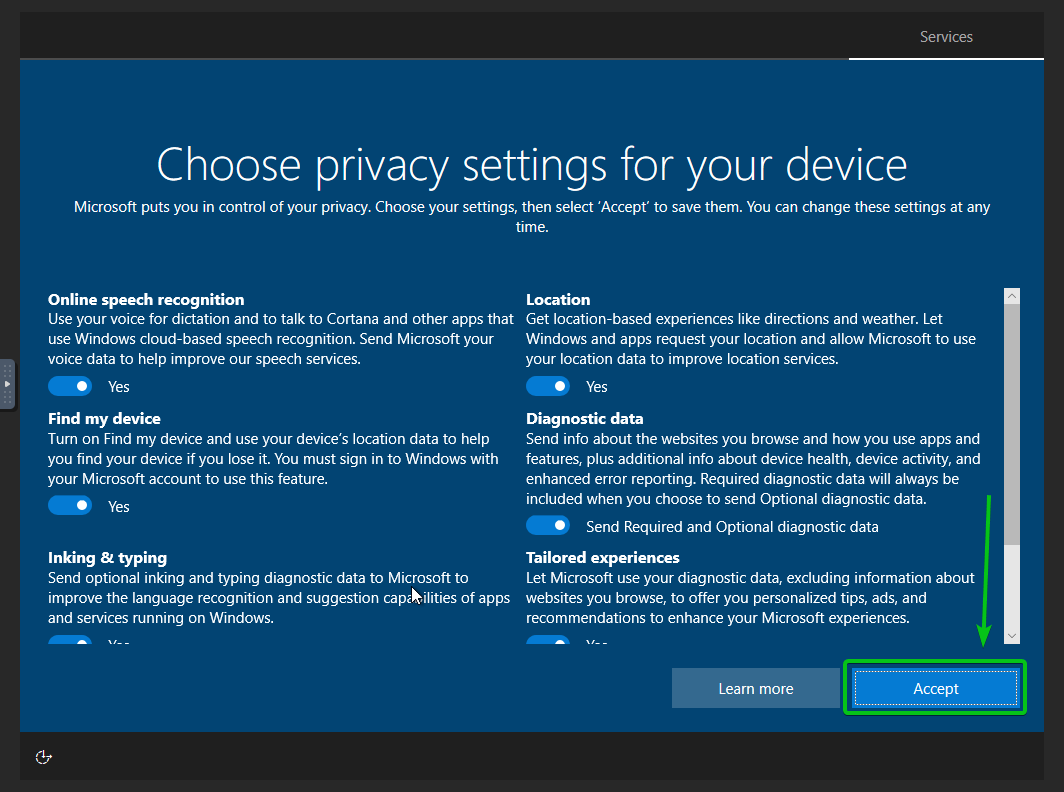
Click on Accept.
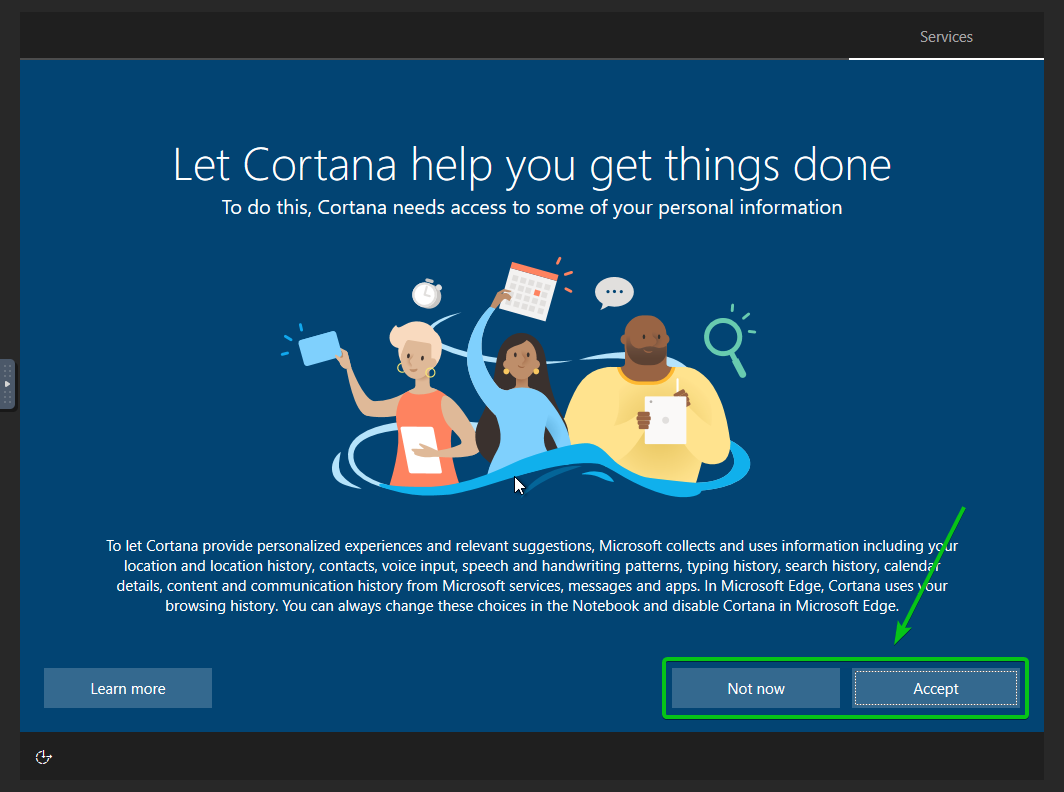
If you want to use Cortana, click on Accept.
If you don’t want to use Cortana, click on Not Now.
Windows 10 is being set up. It may take a few minutes to complete.
Windows 10 is being set up.

Once Windows 10 is successfully set up, it should start as you can see in the screenshot below.
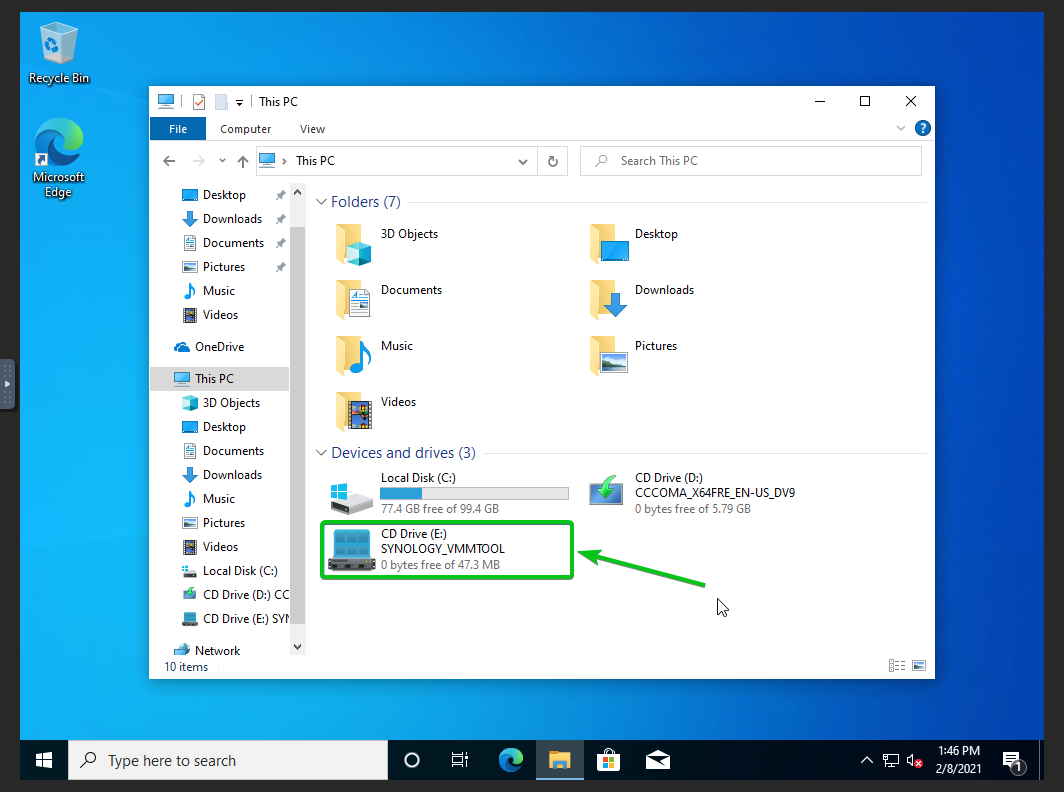
Now, you have to install the Synology Guest Tool. To do that, open the File Explorer app and navigate to the SYNOLOGY_VMMTOOL CD drive, as marked in the screenshot below.
Run the Synology_VMM_Guest_Tool installer program, as marked in the screenshot below.

Click on Next.

Check the I accept the terms in the License Agreement checkbox and click on Next.

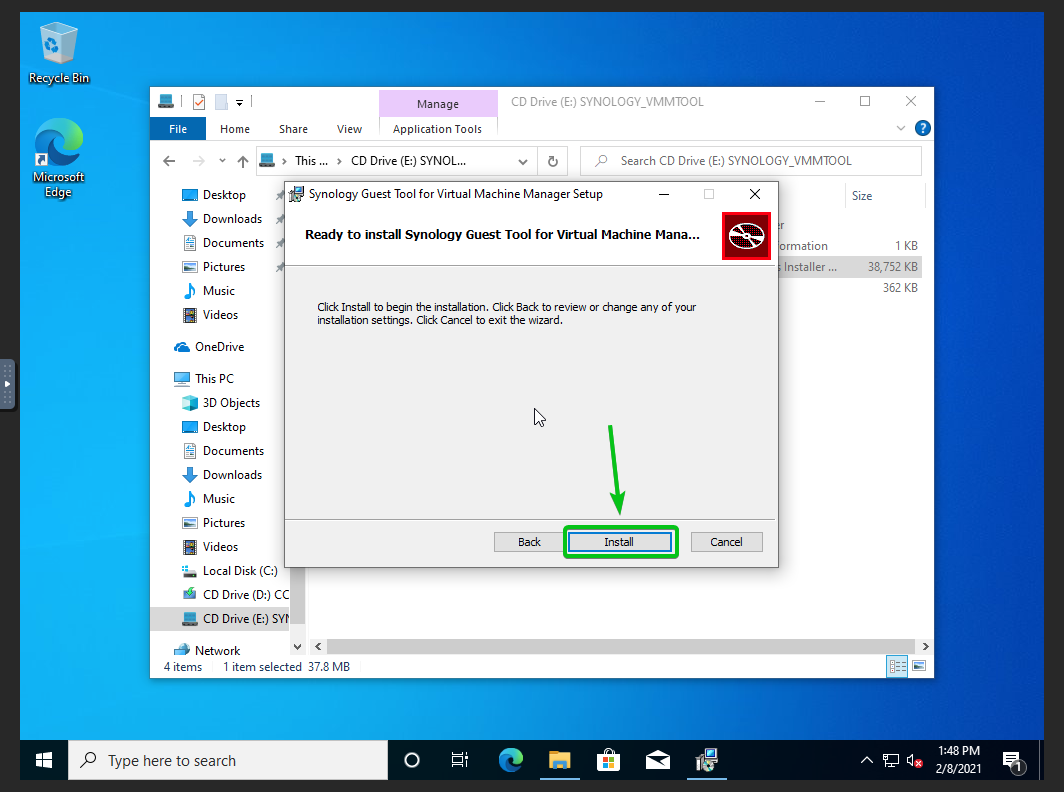
Click on Next.

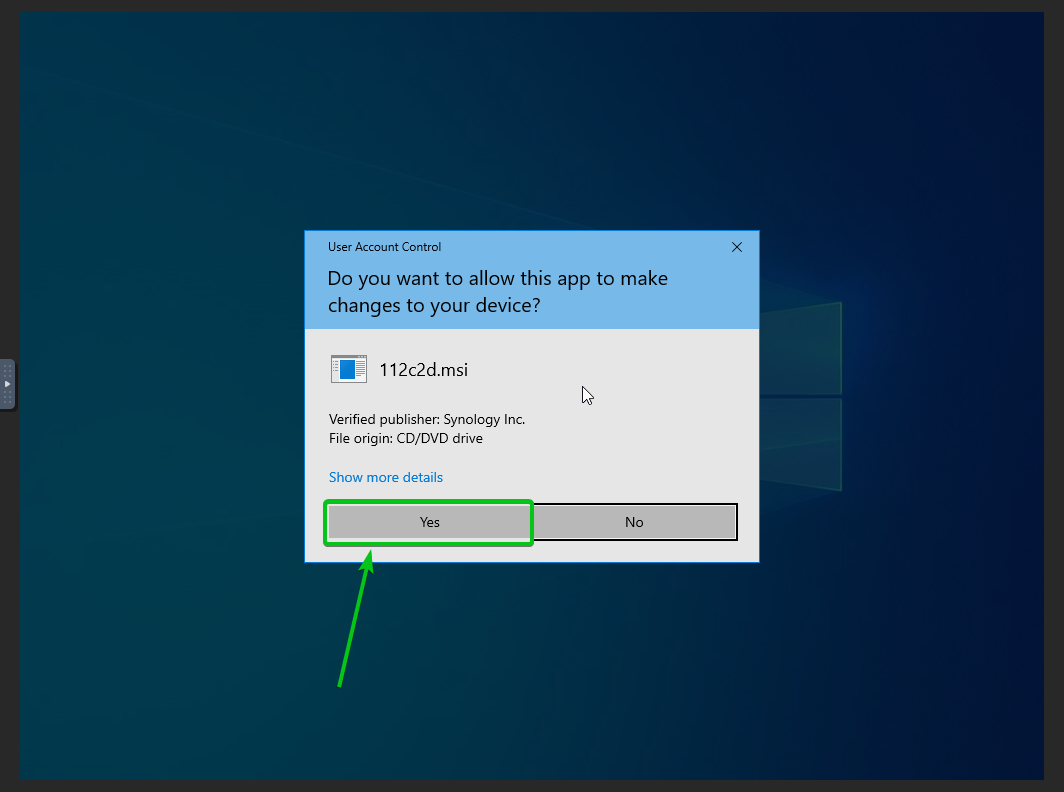
Click on Install.
Click on Yes.
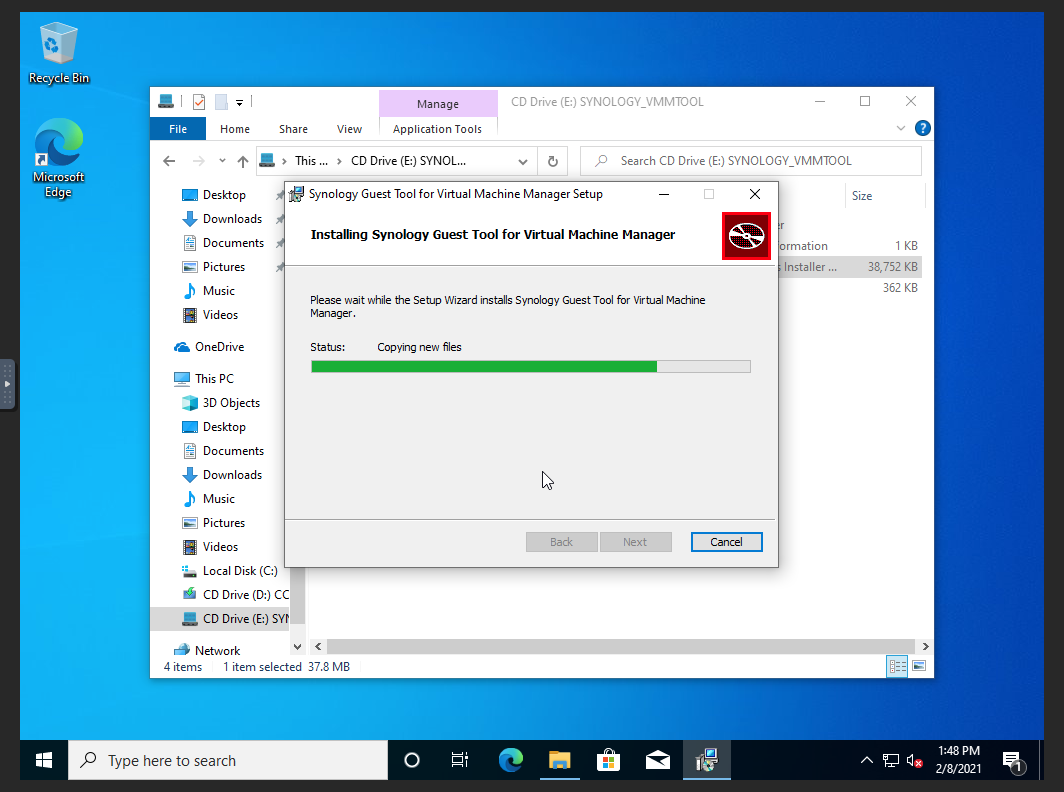
Synology Guest Tool is being installed on the Windows 10 virtual machine.
Once you see the following prompt, check Always trust software from “Red Hat, Inc.” checkbox and click on Install, as marked in the screenshot below.

Once the Synology Guest Tool is installed, click on Finish.

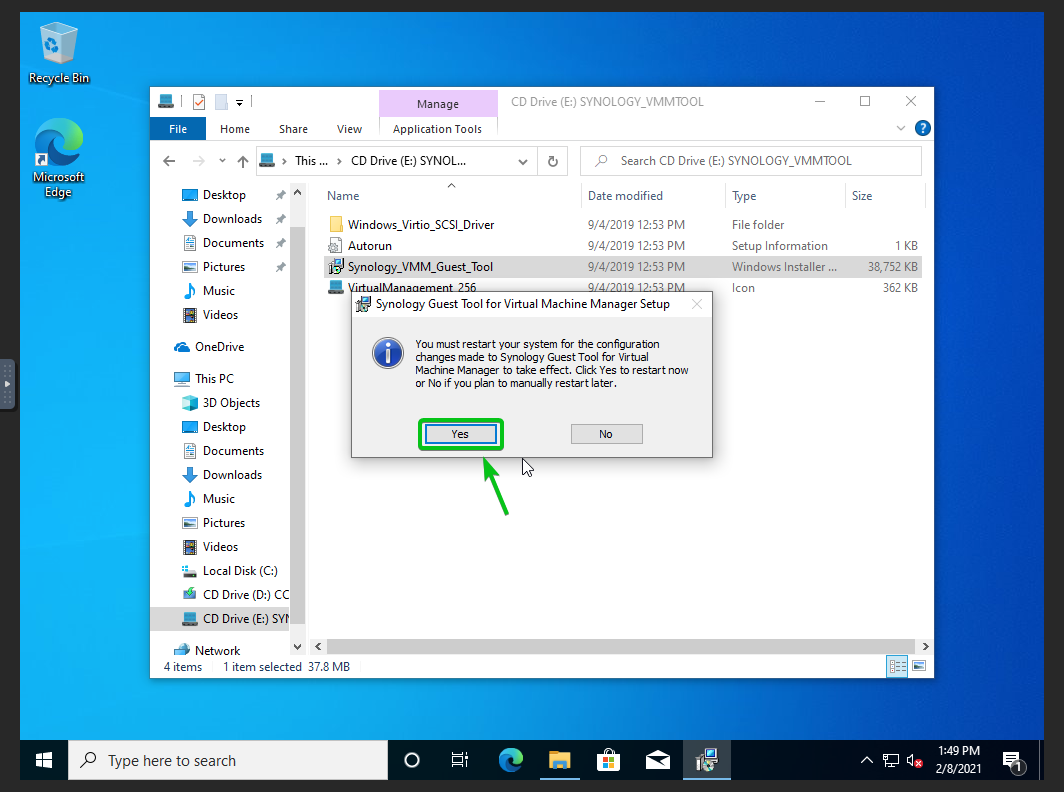
For the changes to take effect, click on Yes to restart the Windows 10 virtual machine.
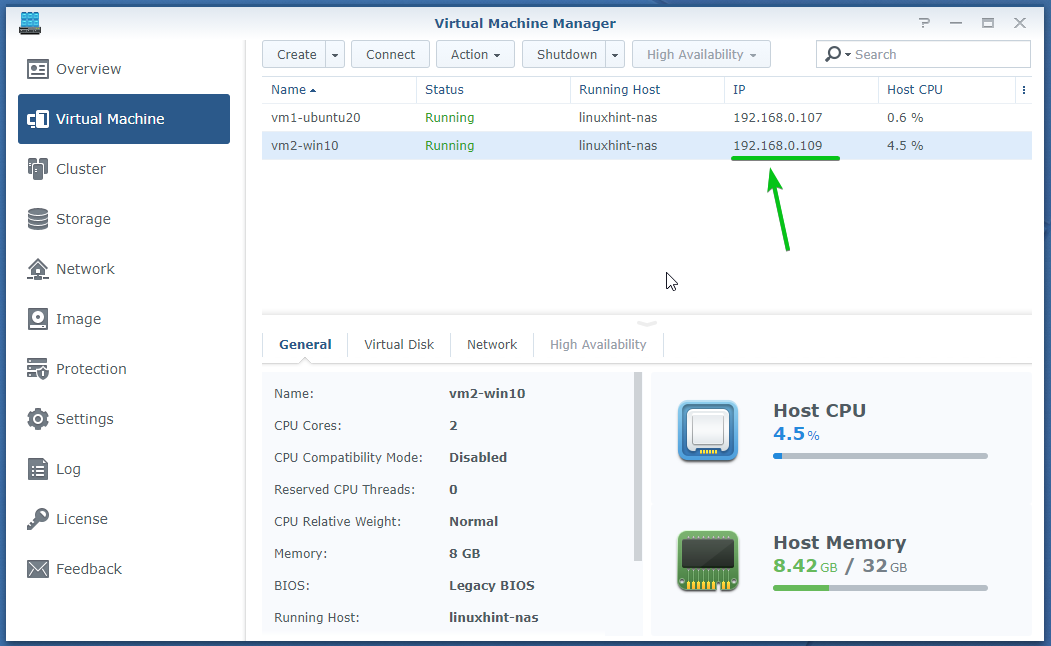
As you can see, the Virtual Machine Manager app can now show you the IP address of the vm2-win10 virtual machine. When the vm2-win10 is running, Synology Guest Tool sends the IP address information of the virtual machine to the Virtual Machine Manager app.
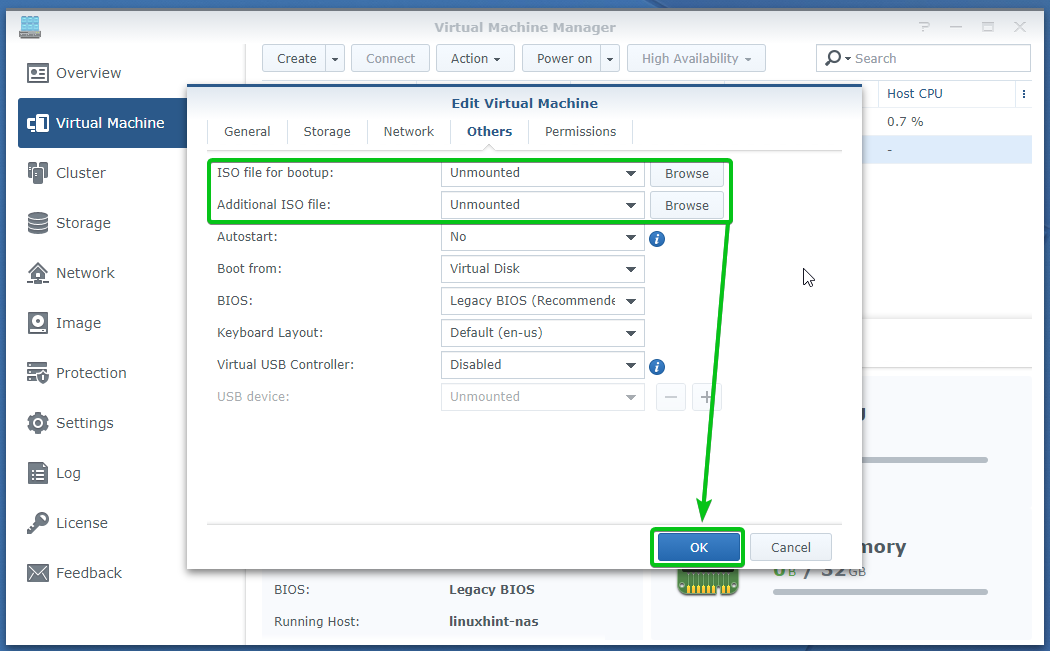
Now, shutdown the vm2-win10 virtual machine. Then right-click (RMB) on the vm2-win10 and click on Edit, as shown in the screenshot below.

Navigate to the Others tab and make sure that Unmounted option is selected from the ISO file for bootup and the Additional ISO file dropdown menu. Once you’re done, click on OK.
Taking Snapshots of the Virtual Machine:
You can save the state of a virtual machine by taking a snapshot of it from the Virtual Machine Manager app. Before you attempt to do experiments on your virtual machines that may break the operating system or may remove important files, you can take snapshots of them. If anything breaks after the experiments, you can restore the virtual machines to their previous state (where you took the snapshot) and get the virtual machines up and running again.
To show you how to take snapshots and restore virtual machines from snapshots, I have prepared a simple example.
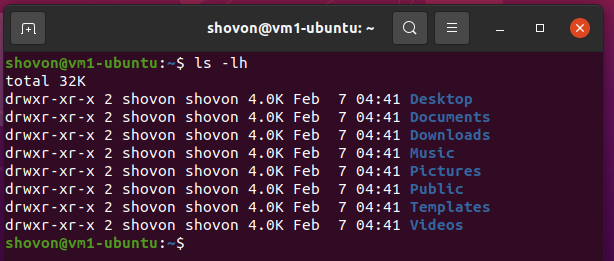
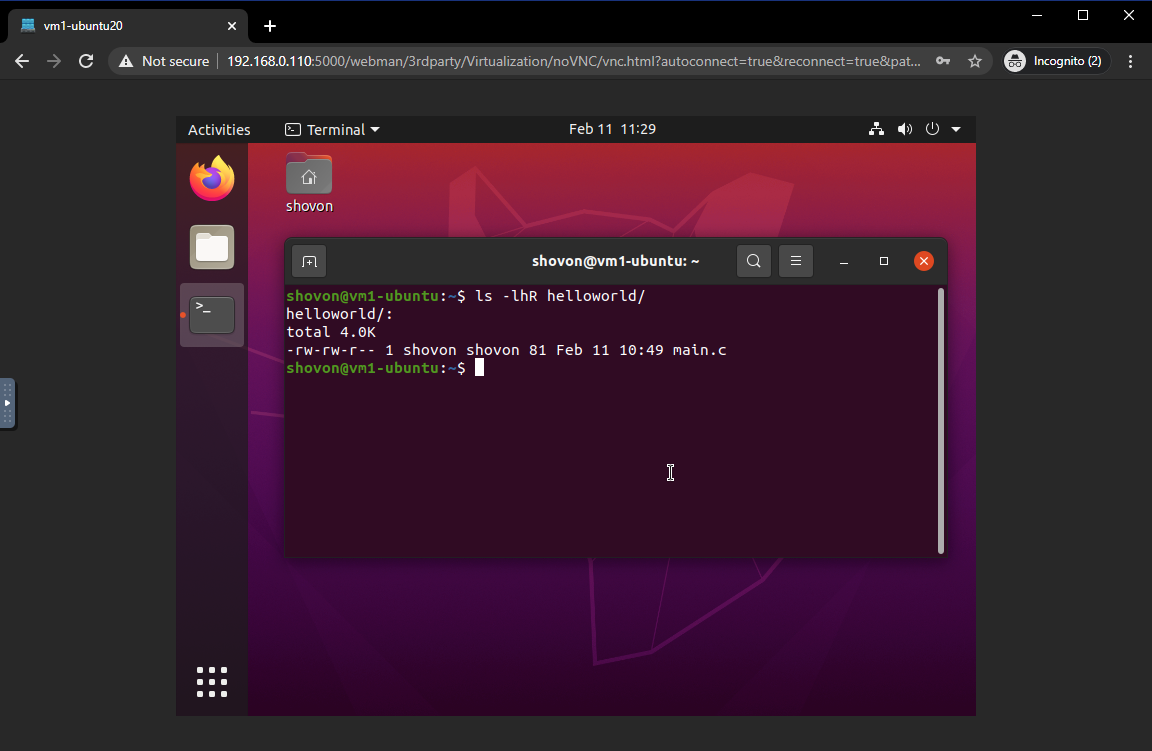
On my Ubuntu 20.04 LTS virtual machine vm1-ubuntu20, I have created a helloworld/ directory and a main.c file, as you can see in the screenshot below.
Let’s take a snapshot of the vm1-ubuntu20 virtual machine while this directory is available in the virtual machine.
Before you take a snapshot of the virtual machine, you must power off or shut it down.
To shut down the Ubuntu 20.04 LTS virtual machine vm1-ubuntu20, run the following command:$ sudo poweroff

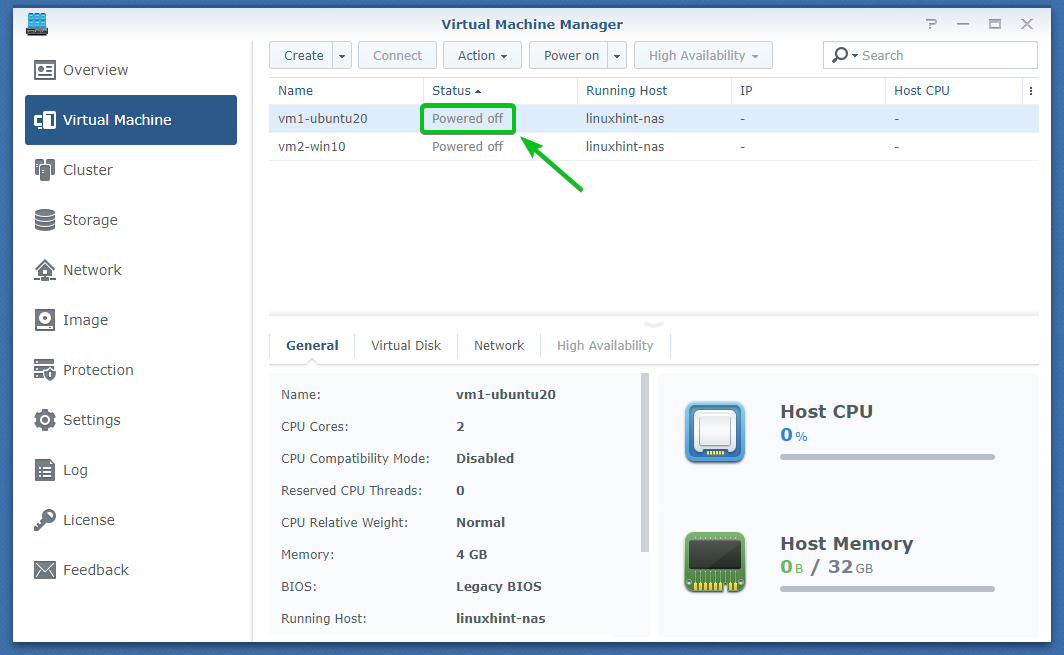
The virtual machine vm1-ubuntu20 should be Powered off, as you can see in the screenshot below.

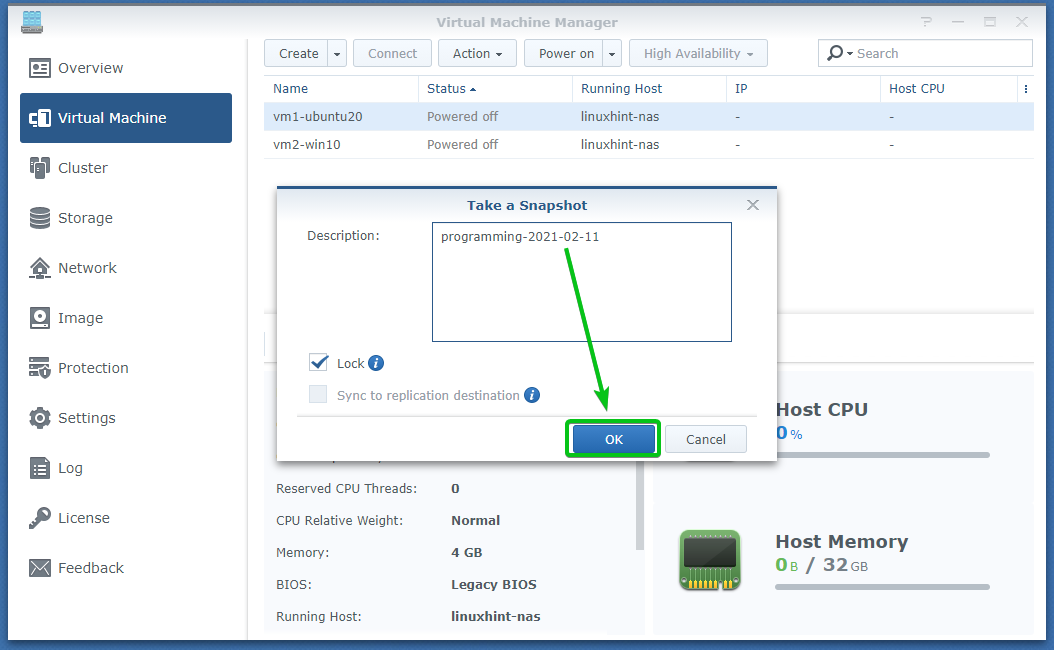
To take a snapshot of the current state of the vm1-ubuntu20 virtual machine, select the vm1-ubuntu20, click on Action > Take a Snapshot, as shown in the screenshot below.

Type in a description of the snapshot and click on OK.
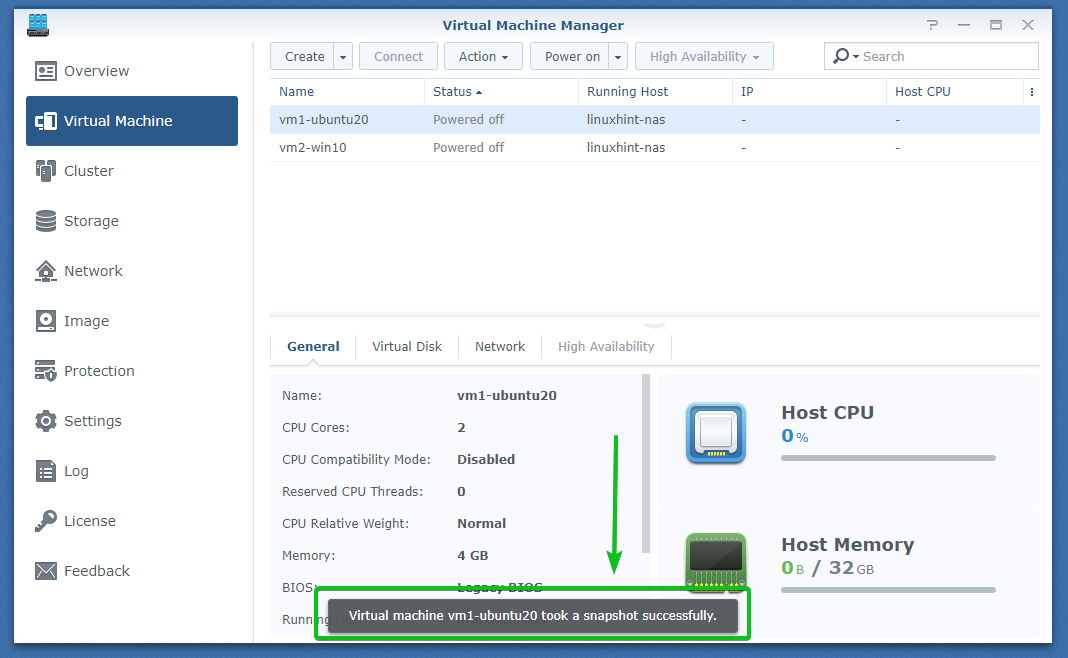
A snapshot of the vm1-ubuntu20 virtual machine should be taken.
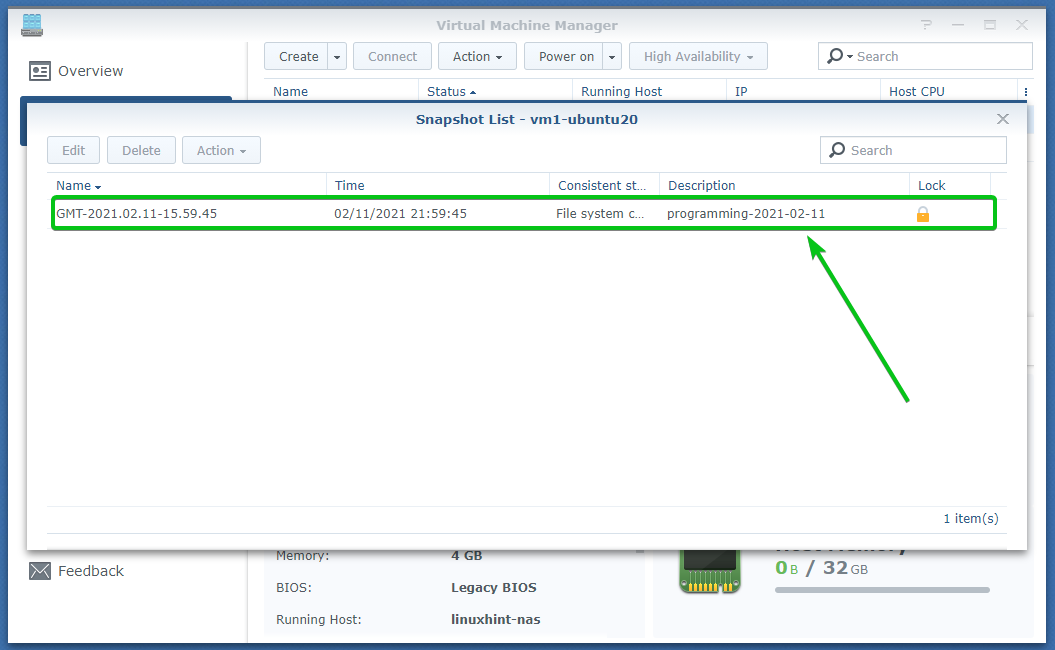
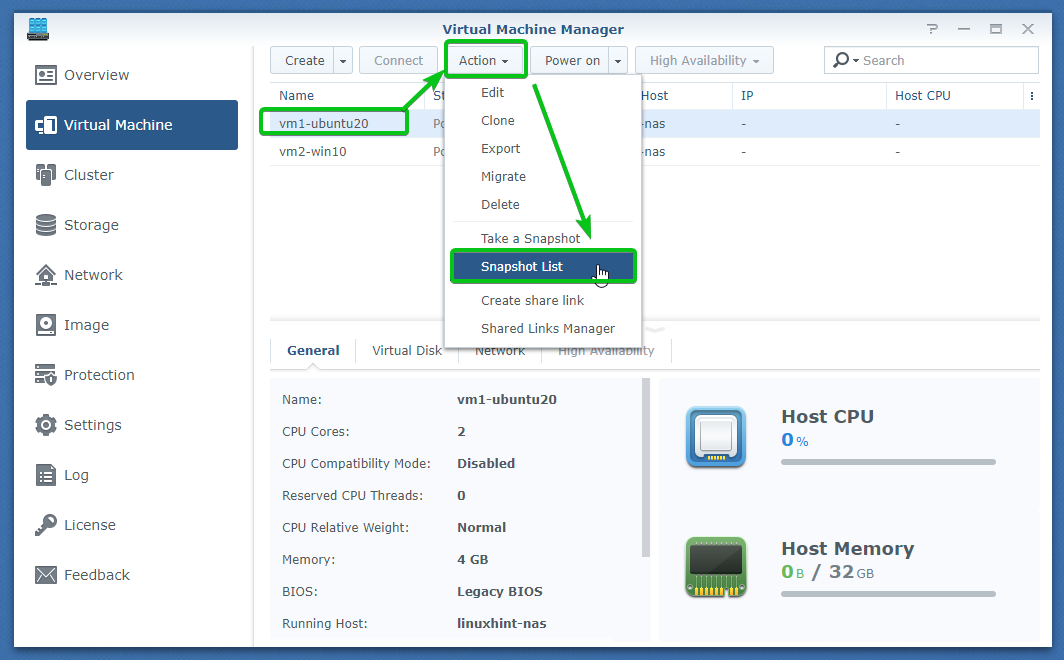
To list the snapshots you have taken of a virtual machine, select the virtual machine and click on Action > Snapshot List, as shown in the screenshot below.

The snapshots you’ve taken of that virtual machine should be listed, as you can see in the screenshot below.
Restoring Virtual Machine from Snapshots:
If you have accidentally corrupted the operating system of your virtual machine or removed some important files from the virtual machine, you can restore them from snapshots.
Let’s see how to do it.
First, select the vm1-ubuntu20 virtual machine and click on Power on to power on the vm1-ubuntu20.

The vm1-ubuntu20 virtual machine should be Running. To connect to the display of the vm1-ubuntu20, select the virtual machine and click on Connect, as shown in the screenshot below.

Once you’re connected to the display of the virtual machine, open a Terminal and run the following command to delete the helloworld/ directory:$ rm -rfv helloworld/
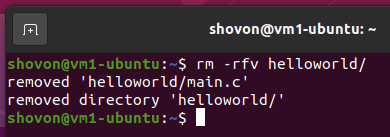
The helloworld/ directory is removed from the HOME directory, as you can see in the screenshot below.
Now, shutdown the virtual machine with the following command:$ sudo poweroff

As you can see, the virtual machine vm1-ubuntu20 is Powered off.
Now, let’s say, you want to get the helloworld/ directory back. As we had taken a snapshot when we had the helloworld/ directory on the virtual machine vm1-ubuntu20, we can just restore it from the snapshot we have taken.
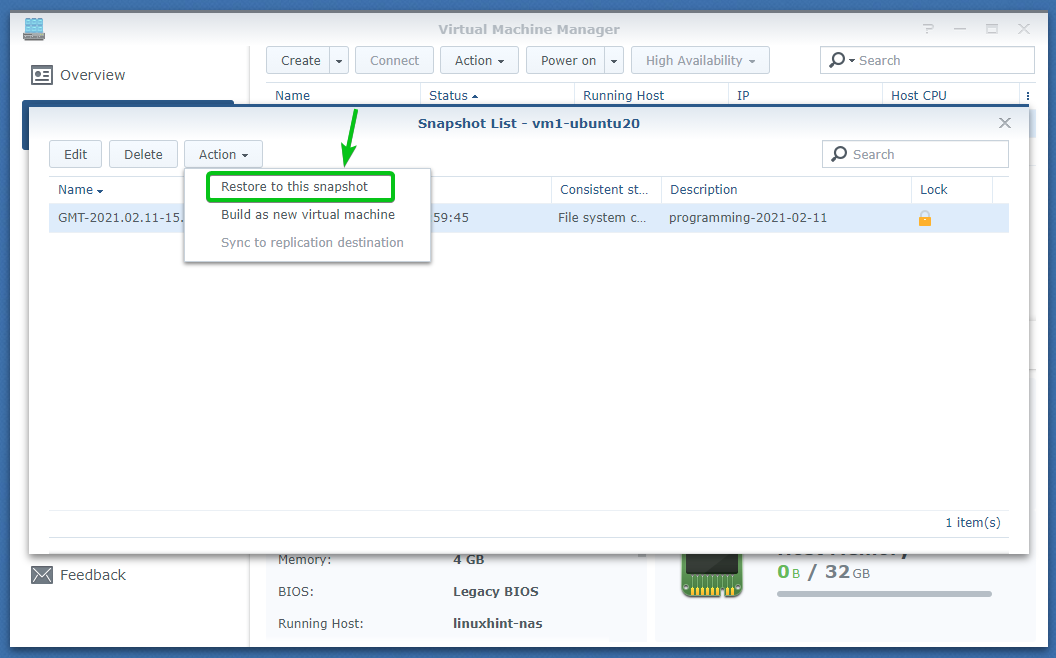
To restore the virtual machine vm1-ubuntu20 from a snapshot, select the virtual machine and click on Action > Snapshot List, as marked in the screenshot below.
Now, select the snapshot you want to restore to and click on Action.

Then, click on Restore to this snapshot.
If you want to take a snapshot of the current state of the virtual machine before restoring from your selected snapshot, then check Take a snapshot before restoring the virtual machine checkbox, as marked in the screenshot below.
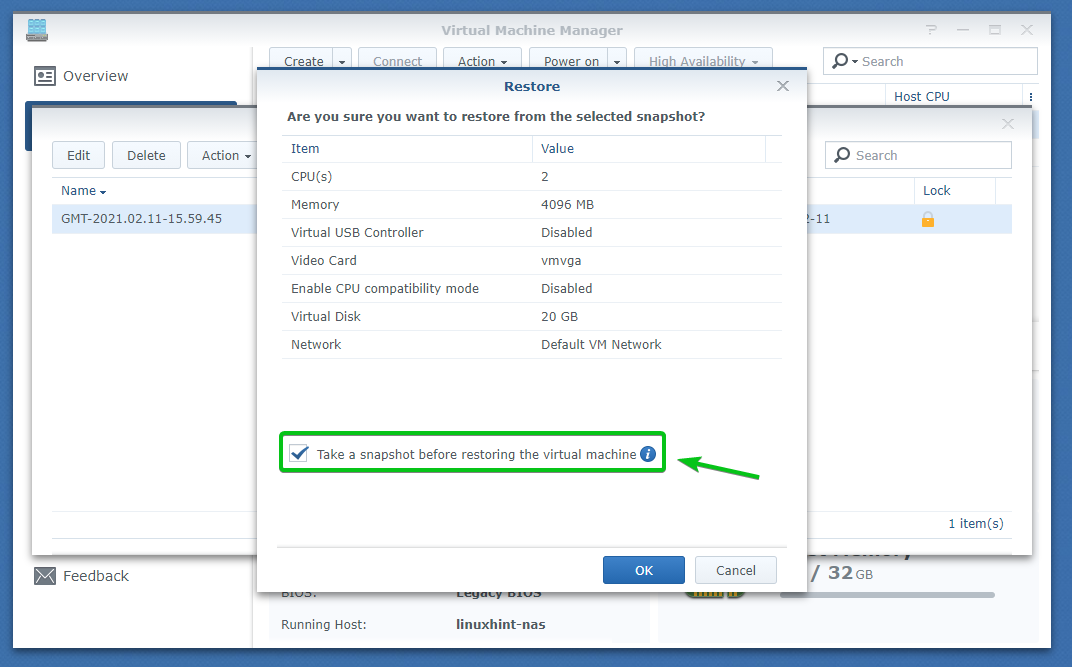
I am not going to take a snapshot of the current state of the virtual machine before restoring the virtual machine from a snapshot. So, I will leave the Take a snapshot before restoring the virtual machine checkbox unchecked.
Once you’re ready, click on OK.

Now, type in the login password of your Synology Web GUI and check I understand my data will be permanently deleted and unrecoverable checkbox.
Once you’re done, click on Submit to confirm the restore operation.

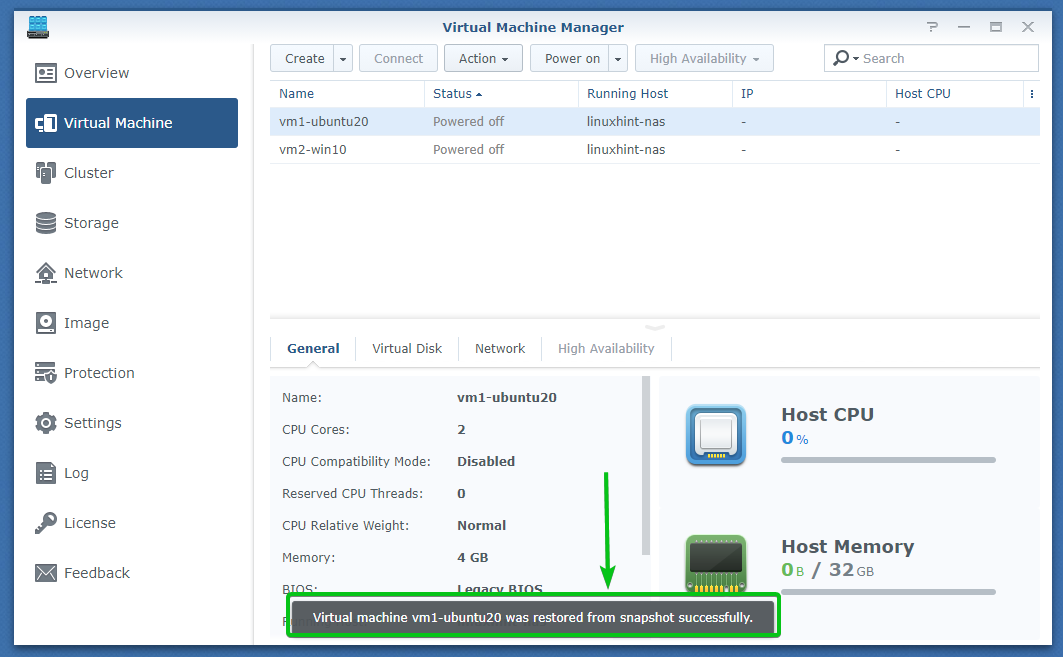
The virtual machine vm1-ubuntu20 should be restored from a snapshot.
Now, select the virtual machine vm1-ubuntu20 and click on Power on.
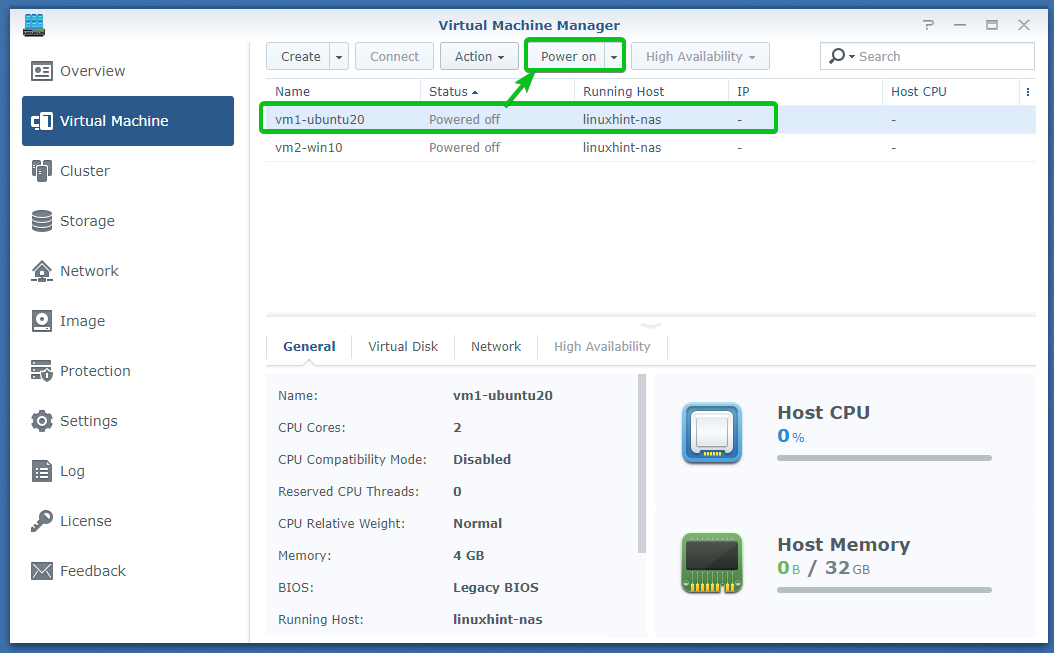
Once the virtual machine vm1-ubuntu20 is running, click on Connect.

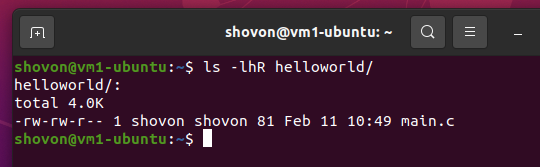
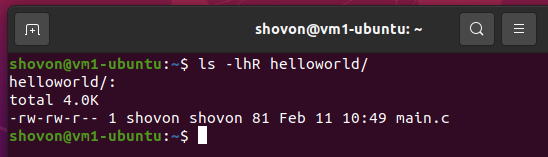
Once you’re connected to the display of the virtual machine, you should see that the helloworld/ directory is restored.$ ls -lhR helloworld/
So, this is how you restore a virtual machine from a snapshot.
Sharing Virtual Machines:
You can share a virtual machine running on your Synology NAS with other people.
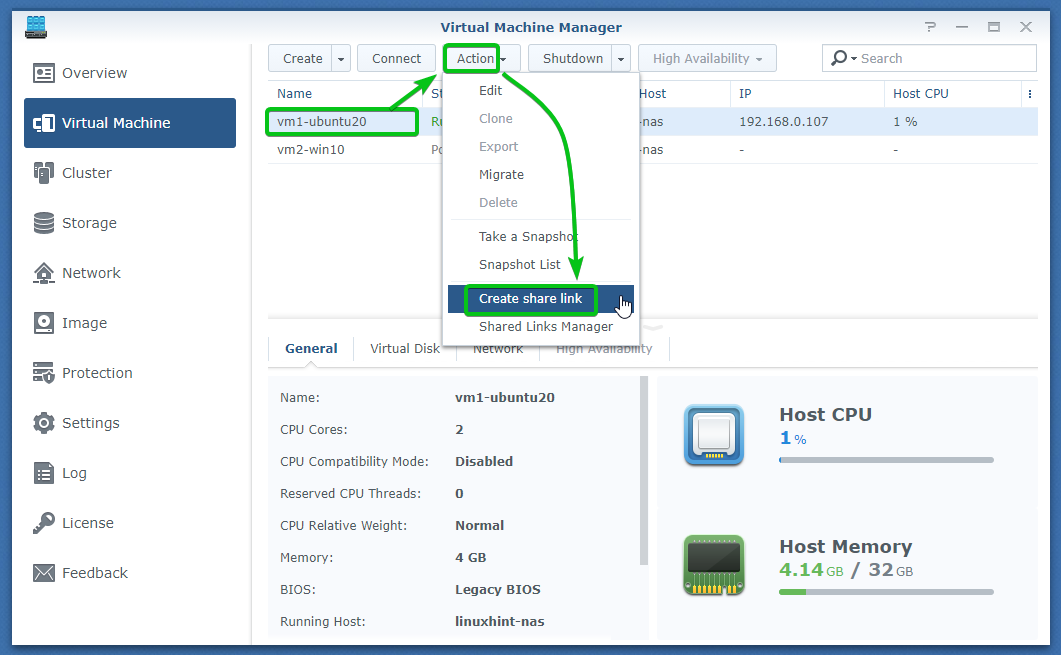
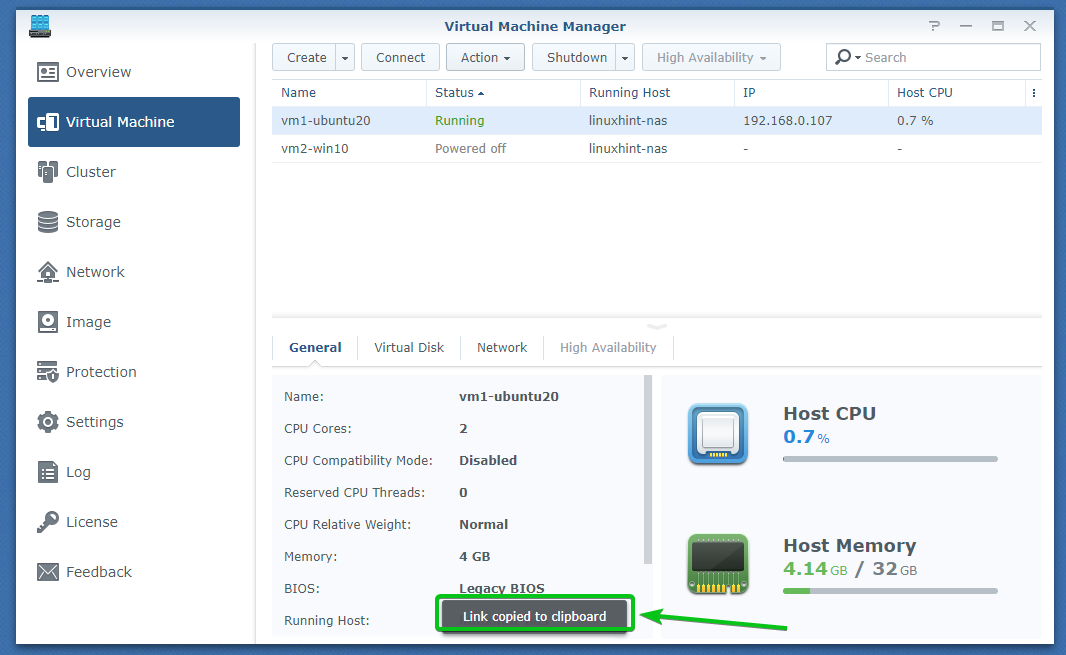
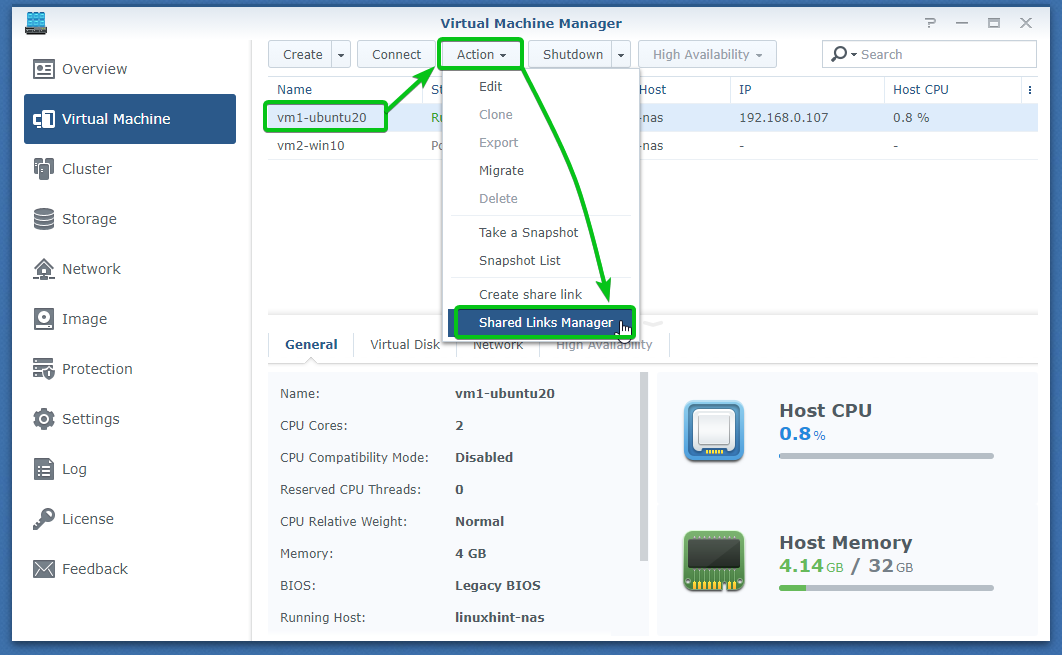
To share a virtual machine (let’s say, vm1-ubuntu20), select the virtual machine and click on Action > Create share link, as marked in the screenshot below.
The link where the virtual machine will be available should be displayed, as you can see in the screenshot below.
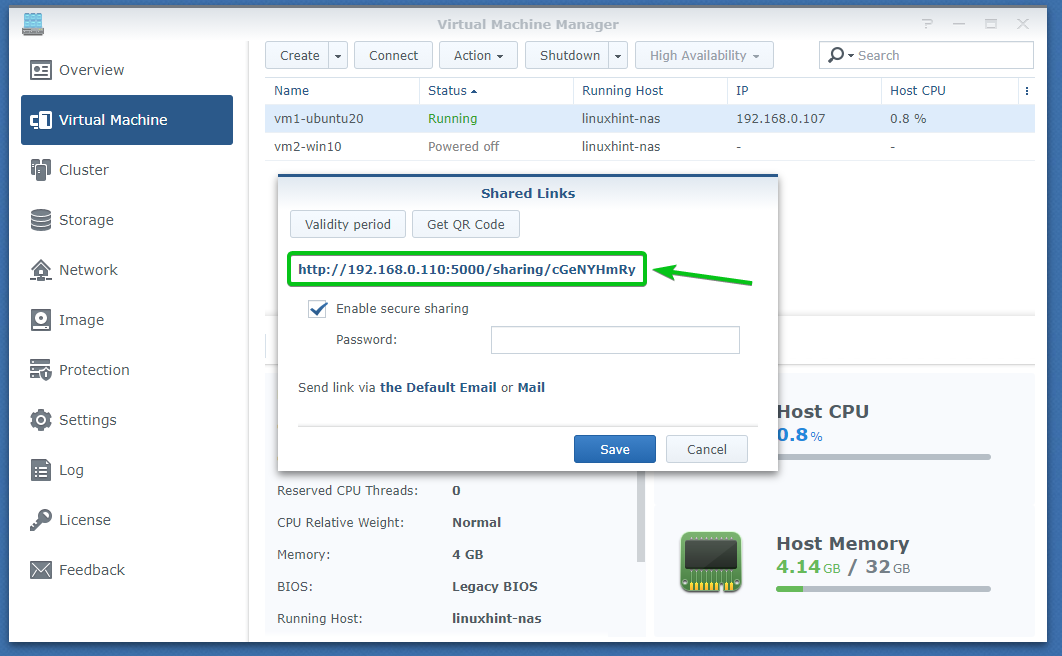
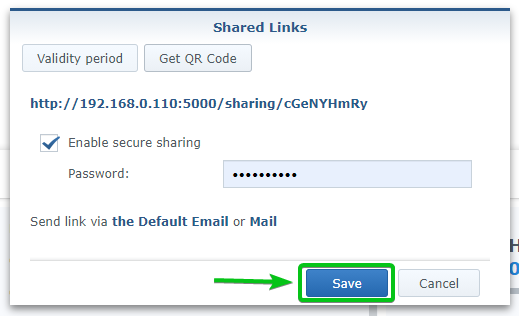
You can password protect the virtual machine if you want. So, when other people try to access the virtual machine using the shared link, they will be asked to type in a password.
To password protect a shared virtual machine, check Enable secure sharing checkbox and type in a share password, as shown in the screenshot below.

You can also set a validity period for the shared virtual machine. Once the validity period is over, the link will be removed automatically.
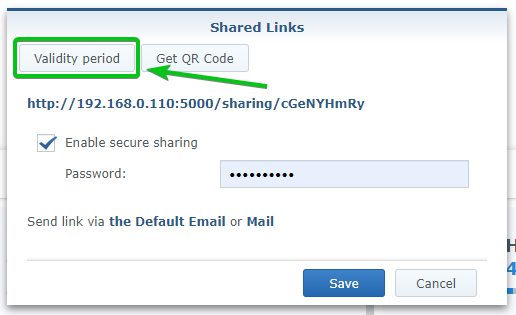
To set a validity period for the shared virtual machine, click on Validity period, as marked in the screenshot below.
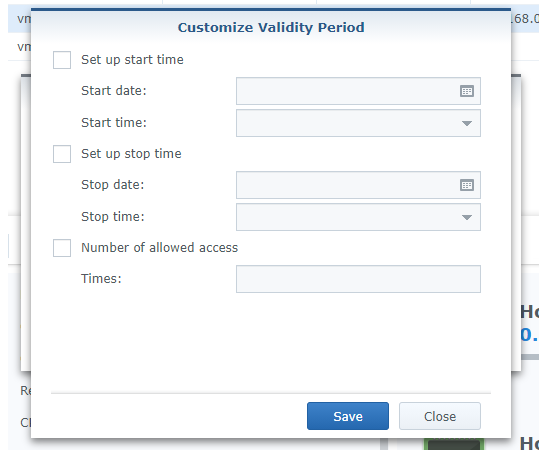
You can set different validity period settings from here.
Set up start time: If you set a start time, then the link will be accessible after this time.
Set up stop time: If you set a stop time, then the link will be accessible until the stop time from now.
Number of allowed access: You can set the number of times one can access the virtual machine using the shared link. Once someone has accessed the virtual machine the defined number of times using this link, the link will automatically become inaccessible.
Once you’re done setting the validity period, click on OK to confirm it.
You can also use the QR code to access the virtual machine instead of using the generated shared link.
To see the QR code that you can use to access this shared virtual machine, click on Get QR Code, as you can see in the screenshot below.
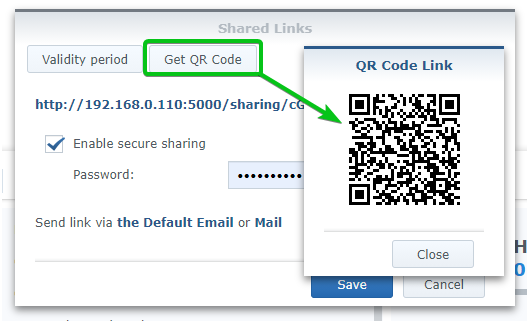
Once you’ve set up the shared link, click on Save.
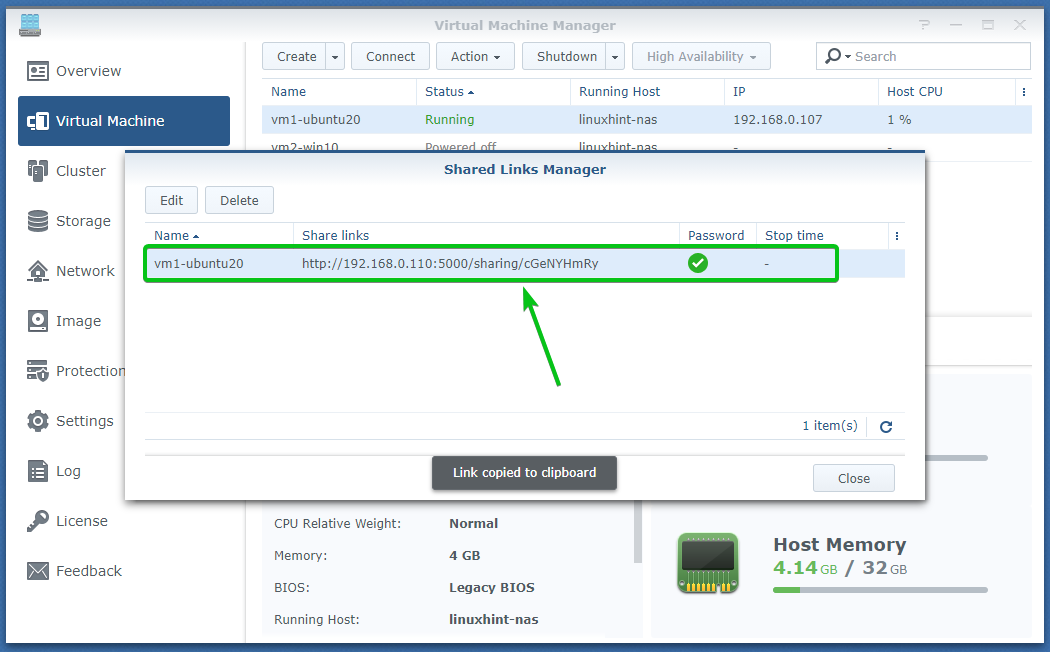
A shared link for accessing the virtual machine should be created and copied to the clipboard.
To see all the shared links for a virtual machine, select the virtual machine and click on Action > Shared Links Manager, as shown in the screenshot below.
The shared links you’ve generated for the virtual machine should be listed.
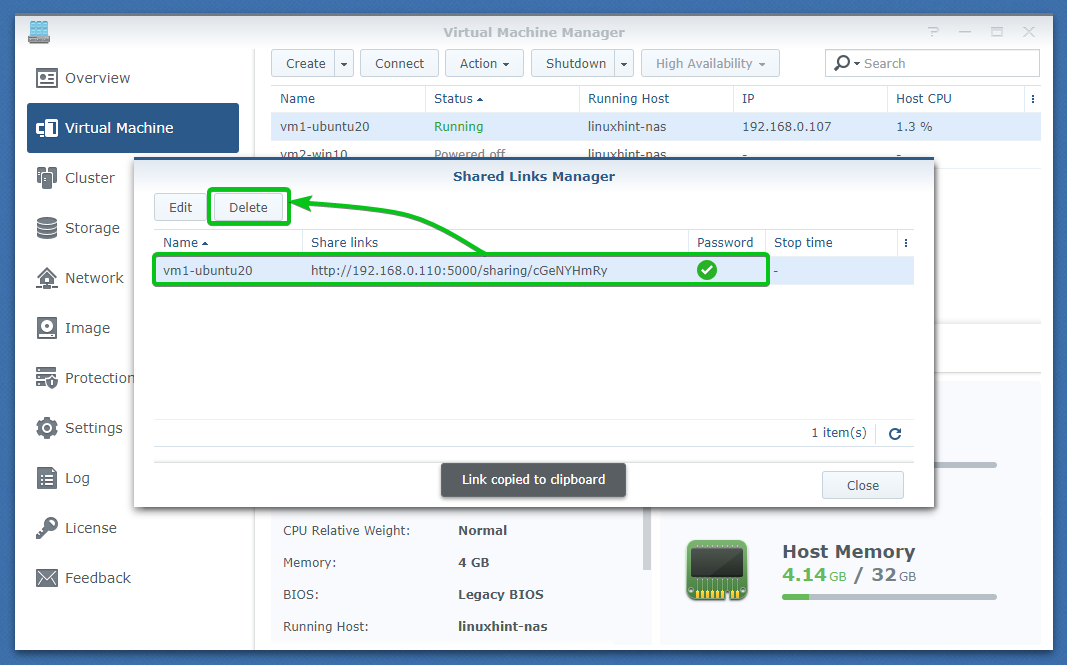
You can select a shared link and click on Delete to delete a shared link, as shown in the screenshot below.
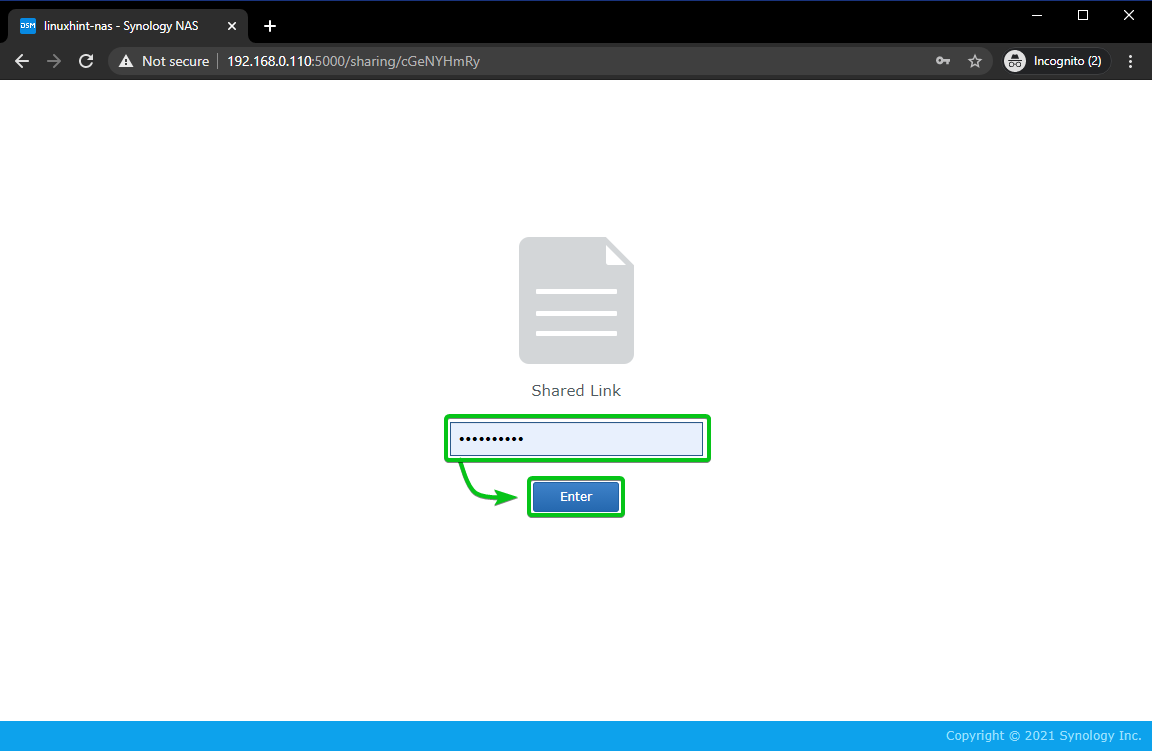
To access a virtual machine using the shared link, open the shared link with your favorite web browser.

Type in the password of that shared link and click on Enter.
You should be connected to the virtual machine, as you can see in the screenshot below.
Cloning Virtual Machine:
You can make new virtual machines from an existing virtual machine or a snapshot of an existing virtual machine using the Clone feature of the Virtual Machine Manager app.
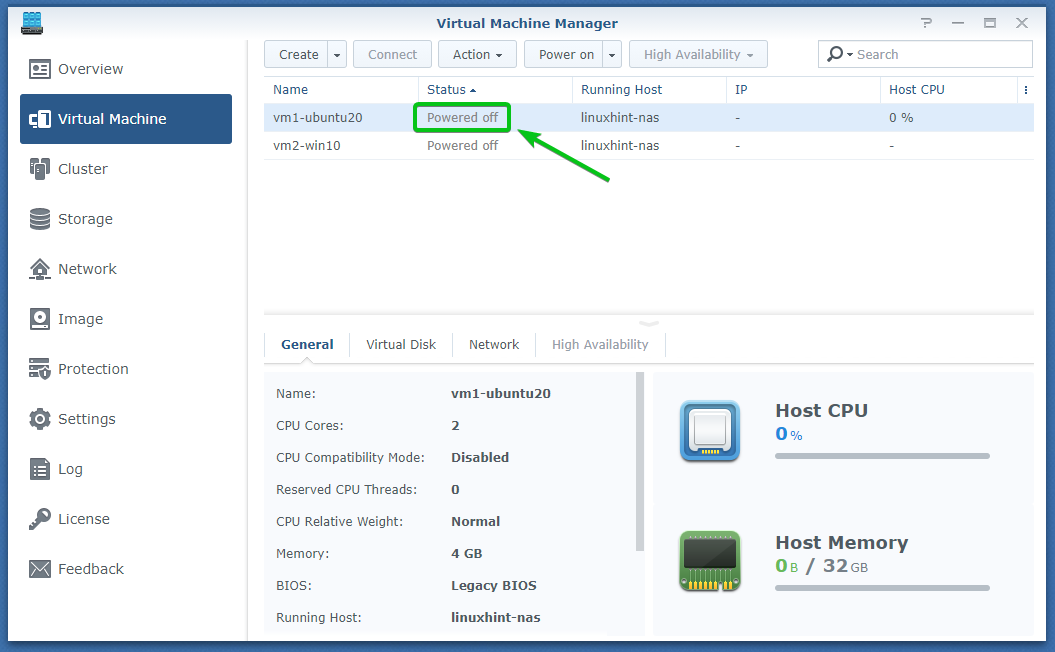
To clone a virtual machine, make sure that the virtual machine you want to clone is Powered off.
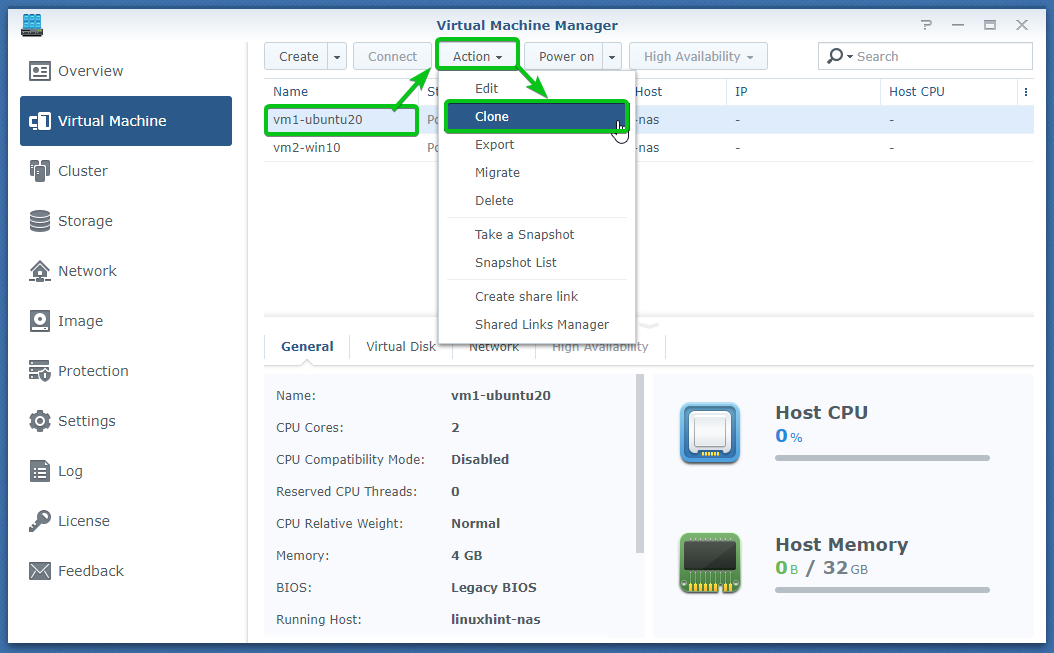
Now, select the virtual machine you want to clone and click on Action > Clone, as marked in the screenshot below.
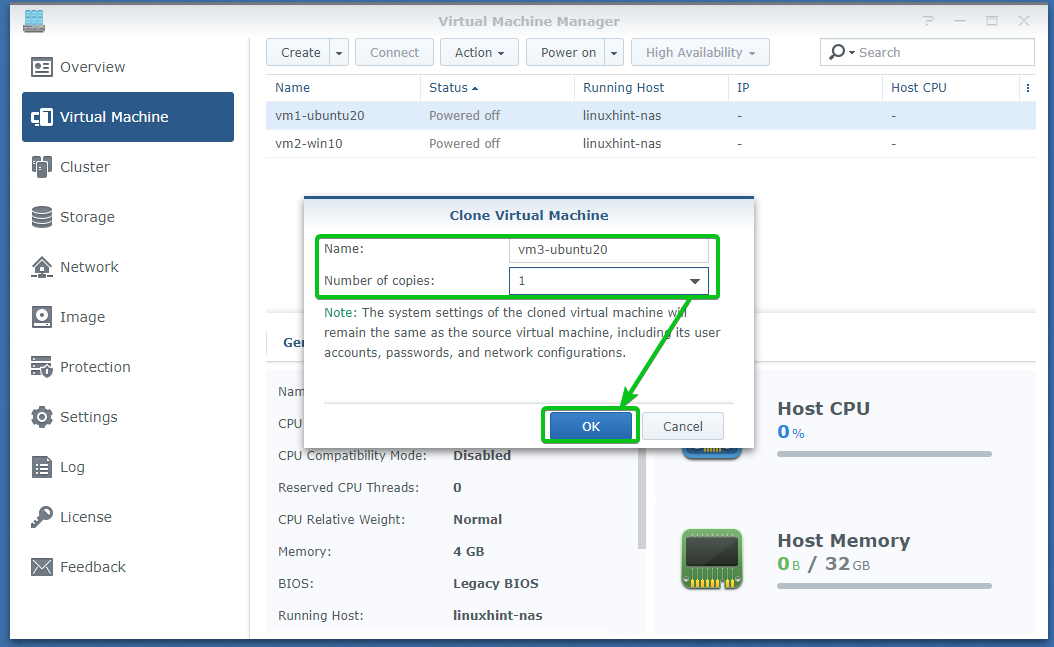
Type in a Name for the new cloned virtual machine.
You can create multiple cloned virtual machines as well. To do so, select the number of clones you want from the Number of copies dropdown menu.
Once you’re done, click on OK.
As you can see, a new virtual machine vm3-ubuntu20 is being cloned from the vm1-ubuntu20 virtual machine.
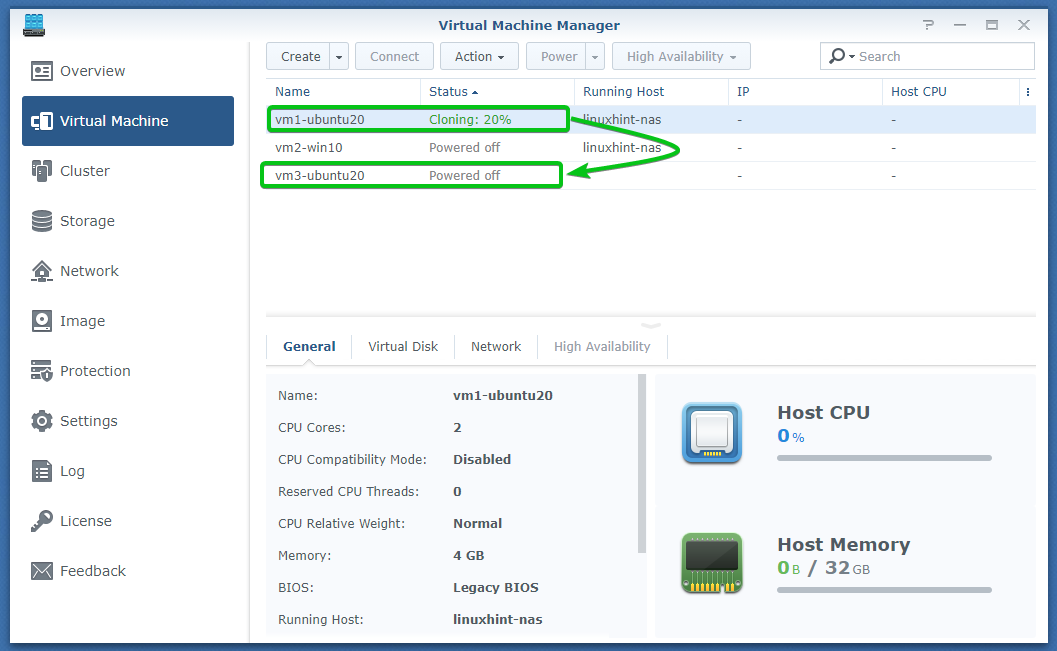
At this point, the vm3-ubuntu20 virtual machine is successfully cloned from the vm1-ubuntu20 virtual machine.
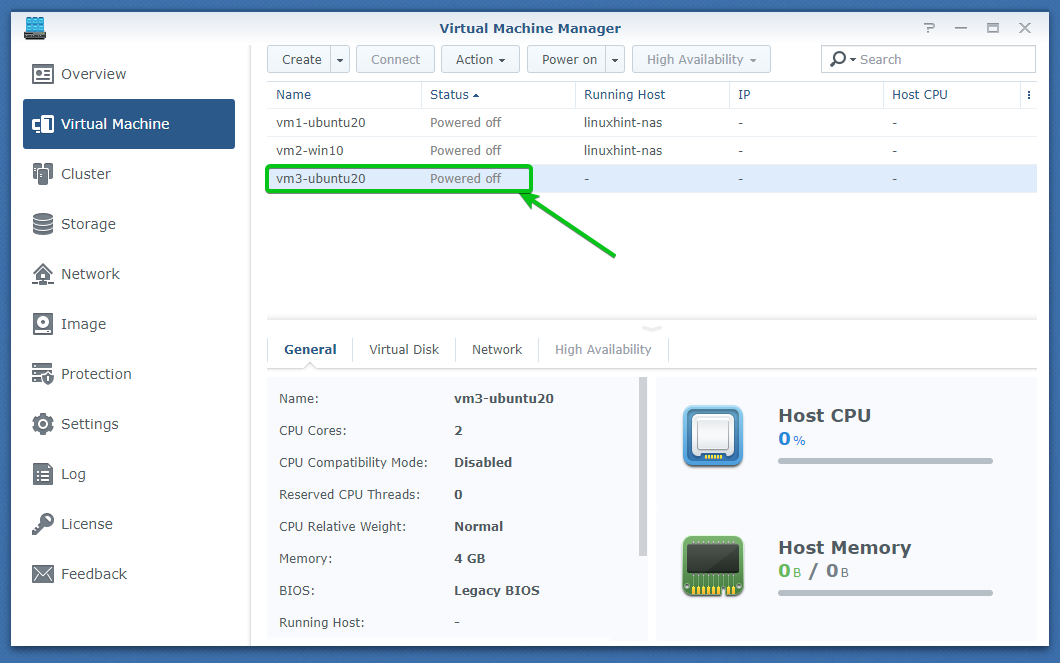
To power on the cloned virtual machine vm3-ubuntu20, select the virtual machine and click on Power on, as marked in the screenshot below.
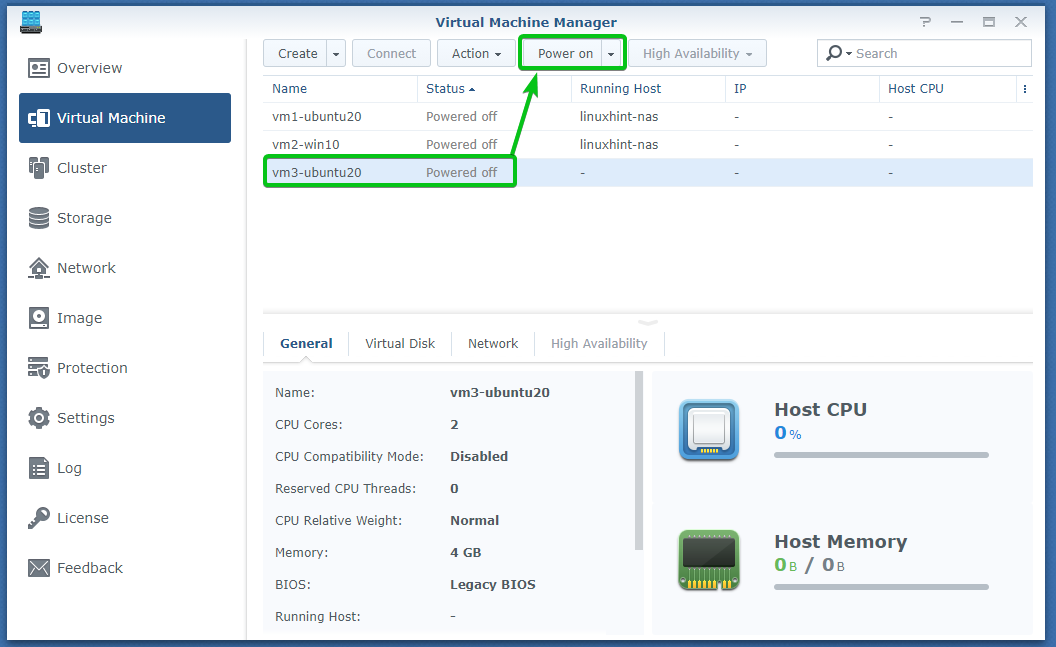
Once the virtual machine vm3-ubuntu20 is Running, click on Connect.

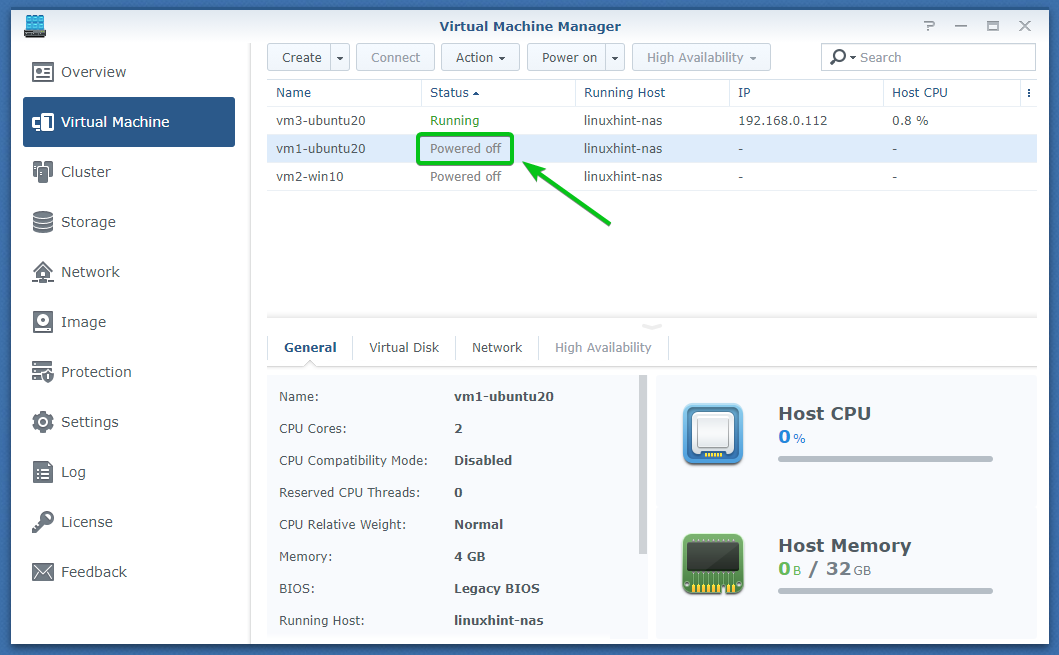
You should be connected to the display of the virtual machine. As you can see, the cloned virtual machine is running just fine.

Exporting Virtual Machines:
You can export Synology NAS virtual machines using the Virtual Machine Manager app.
To export a virtual machine, make sure that it is Powered off.
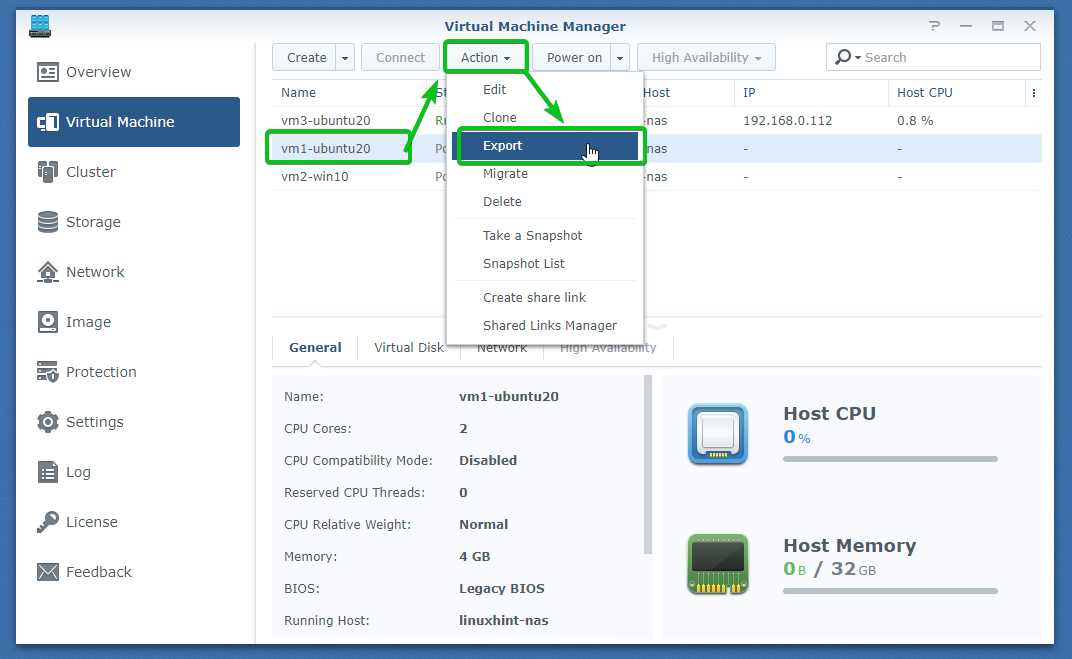
Now, select the virtual machine you want to export and click on Action > Export, as marked in the screenshot below.
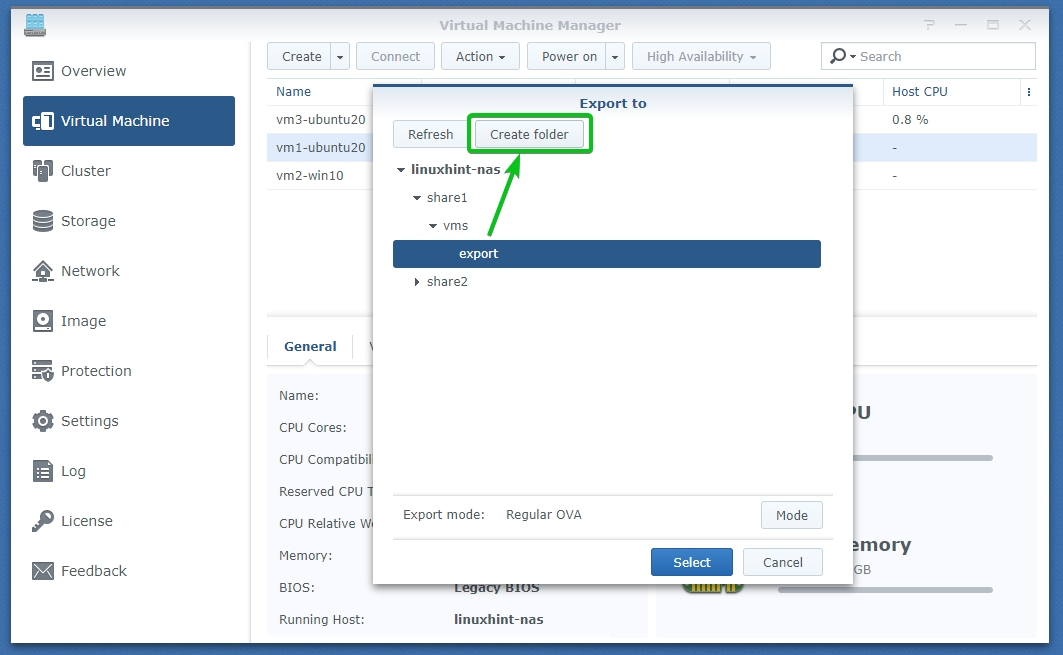
Now, you have to select a directory on your Synology NAS share where you want to export the virtual machine.
I like to export a virtual machine in its own separate directory.
So, select a directory where you want to keep all your exported virtual machine data and click on Create folder to create a new folder for the exported virtual machine.
Type in a name for the new folder and click on OK.
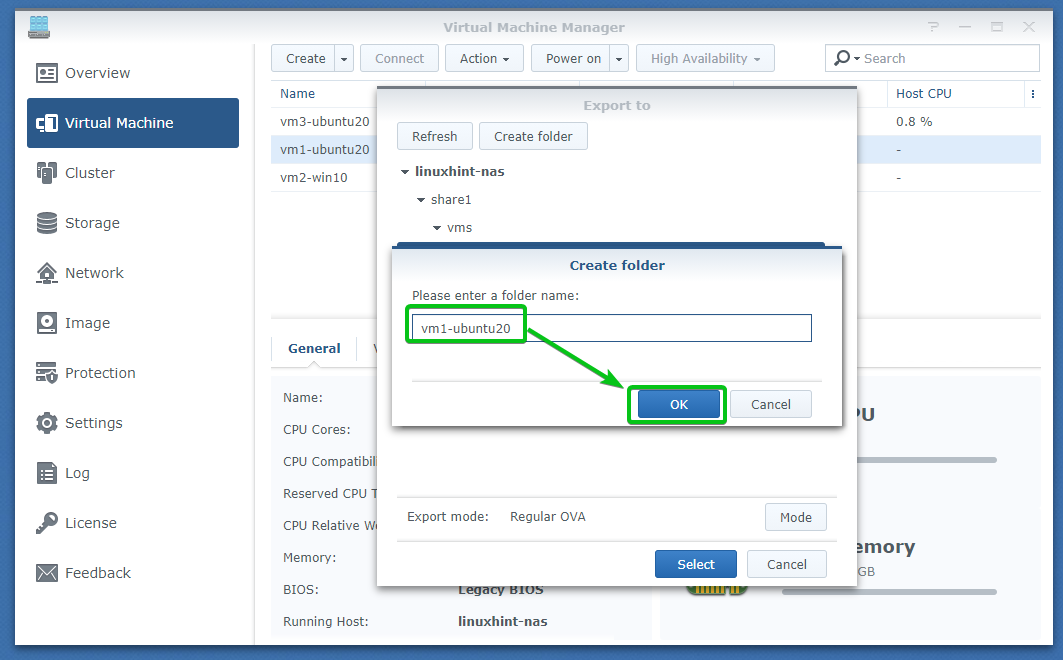
A new folder vm1-ubuntu20 should be created, as you can see in the screenshot below.
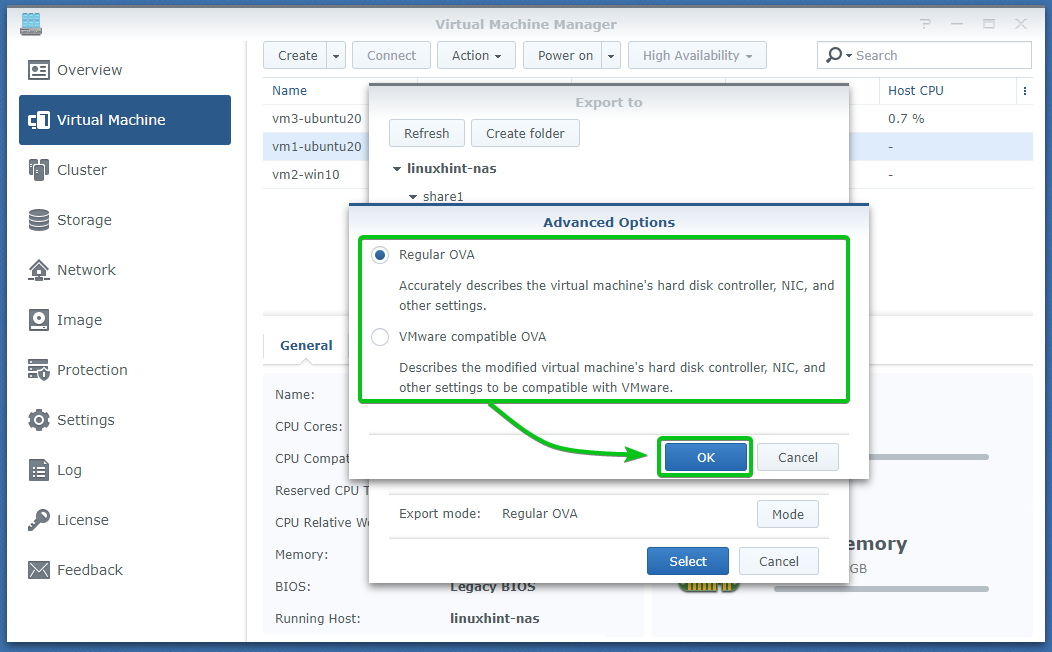
You can select the export mode before exporting the virtual machine.
The default mode is Regular OVA. Unless you’re going to import the virtual machines in a VMware product (i.e., VMware Player, VMware Workstation Pro, VMware Fusion, VSphere, etc.), then you don’t have to change the default mode.
If you need to change the export mode, click on Mode, as marked in the screenshot below.

There are 2 export modes:
Regular OVA: This is the default export mode of the Virtual Machine Manager app. You can import virtual machines exported this way into other virtualization programs like KVM, VirtualBox, etc. But this format is not compatible with VMware virtualization programs like VSphere, VMware Workstation Pro, etc.
VMware compatible OVA: You can import virtual machines exported this way into VMware virtualization programs like VSphere, VMware Workstation, VMware Fusion, etc.
Once you’ve selected an export mode, click on OK.
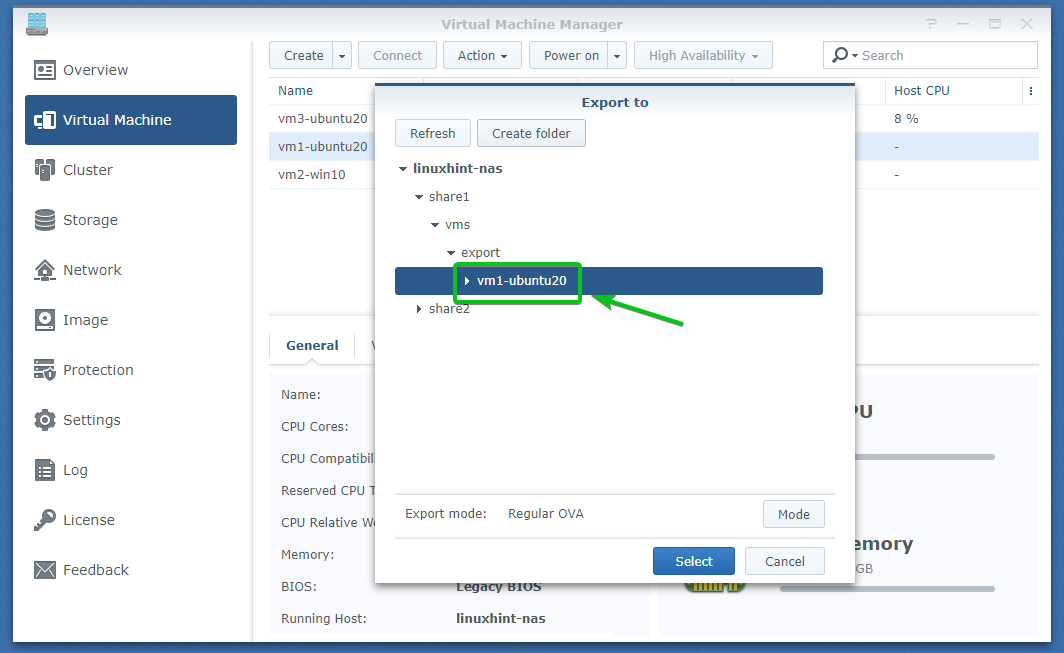
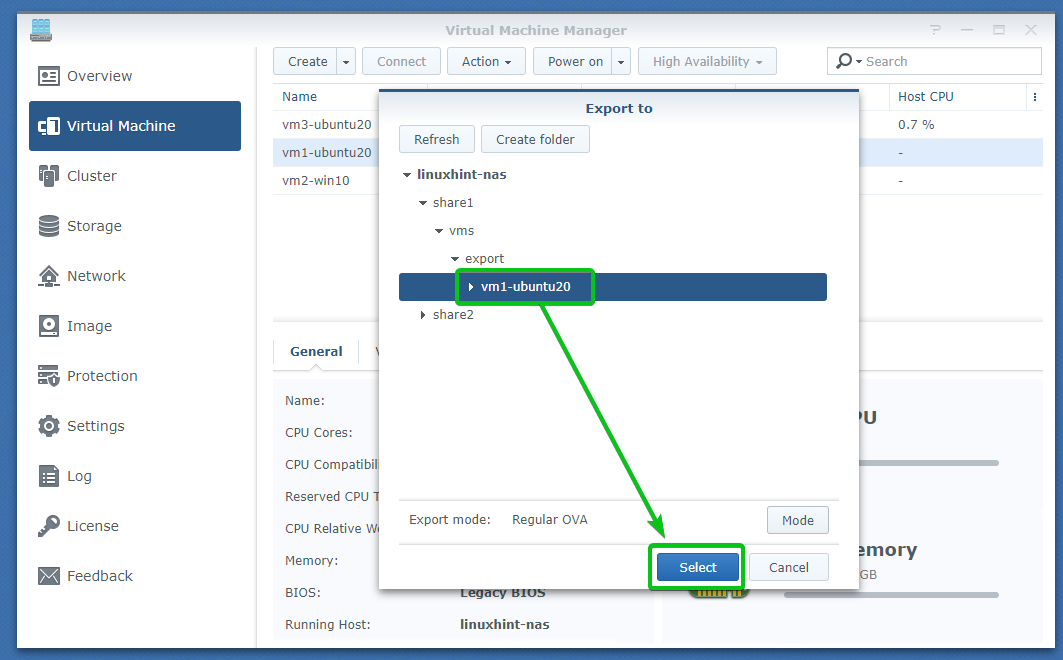
Now, select the newly created folder vm1-ubuntu20 and click on Select, as marked in the screenshot below to start exporting the virtual machine.
Virtual Machine Manager app should start exporting the virtual machine vm1-ubuntu20 to your selected Synology share. It may take a while to complete.
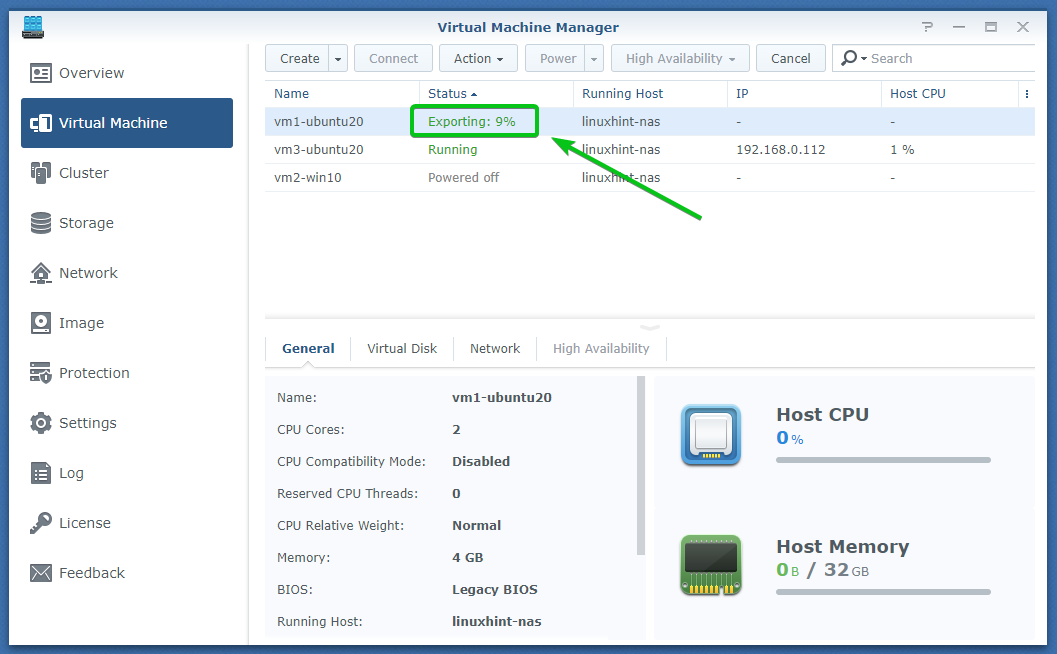
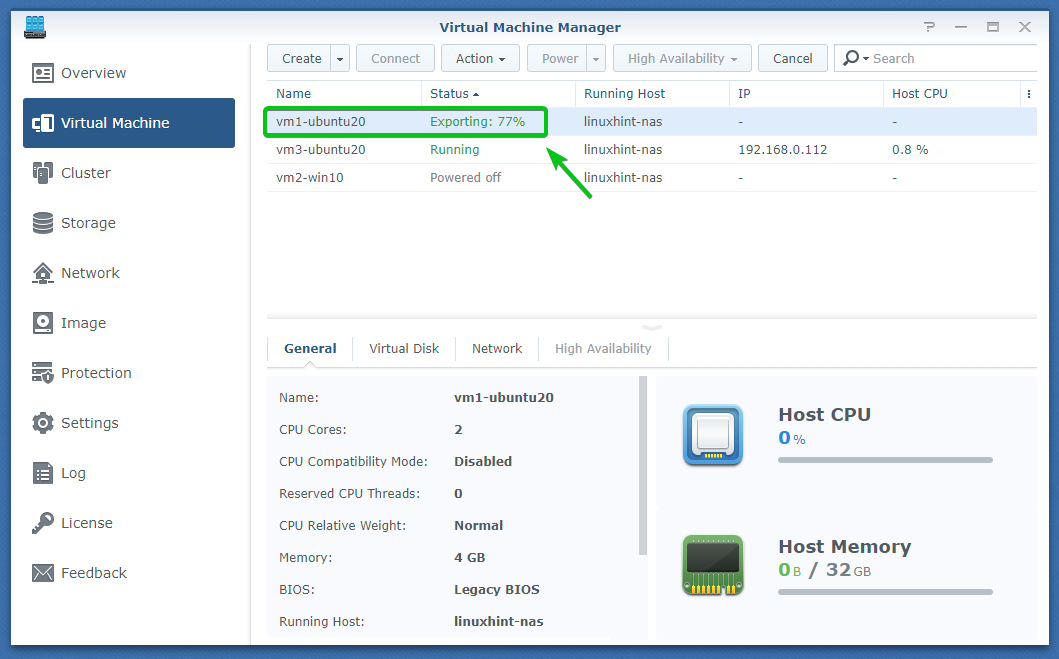
The virtual machine vm1-ubuntu20 is being exported.
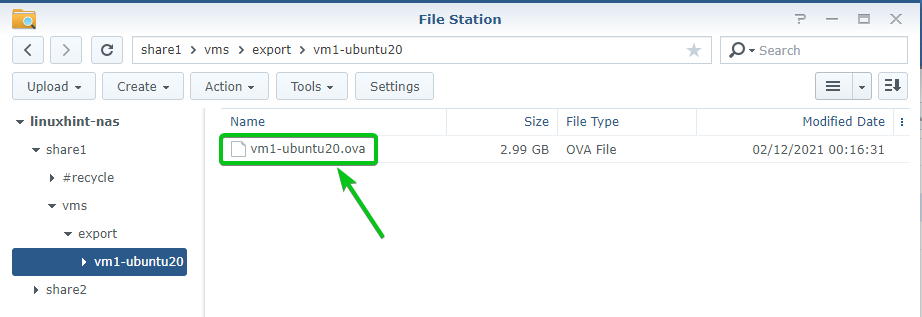
Once the virtual machine vm1-ubuntu20 is exported, a new OVA file should be created in the vm1-ubuntu20/ directory of your Synology NAS share, as you can see in the screenshot below.
Importing Virtual Machines:
You can import virtual machines using the exported OVA file into your Synology NAS from the Virtual Machine Manager app.
To import a virtual machine, click on Create > Import, as marked in the screenshot below.

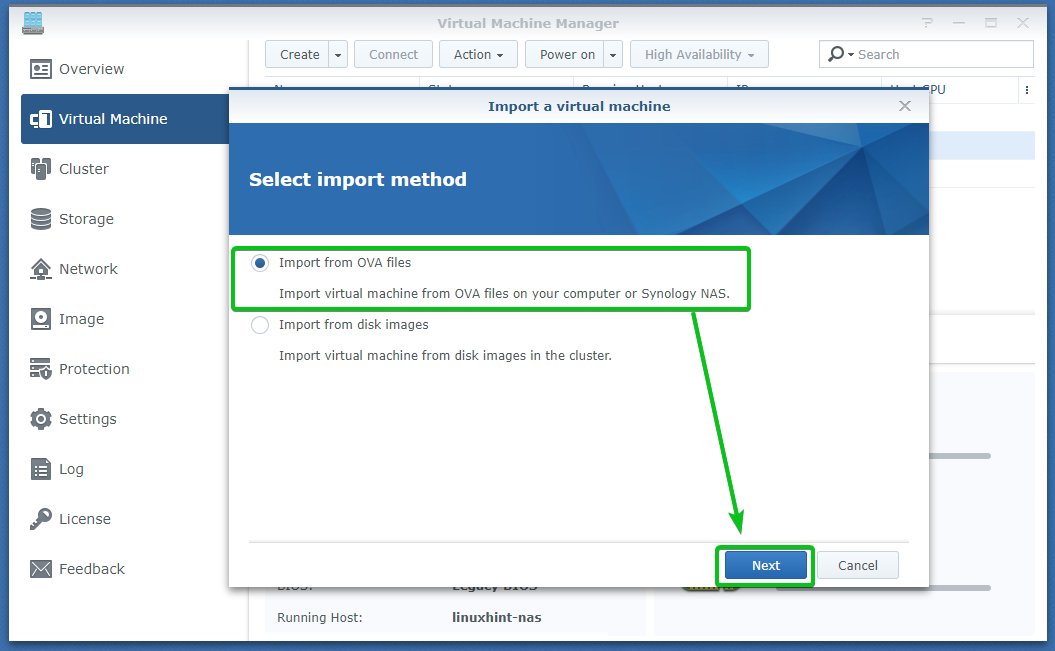
Select Import from OVA files and click on Next, as marked in the screenshot below.
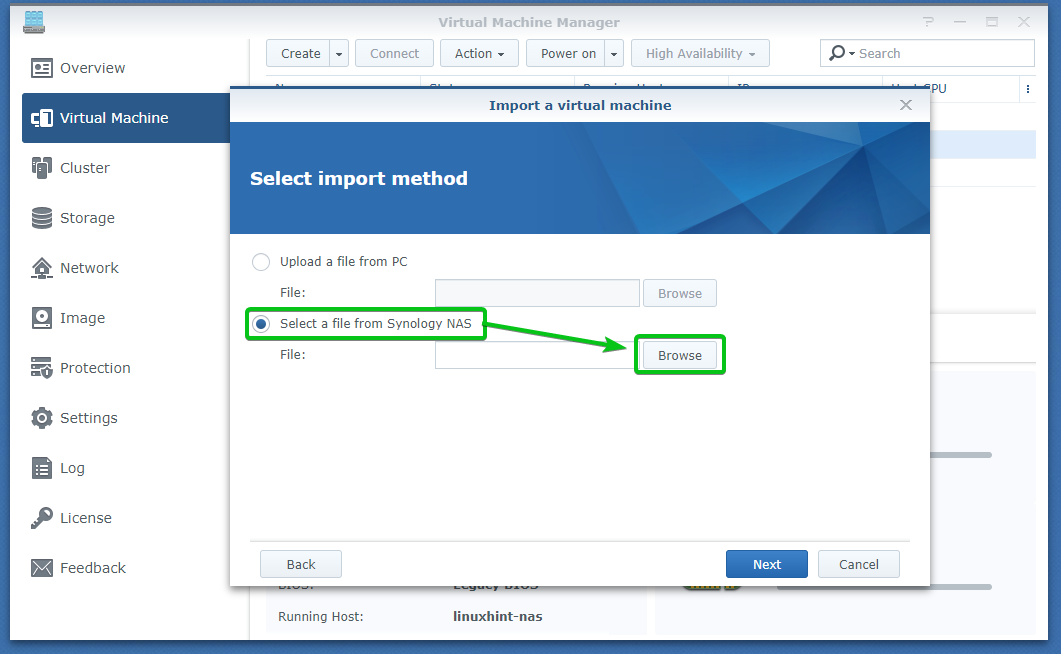
To select the OVA file from your Synology NAS share, select Select a file from Synology NAS and click on Browse, as marked in the screenshot below.
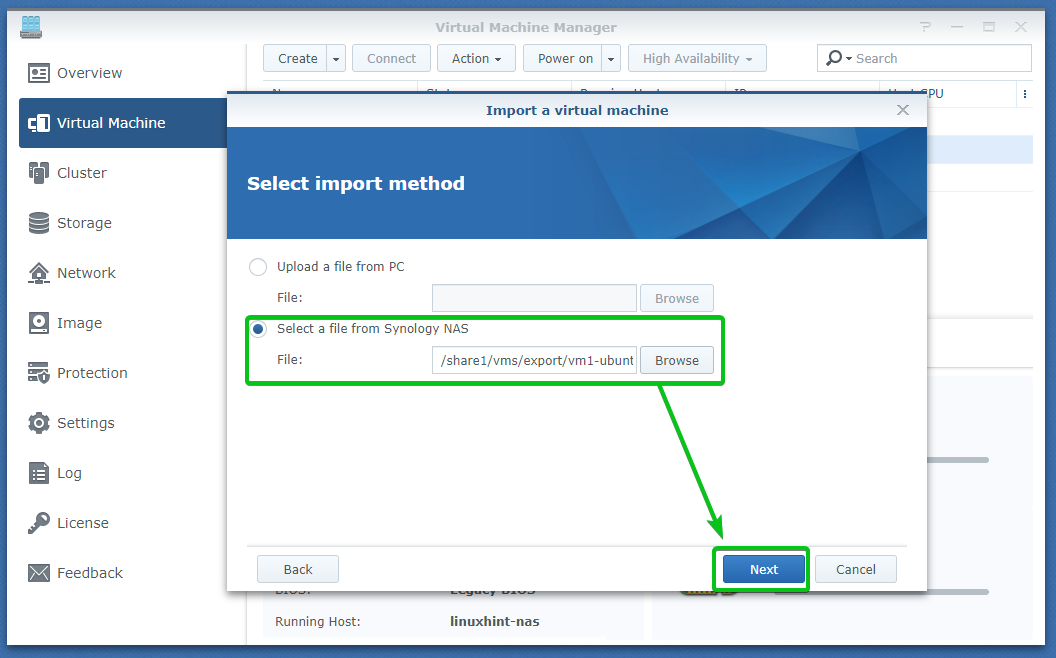
Select the OVA file you’ve just exported and click on Select, as marked in the screenshot below.

Once you’ve selected the OVA file, click on Next.
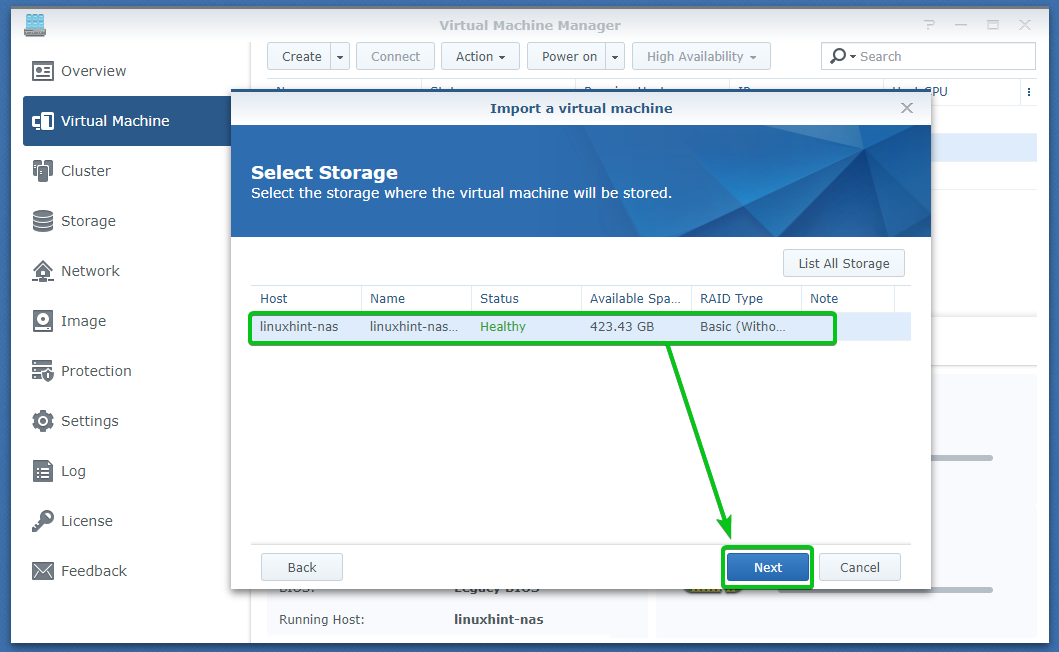
Select the storage volume where you want to save the imported virtual machine data and click on Next.
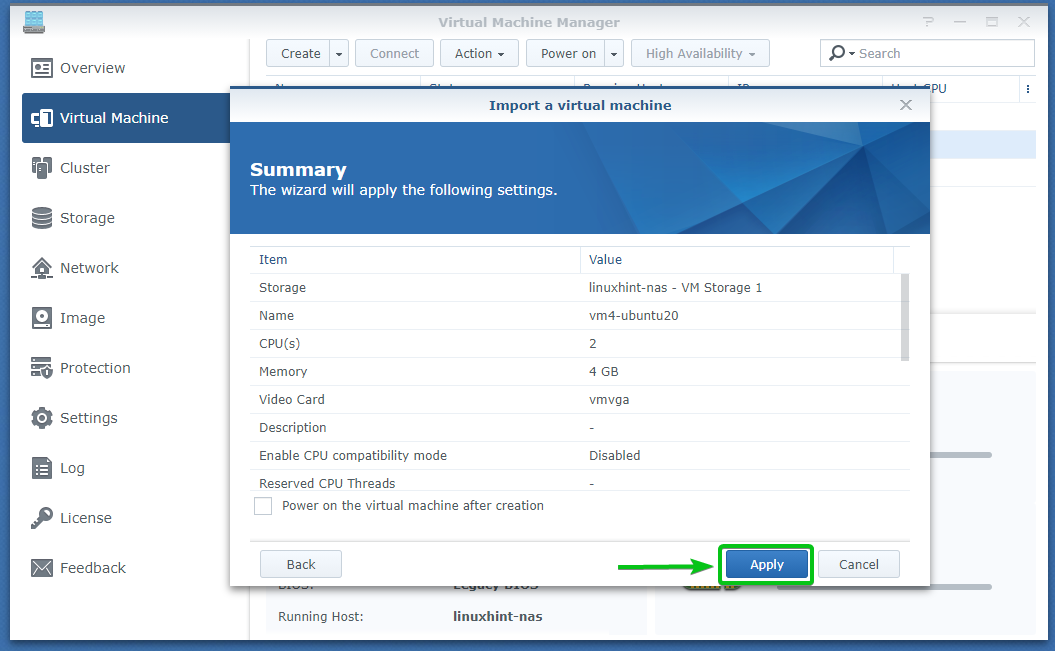
Type in a name for the virtual machine, the number of CPU cores you want it to have, and the amount of memory you want to allocate to it.
I am going to call the imported virtual machine vm4-ubuntu20, and allocate 2 CPU cores and 4 GB of memory to it.
Once you’re done, click on Next.

Type in the amount of disk space you want to allocate to the imported virtual machine and click on Next.
I will allocate 20 GB of disk space to the imported virtual machine vm4-ubuntu20.
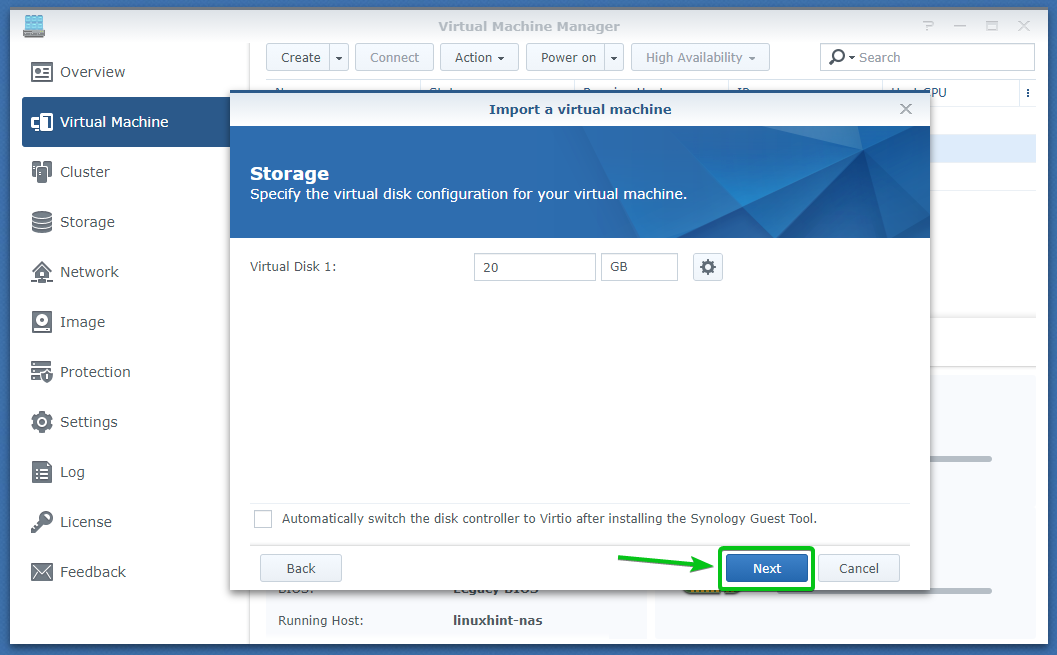
Click on Next.
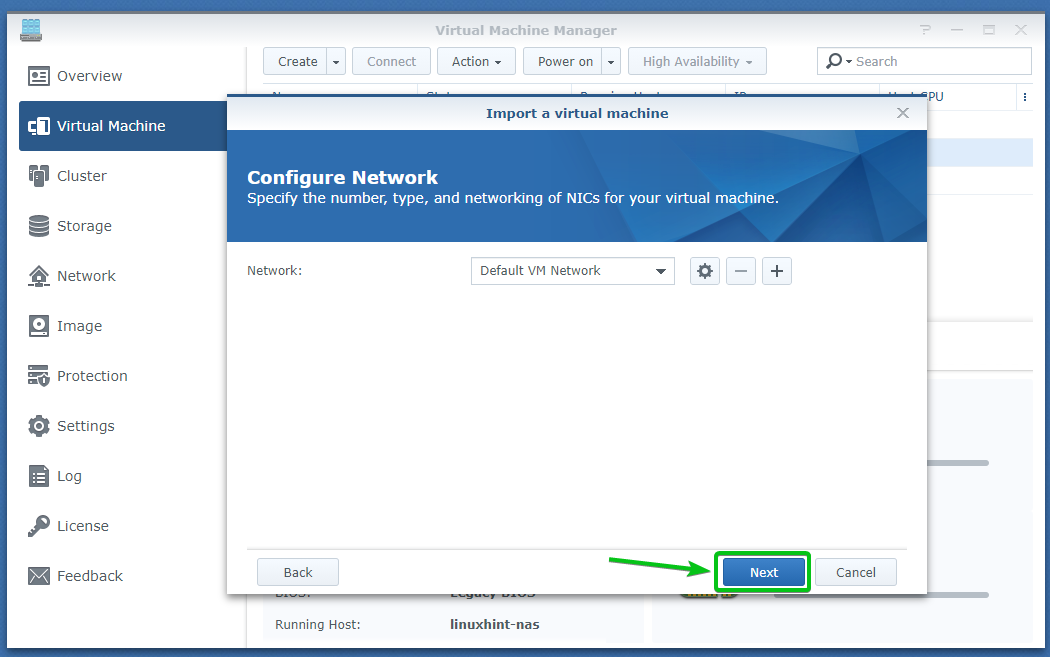
Click on Next.
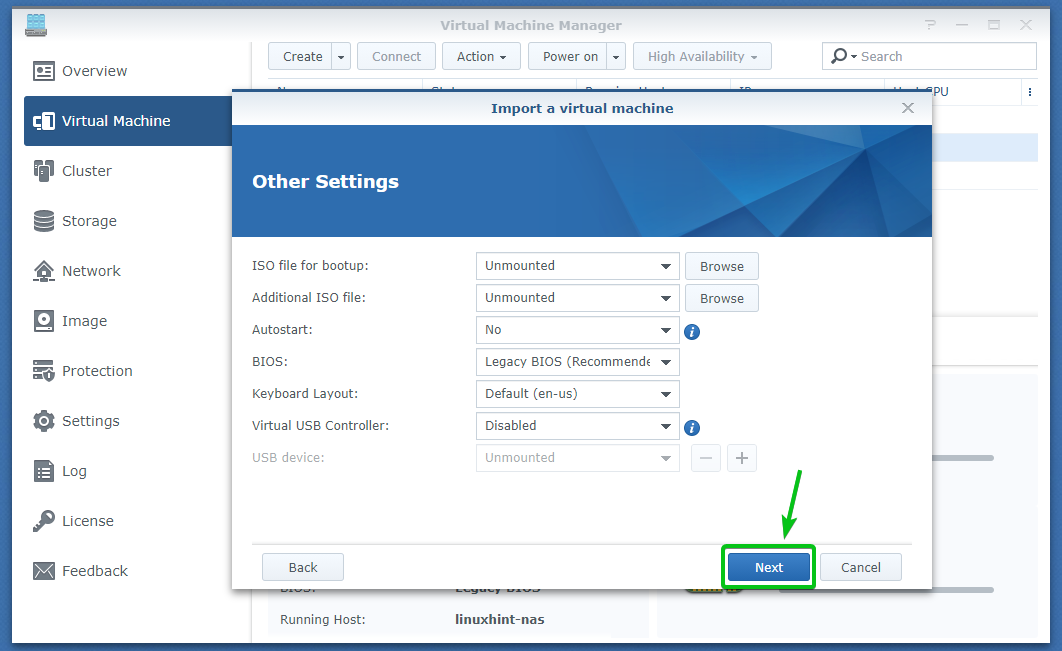
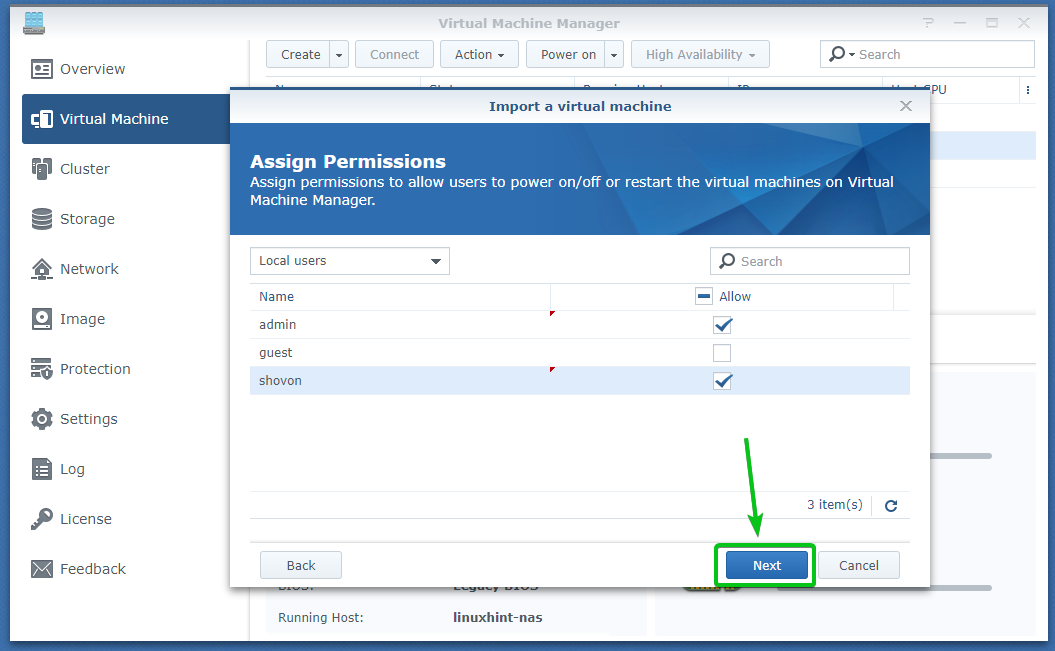
Select the users that you want to allow access to the imported virtual machine and click on Next.
The settings that will be used to import and create the virtual machine should be displayed. To import and create a virtual machine with those settings, click on Apply.
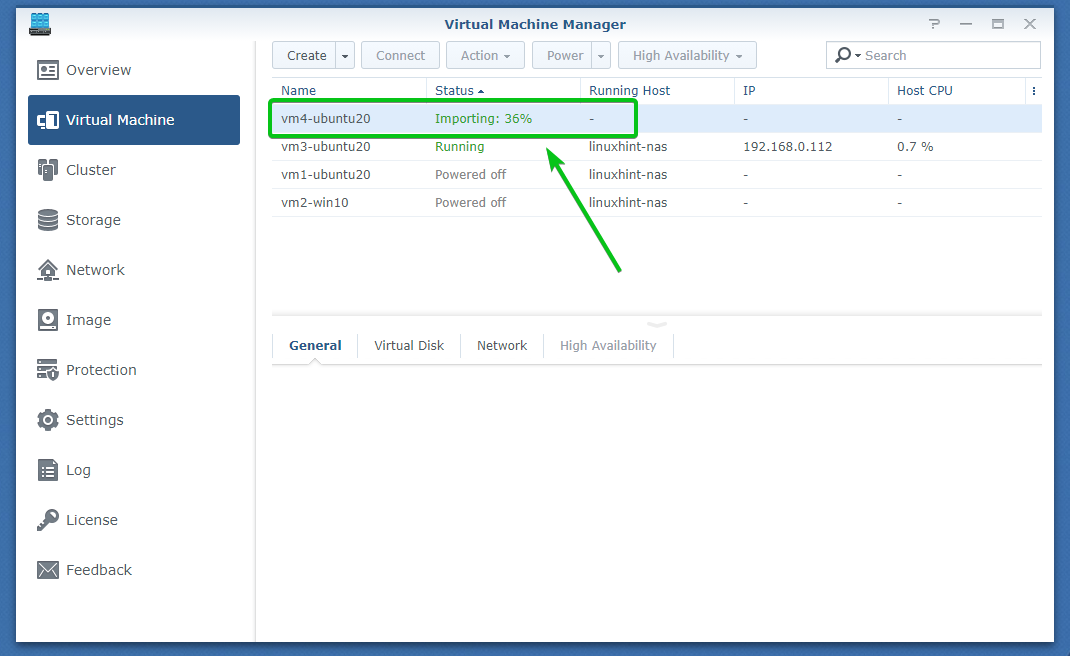
The virtual machine vm4-ubuntu20 is being imported, as you can see in the screenshot below. It may take a few minutes to complete.
The virtual machine vm4-ubuntu20 is imported successfully, as you can see in the screenshot below.

As you can see, the imported virtual machine vm4-ubuntu20 is Running.
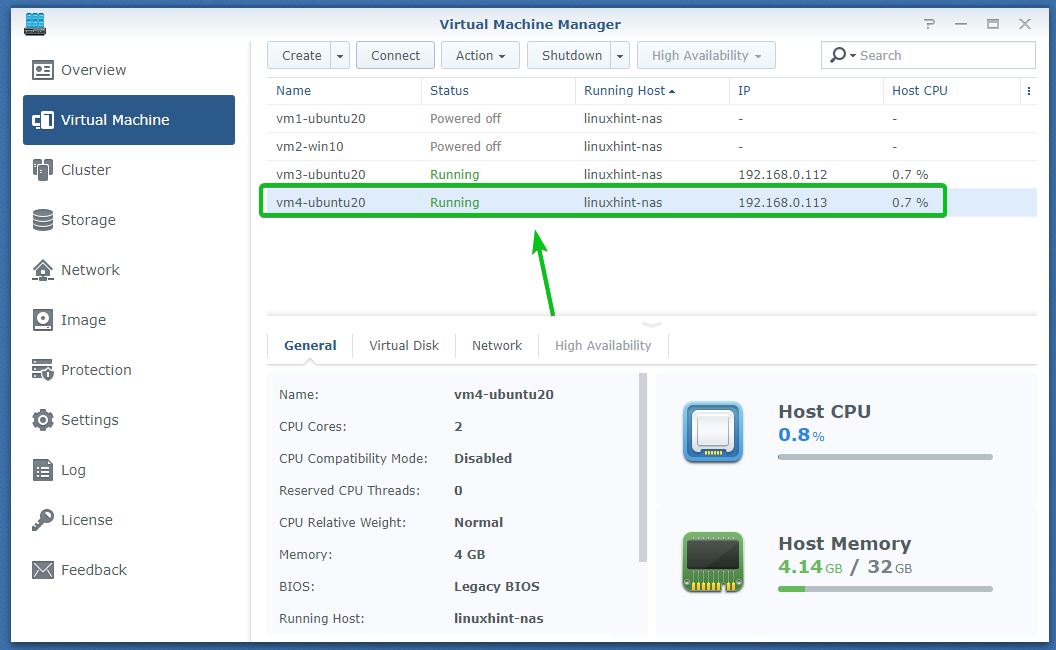
You can also connect to the imported virtual machine vm4-ubuntu20 and it’s working just fine.

Conclusion:
In this article, I have shown you how to install and set up the Virtual Machine Manager app on your Synology NAS. I have also shown you how to create and manage virtual machines, take snapshots of it, restore it from snapshots, as well as share, cloneexport, and import it on your Synology NAS using the Virtual Machine Manager app.